Configuring Backstage
40 MINS
Setting up PostgreSQL
Backstage offers SQLite, an in-memory database, for easy local setup with no external dependencies. SQLite is a great way to kick the tires. But we recommend setting up PostgreSQL for a production-ready deployment. Backstage uses the Knex database library under the covers, which supports many popular databases.
First, let's stop Backstage before we continue. Stop Backstage from the terminal, by pressing Control-C.
Expand your Operating System to view the specific instructions.
Mac OSX
- For Mac, we recommend Postgres.app which is a desktop solution. Download the latest release and drag Postgres.app into the Applications folder.
- Launch Postgres from Spotlight or from the Applications folder directly.

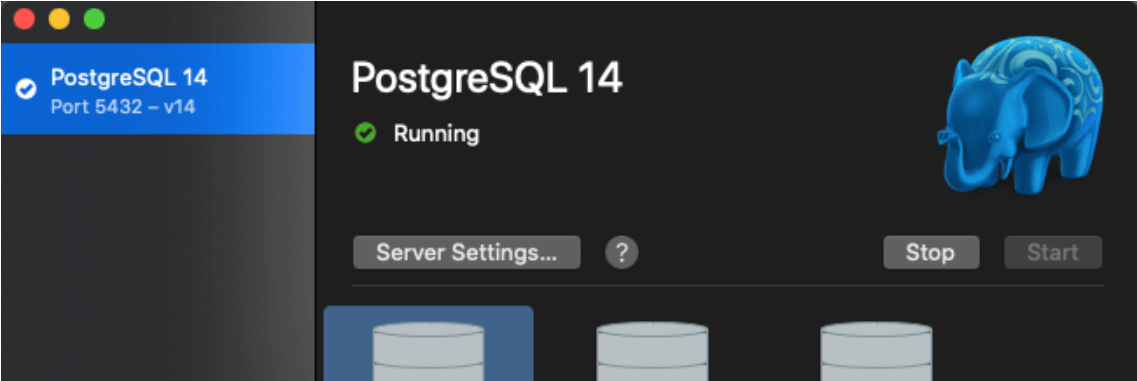
- Click the Initialize button, then you’ll see PostgreSQL running with some default databases:
- The default Postgres.app installation creates a server with two users — postgres, and your Mac username. Neither has a password, since this is designed for an easy, insecure local setup.
- From a terminal window, you can connect to the database and see these users
 psql -U postgres
 postgres=# \du
- For this tutorial we are going to use the existing postgres user. The next step is to set the password:
postgres=# ALTER USER postgres PASSWORD 'secret';
- It will respond with
ALTER ROLE. Type '\q', followed by pressing the 'enter' key.
Linux
- Install postgresql
sudo apt-get install postgresql
- Test if your database is working:
sudo -u postgres psql
- You should see a very welcoming message, like:
psql (12.9 (Ubuntu 12.9-0ubuntu0.20.04.1))
Type "help" for help.
postgres=#
- For this tutorial we are going to use the existing postgres user. The next step is to set the password:
postgres=# ALTER USER postgres PASSWORD 'secret';
- It will respond with
ALTER ROLE. Type '\q', followed by pressing the 'enter' key.
Windows
Coming soon-ish