

Pre-built plugin installation is being rolled out gradually and might not be
available in your instance yet. Look for the Custom Plugins tab under
Admin → Plugin Settings. If the tab is not present, follow the previous
installer instructions. See Switching to
pre-built plugins for rollout details and help moving existing
plugins.
How installation works
Spotify discovers supported plugin releases from the public npm registry, checks their package metadata and compatibility, installs their dependencies in an isolated build environment, and prepares the artifacts that Portal needs. Successfully prepared releases are then made available to Portal instances. When you install a package, Portal:- Resolves the requested version. If you omit a version, Portal uses the latest stable release.
- Finds related packages, such as the frontend and backend packages that make up the same plugin.
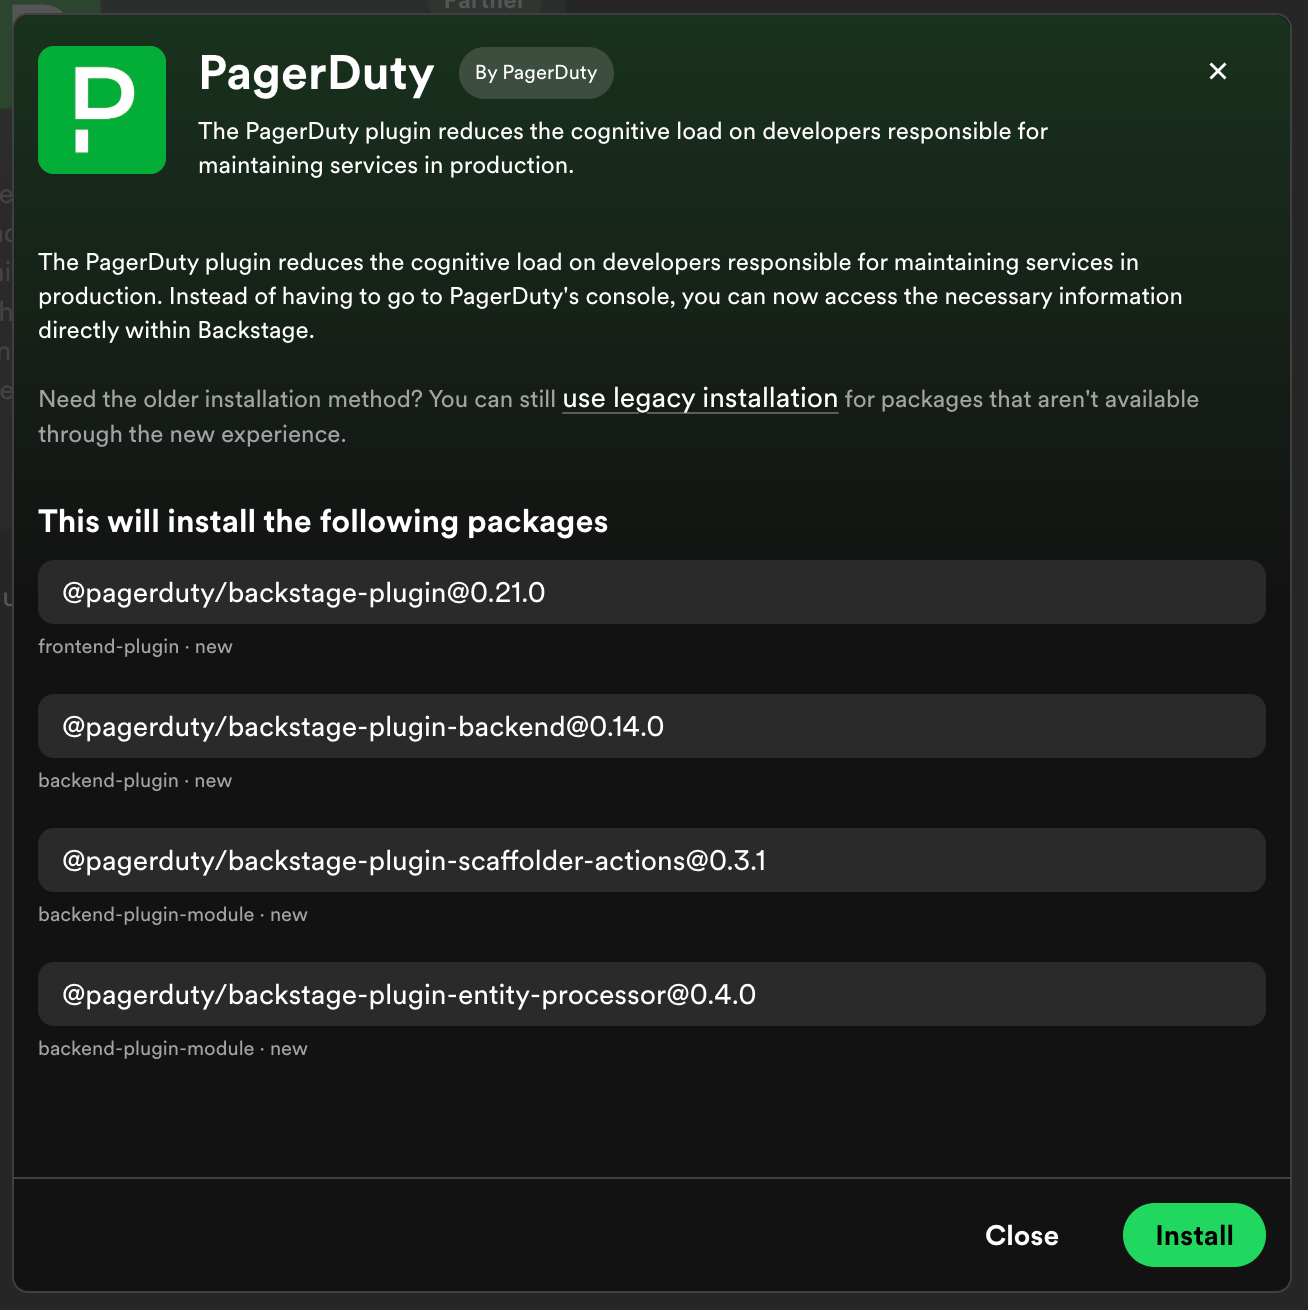
- Shows the exact package versions and feature types for review.
- Downloads and activates the prepared artifacts after you confirm the installation.
If this is your first time installing a plugin, you will be asked to accept a
consent disclaimer acknowledging that installed packages have access to Portal
data and configuration. This prompt only appears once.
Explore recommended plugins
The Explore tab features a curated collection of community and partner plugins. Go to Admin → Plugin Settings → Explore, find the plugin you want to add, and select Install.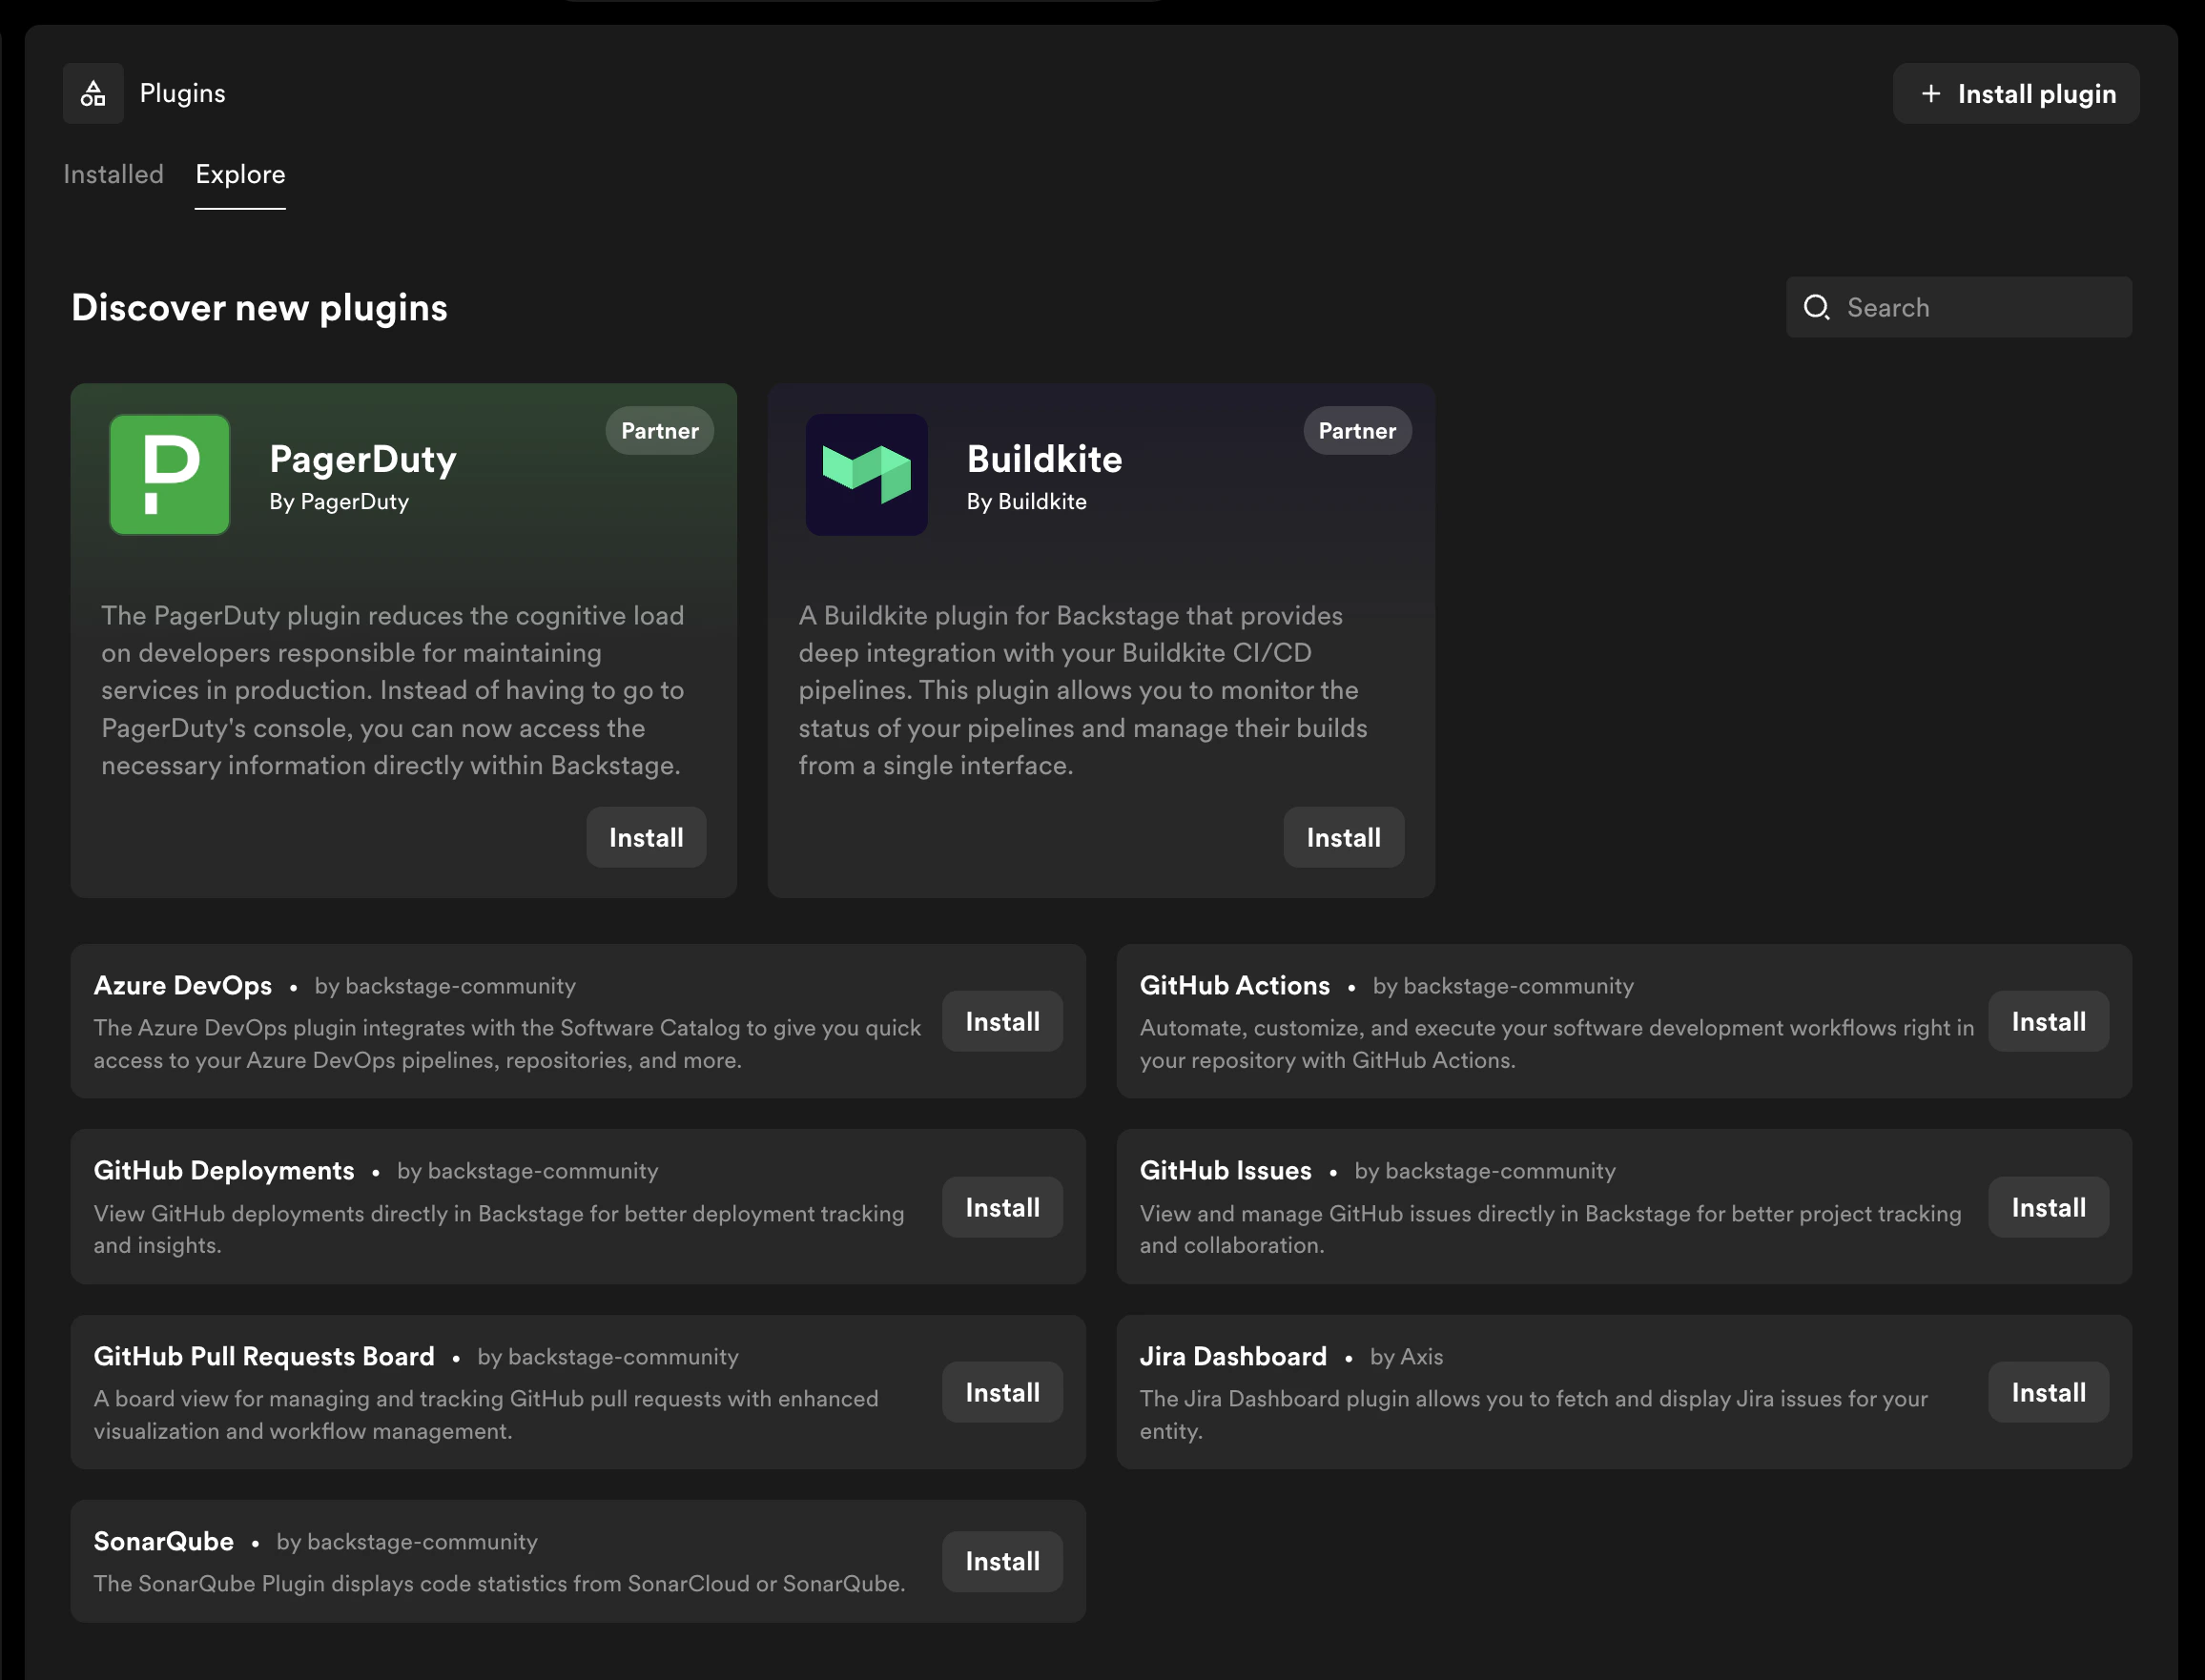
Install a plugin by package name
Use this method for a supported public plugin that is not listed in Explore.- Go to Admin → Plugin Settings and select Add plugin.
- Enter the npm package name. Add each known frontend, backend, or module package on a separate line; Portal can also add related packages during analysis.
- To request a specific stable version, append it to the package name, for example
@backstage/plugin-example@1.2.3. If you omit the version, Portal resolveslatest. See Plugin Versioning for supported versions. - Select Analyze.
- Review the resolved versions, related packages, roles, and any messages. Remove packages you do not want to install.
- If prompted, accept the plugin installation consent, then select Install.
- Configure and test the plugin by following its documentation.
If a plugin is not available
Portal only offers releases that it has discovered and prepared successfully. The installation dialog shows package-specific information when a package or version cannot be used.- Confirm the package name and version against the plugin’s npm page and documentation.
- Read the error details for a compatibility, metadata, dependency, or build problem. The issue is often in that plugin release rather than in your Portal instance.
- Check whether a newer plugin release resolves the problem.
- If your organization maintains the package, publish it as a custom plugin instead.
- If the message does not provide enough information, contact Customer Support. Customer Support can inspect the preparation logs for more detail. Include the package name, requested version, Portal instance, and error message in your request.
Using the previous installer
These instructions apply if your instance does not yet have the Custom Plugins tab, or Portal directs you to the previous installer. See Switching to pre-built plugins for details.- From Plugin Settings, select Add plugin.
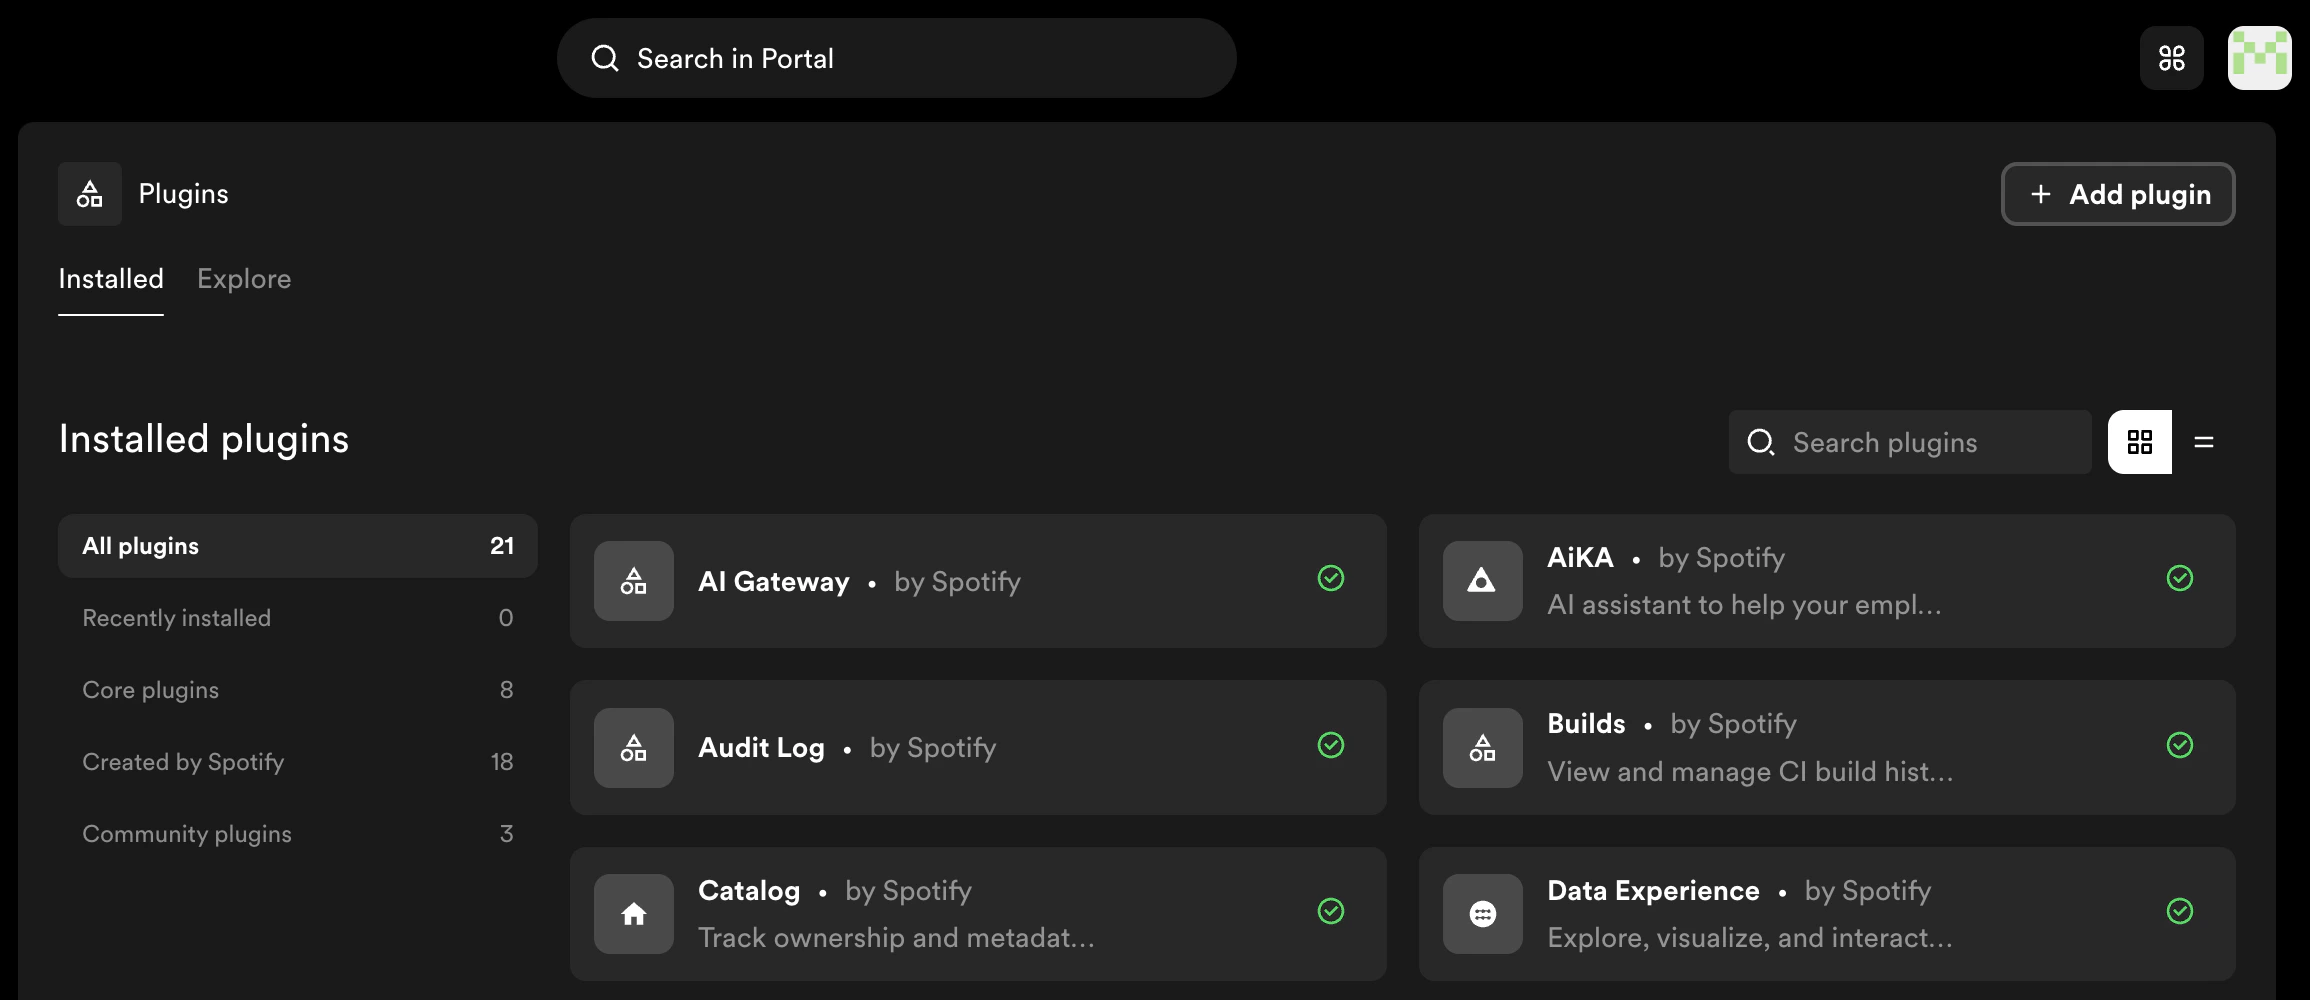
- Enter the npm package name. If the plugin has multiple packages, add each package name on a separate line.
If this is your first time installing a plugin, you will be asked to accept a
consent disclaimer acknowledging that installed packages have access to Portal
data and configuration. This prompt only appears once.
- Select Install to start the build.
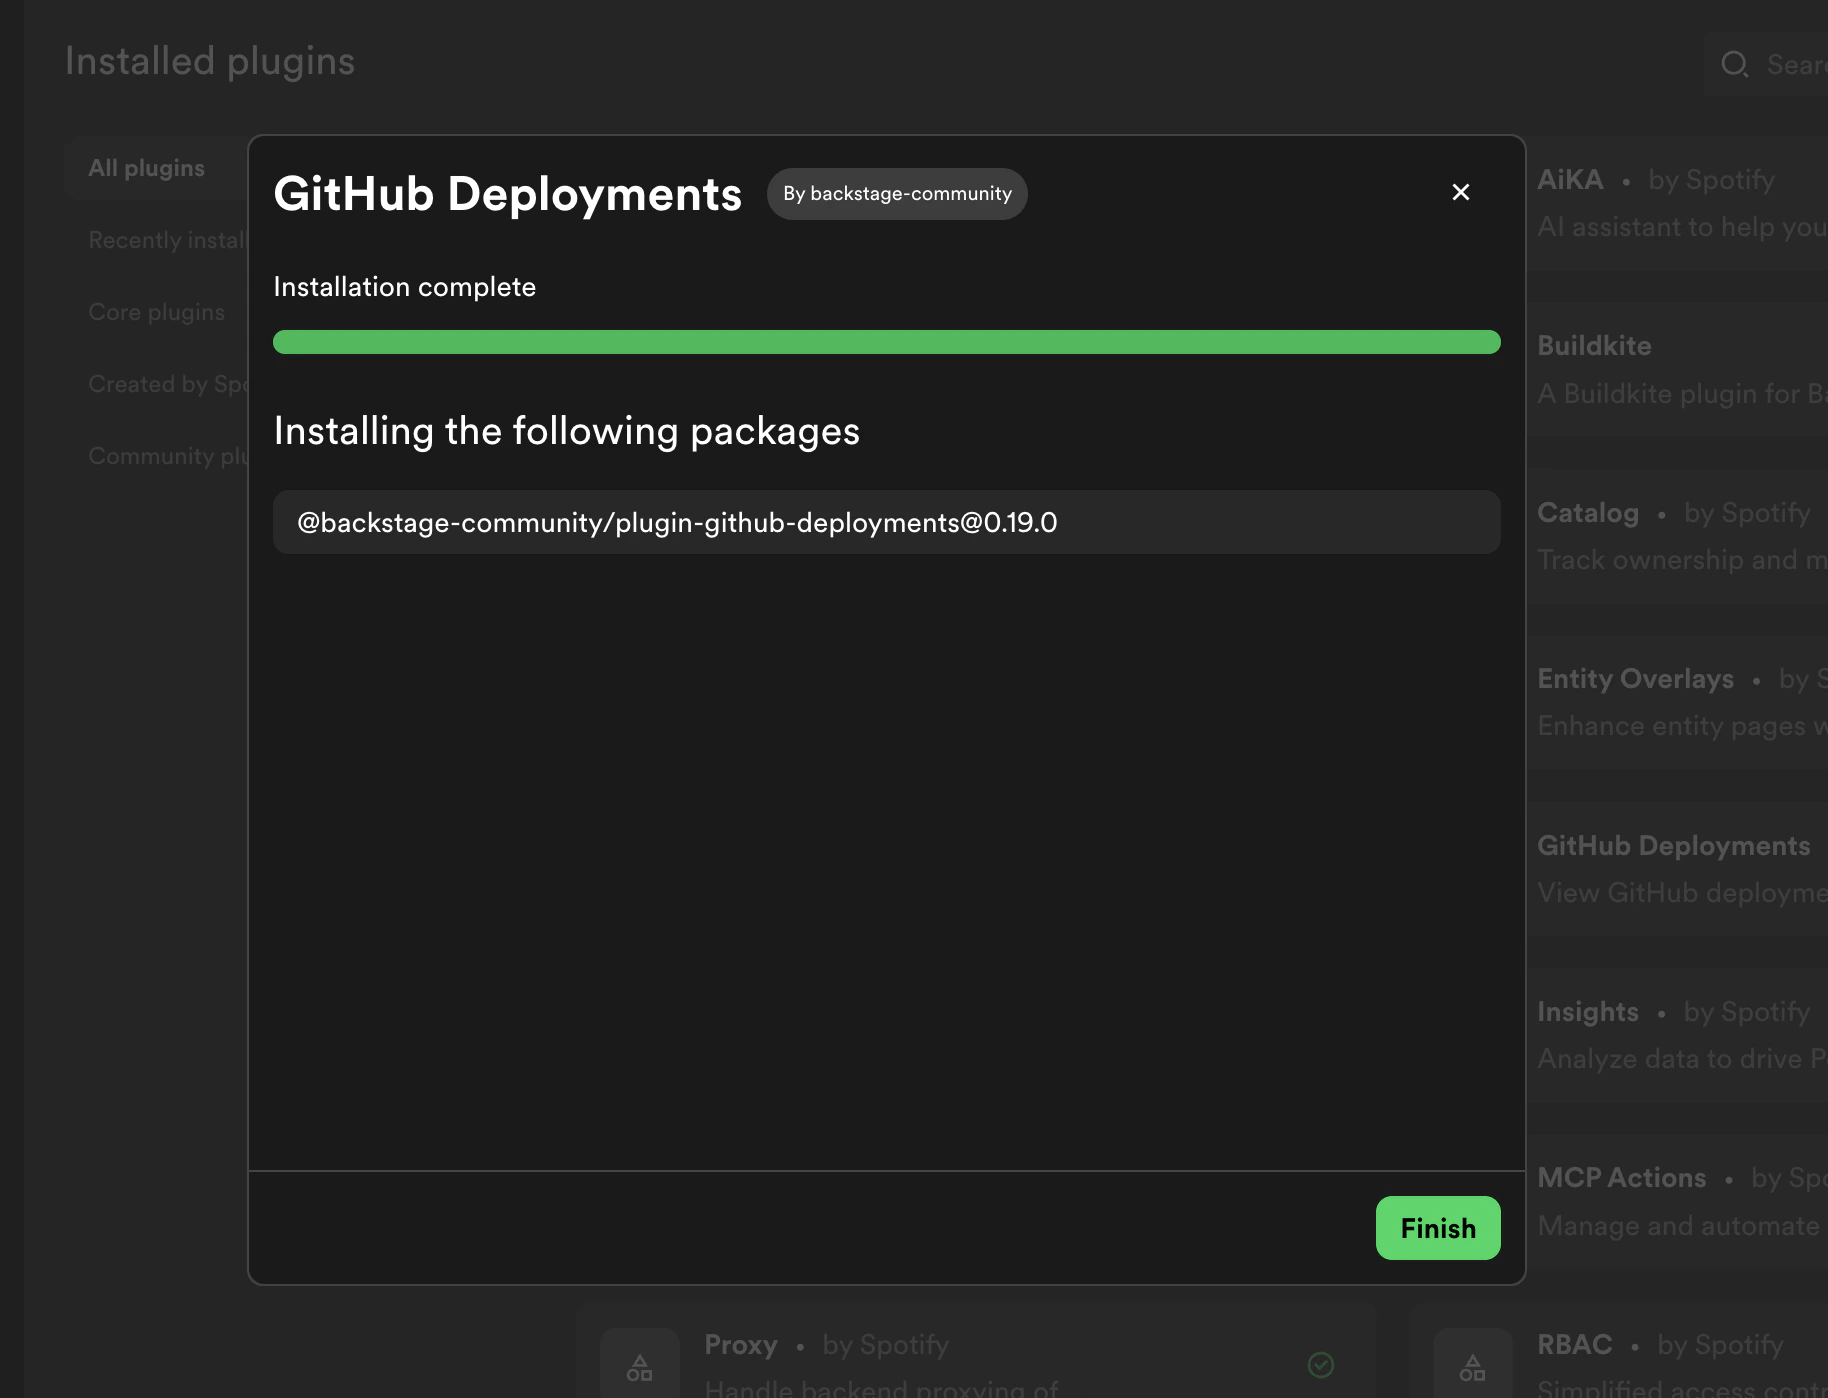
- Monitor the operation in the build dialog. See Build Progress for details.
- When the build completes, select Finish, then configure and test the plugin.
@ followed by the version number to the package name, for example @backstage/plugin-example@1.2.3. If no version is specified, Portal installs the latest stable version. See Plugin Versioning for more details.