Pre-built plugin installation is being rolled out gradually and might not be
available in your instance yet. Look for the Custom Plugins tab under
Admin → Plugin Settings. If the tab is not present, follow the previous
installer instructions. See Switching to
pre-built plugins for rollout details and help moving existing
plugins.
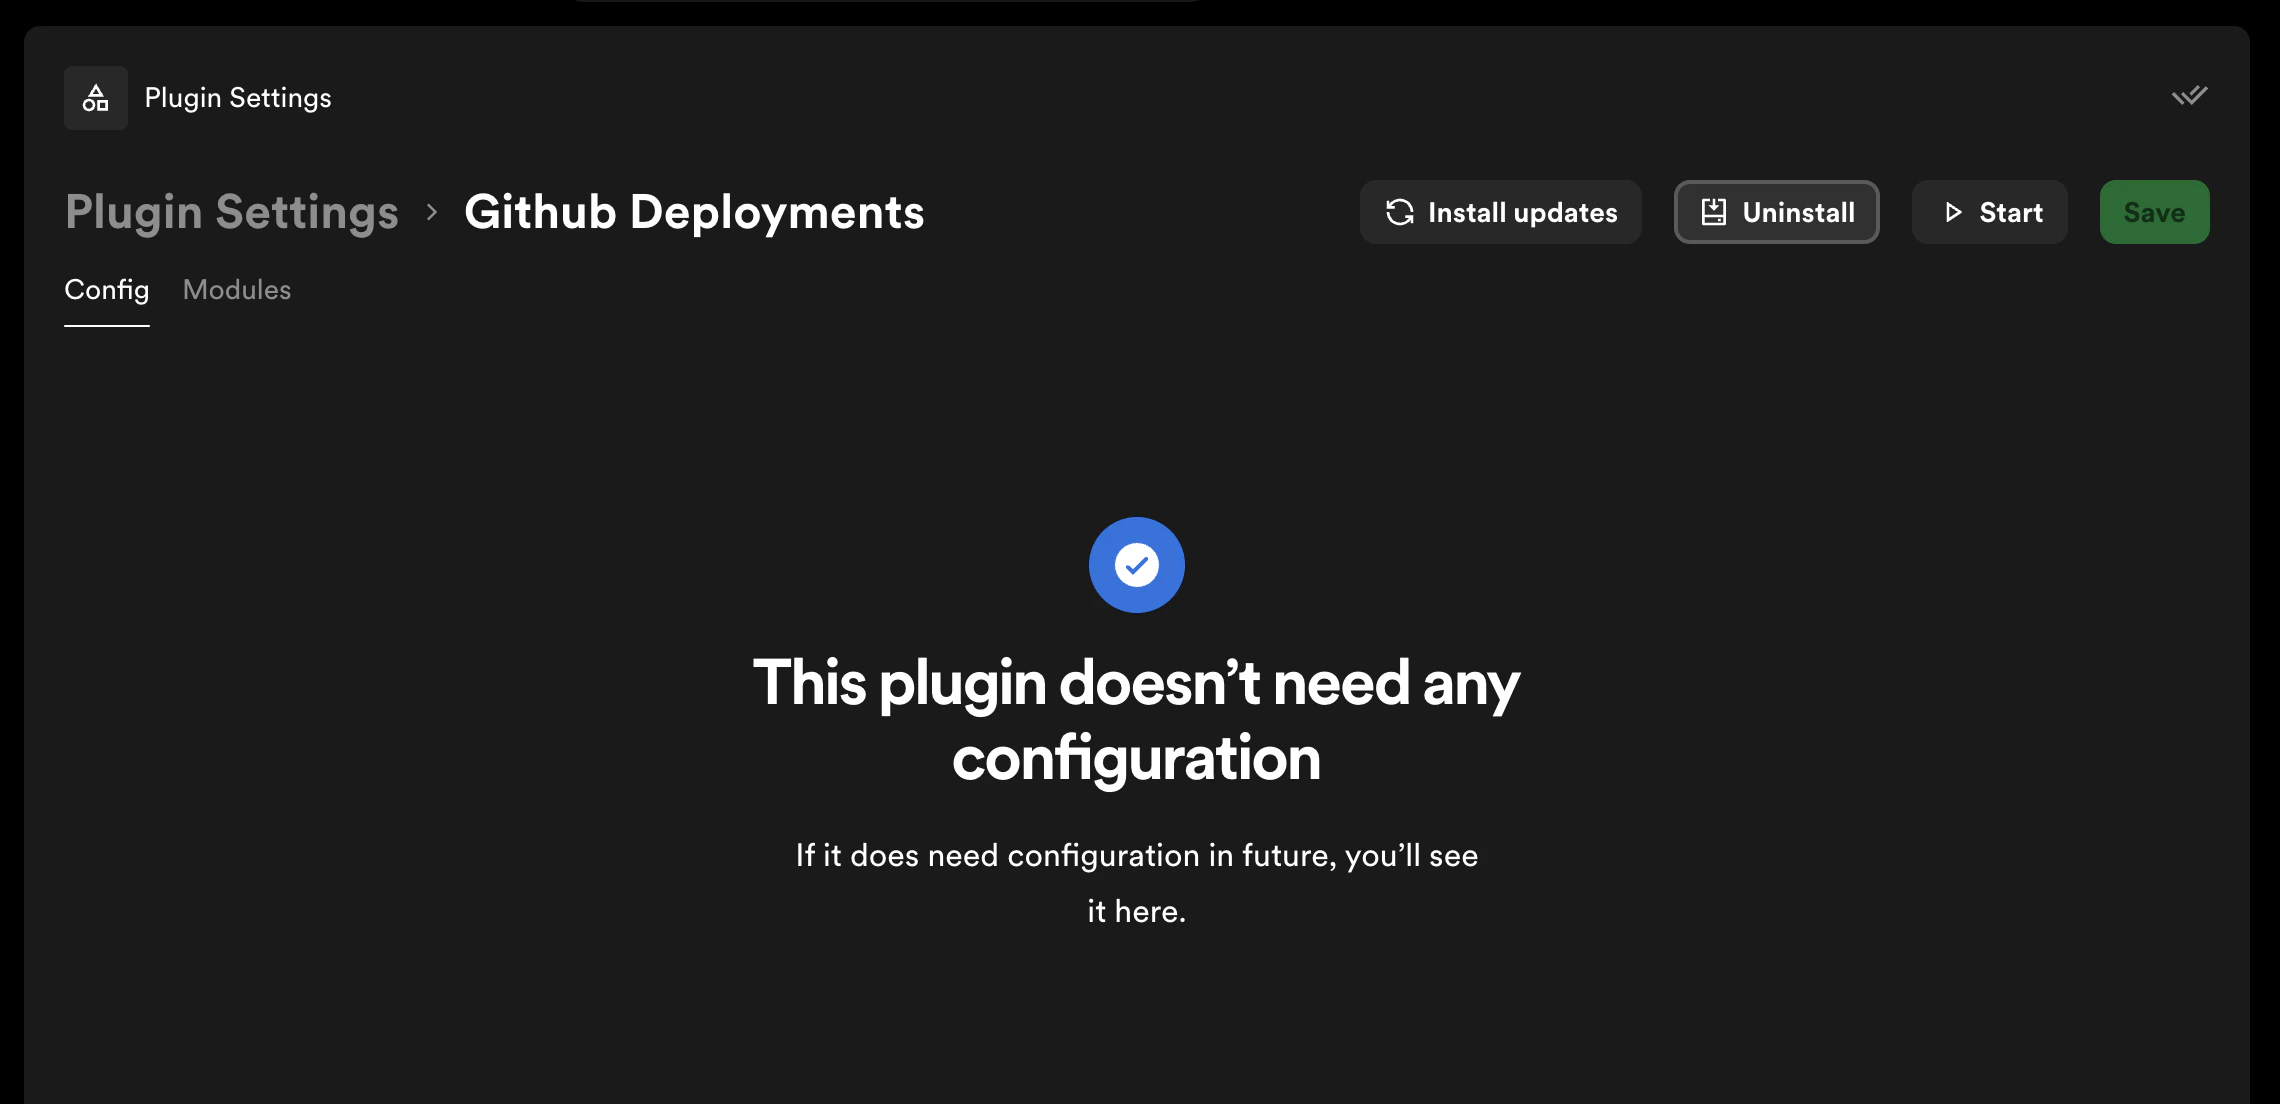
- From Plugin Settings, click on the plugin you want to remove to open its detail page, then click Uninstall
- In the uninstall dialog, review the packages that will be removed
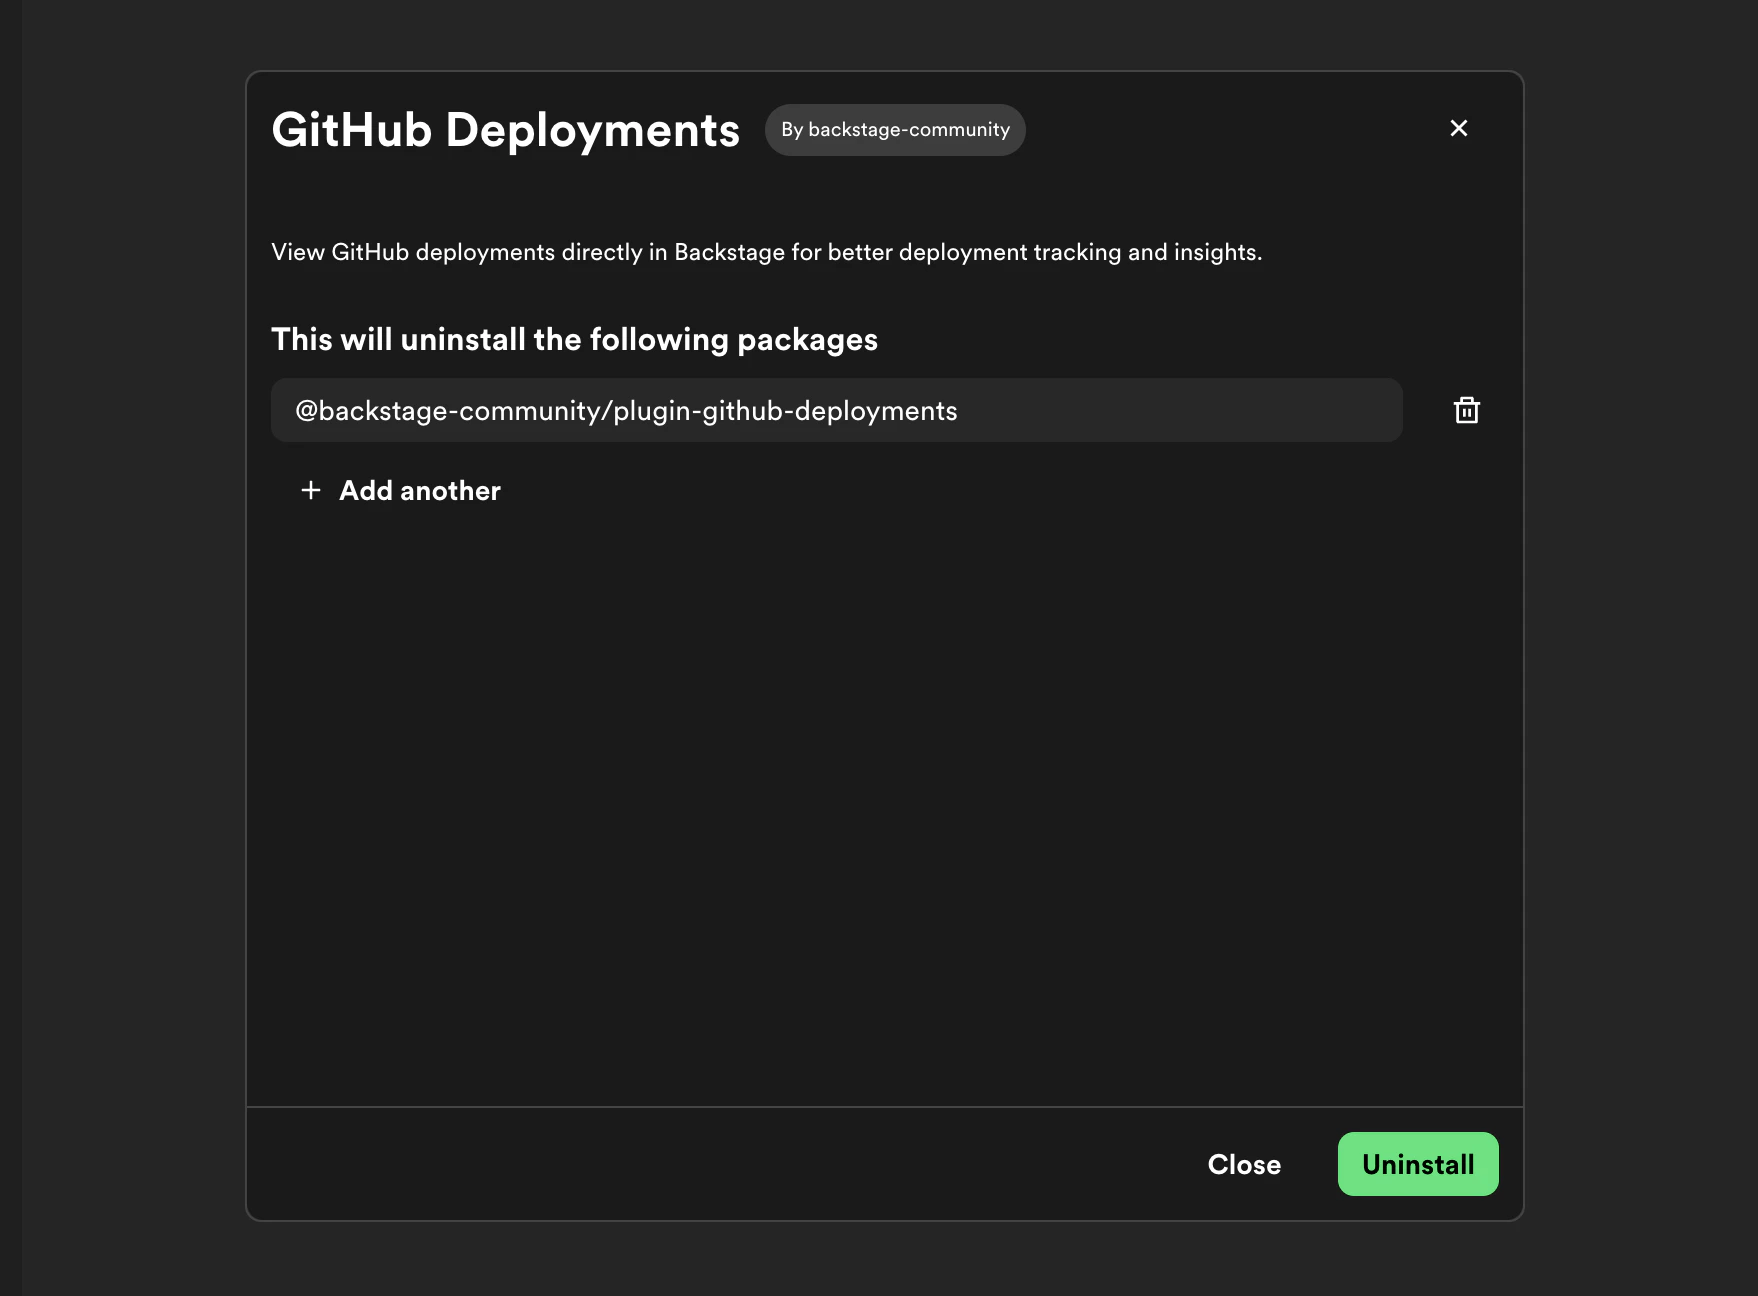
- Click Uninstall to confirm and begin the removal
- Portal removes the packages and closes the dialog when the operation succeeds.
Using the previous installer
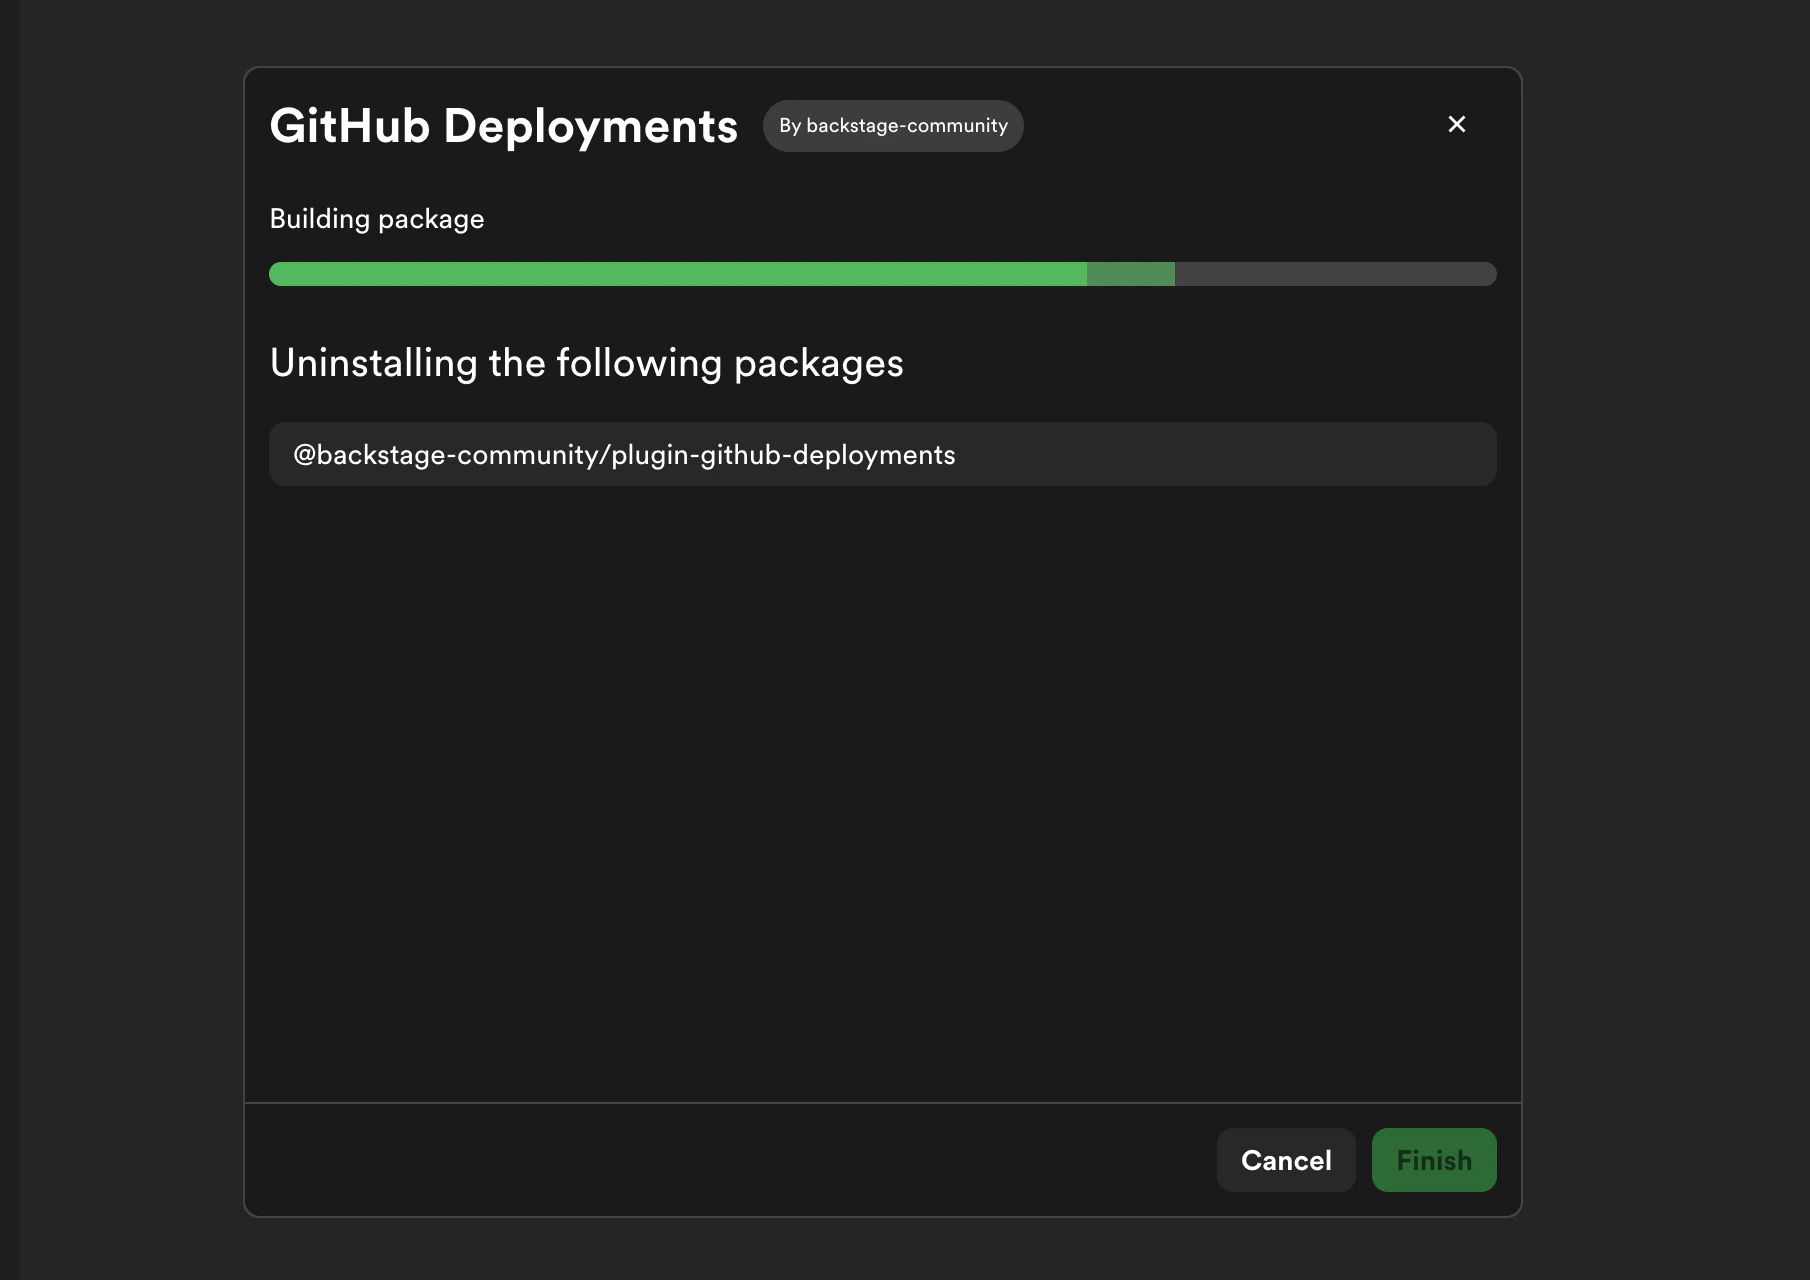
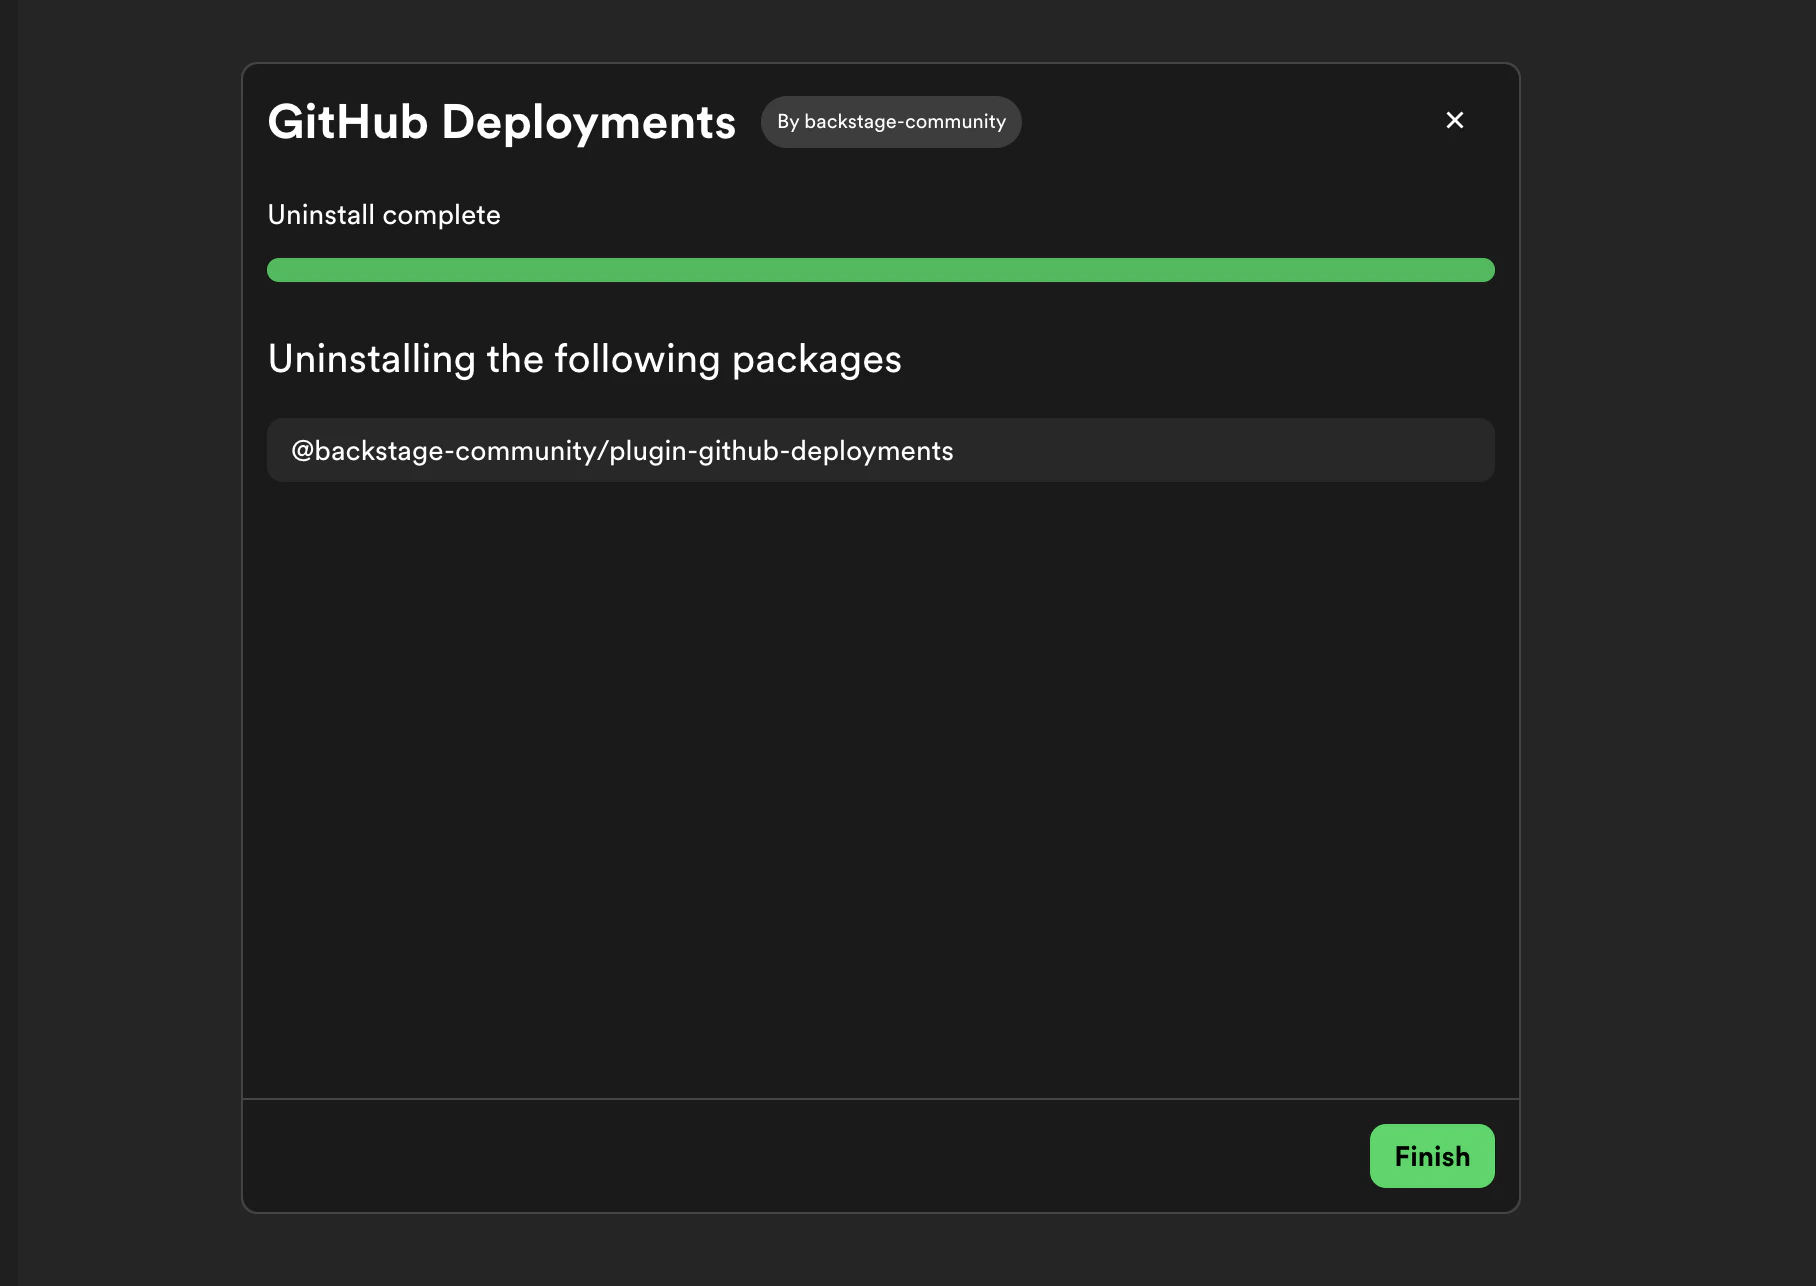
For packages installed with the previous installer, use the same uninstall controls above. After you select Uninstall, Portal starts a build. When the build completes successfully, select Finish to return to Plugin Settings.