Overview
This step will guide you through the process of installing the Azure DevOps plugin which will add a tab to show Pipeline results, Pull Requests, and Git Tags. It will also add a card to the Overview tab showing theREADME file from the related repo.
For more details checkout the Azure DevOps Plugin documentation
Step Checklist
This is the fourth (4) step in this guide, once completed you can move onto the next step.- Setup the Azure integration in App Settings
- Setup Azure DevOps Discovery
- Install the Azure DevOps Annotator Processor
- Install the Azure DevOps plugin
- Install the Azure DevOps scaffolder actions
- Install the Azure DevOps Wiki collator
Walkthrough
Here’s how to install the Azure DevOps plugin:- Navigate to Plugins and click the ”+ Install plugin” button
- In the text box that says “Package name” paste in
@backstage-community/plugin-azure-devops - Then check the “I accept that packages installed have access to all data and configuration in Portal.” box and click the “Install” button
- Once it’s done the installation process you can click on the “Finish” button
- You’ll now find yourself back at the main Plugins screen, from here on the Azure DevOps cards click the “View” button
- The configuration needed for this plugin is optional and we don’t recommend providing any here as it will use the details from Step 1 where we setup the Azure integration. We do need to get it running, click the “Start” button to do that
- In the top right you’ll see a pulsing message “Applying new configuration…” as the settings get saved
- The message will then change to “New configuration applied successfully.” with a Reload button, click it to reload the configuration
- You now have the Azure DevOps Plugin installed and running!
Features
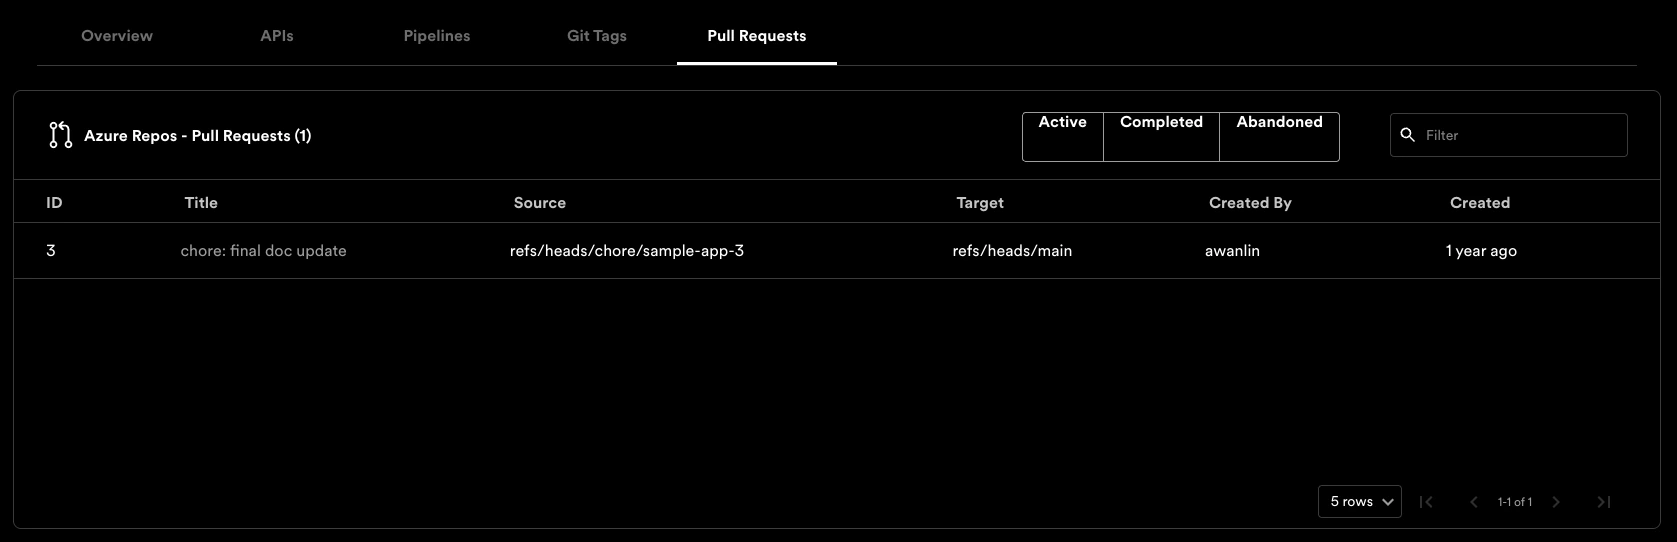
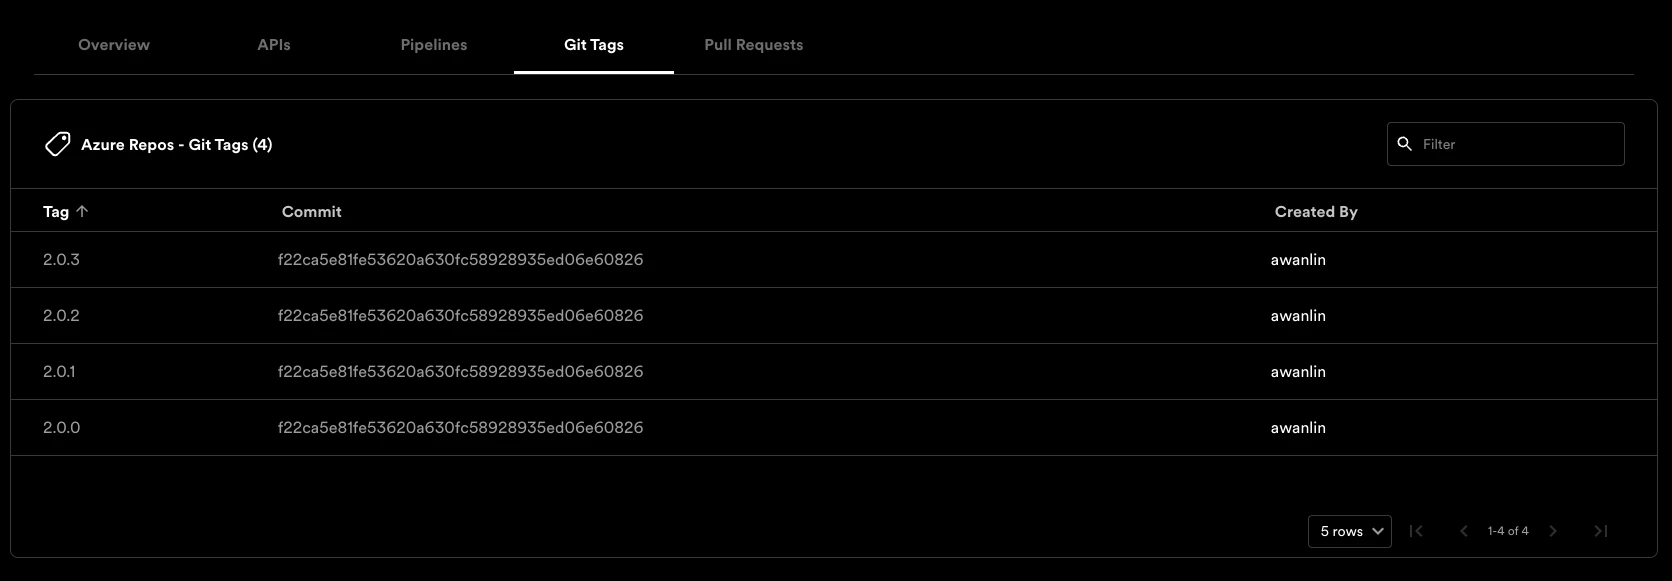
Here’s an example of the Pipeline tab: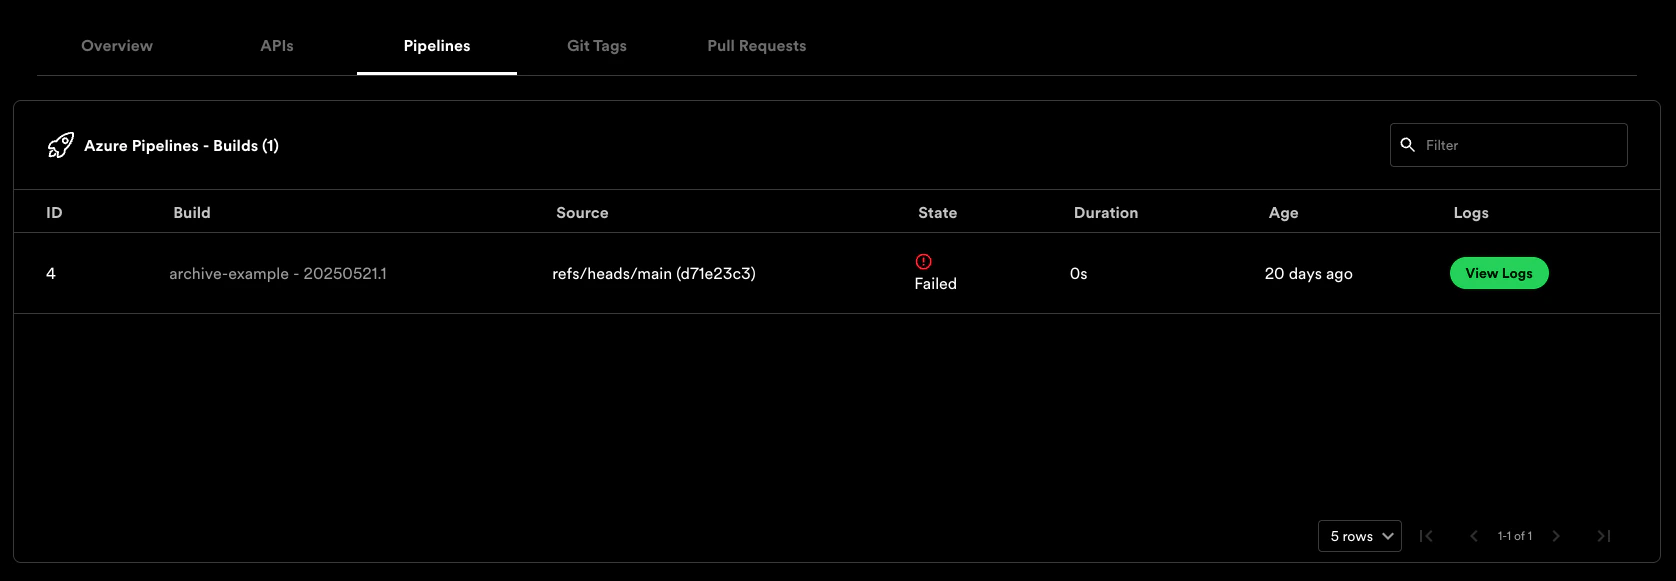
README card is like this:
