Scaffolder
Overview
The Software Templates or Scaffolder is a tool that can help you create Components inside Portal. By default, it has the ability to load skeletons of code, template in some variables, and then publish the result to GitHub.
Portal currently does not come with any default software templates. So when you enable Scaffolder through Setup Guide, you will see an empty page to start with. However, we highly encourage you to create your own templates based on the standards in your organization to help your users create software components faster.
Adding new templates
Templates are stored in the Software Catalog under the kind Template. The minimum that is needed to define a template is a template.yaml file,
but it's also beneficial to include files that can serve as a starting point for the new component created, e.g. markdown files, code files or configuration files.
Follow the instructions below to add your first software template.
- Create a new template definition file
my-template.yaml.
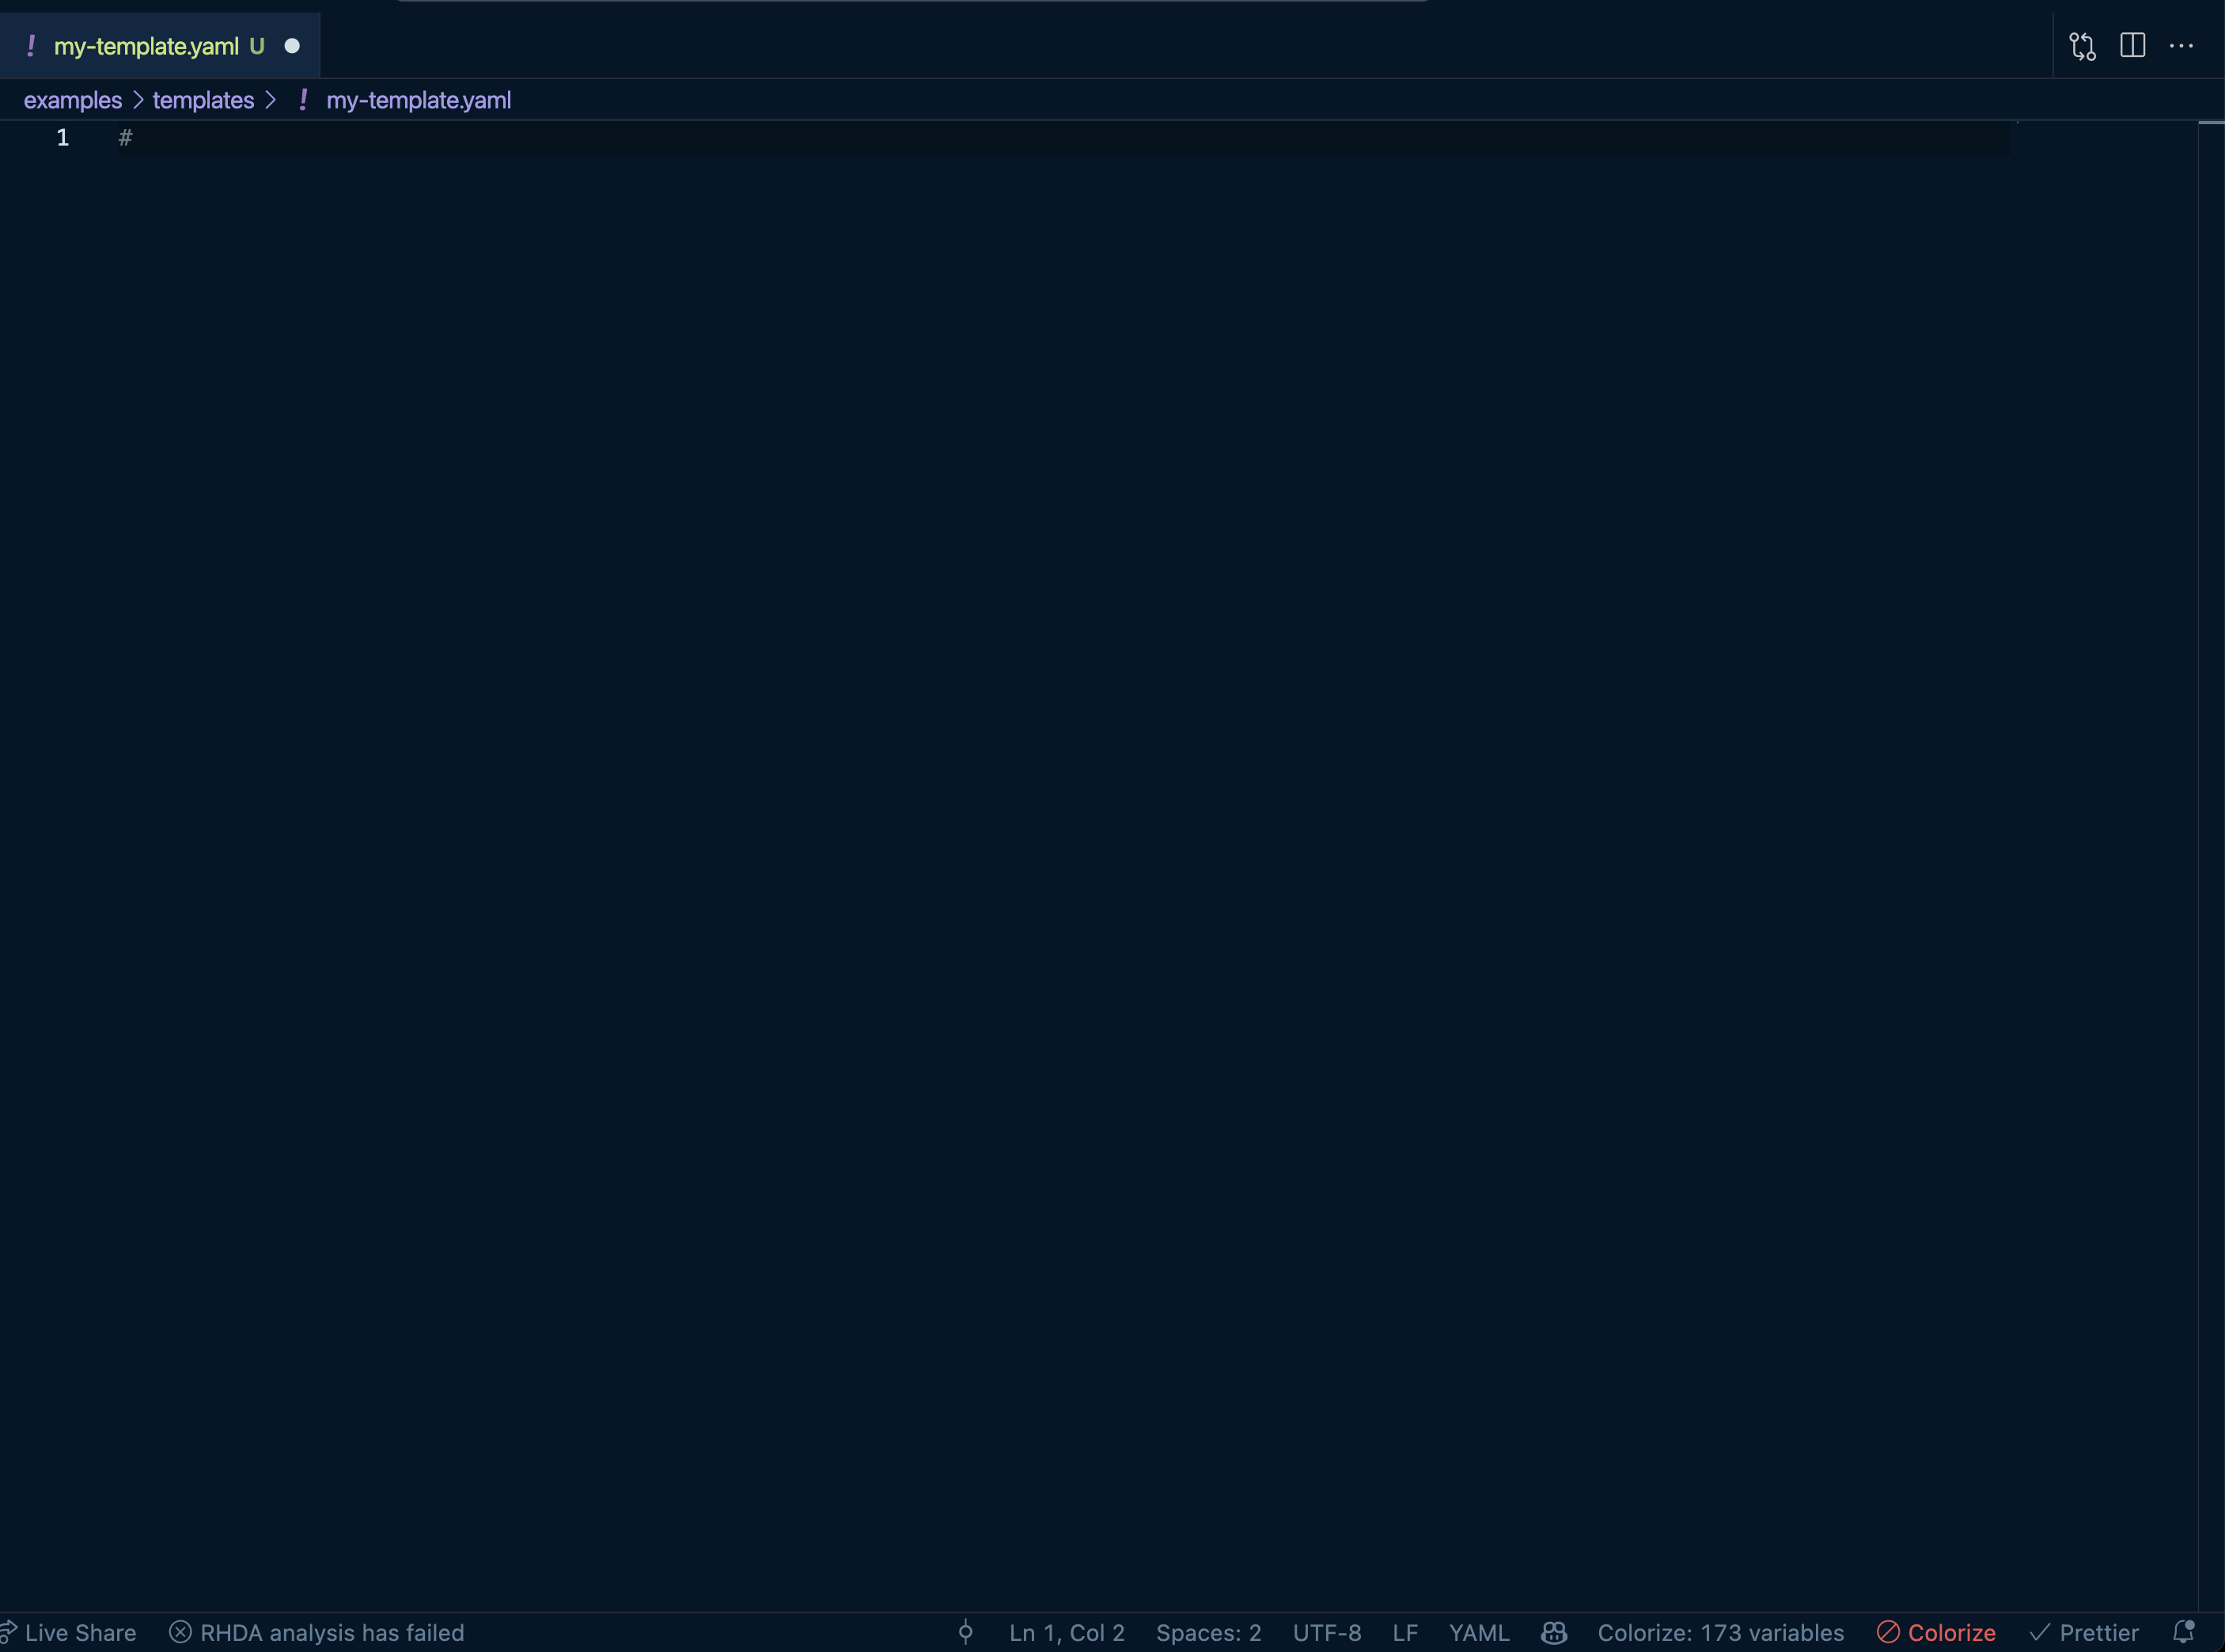
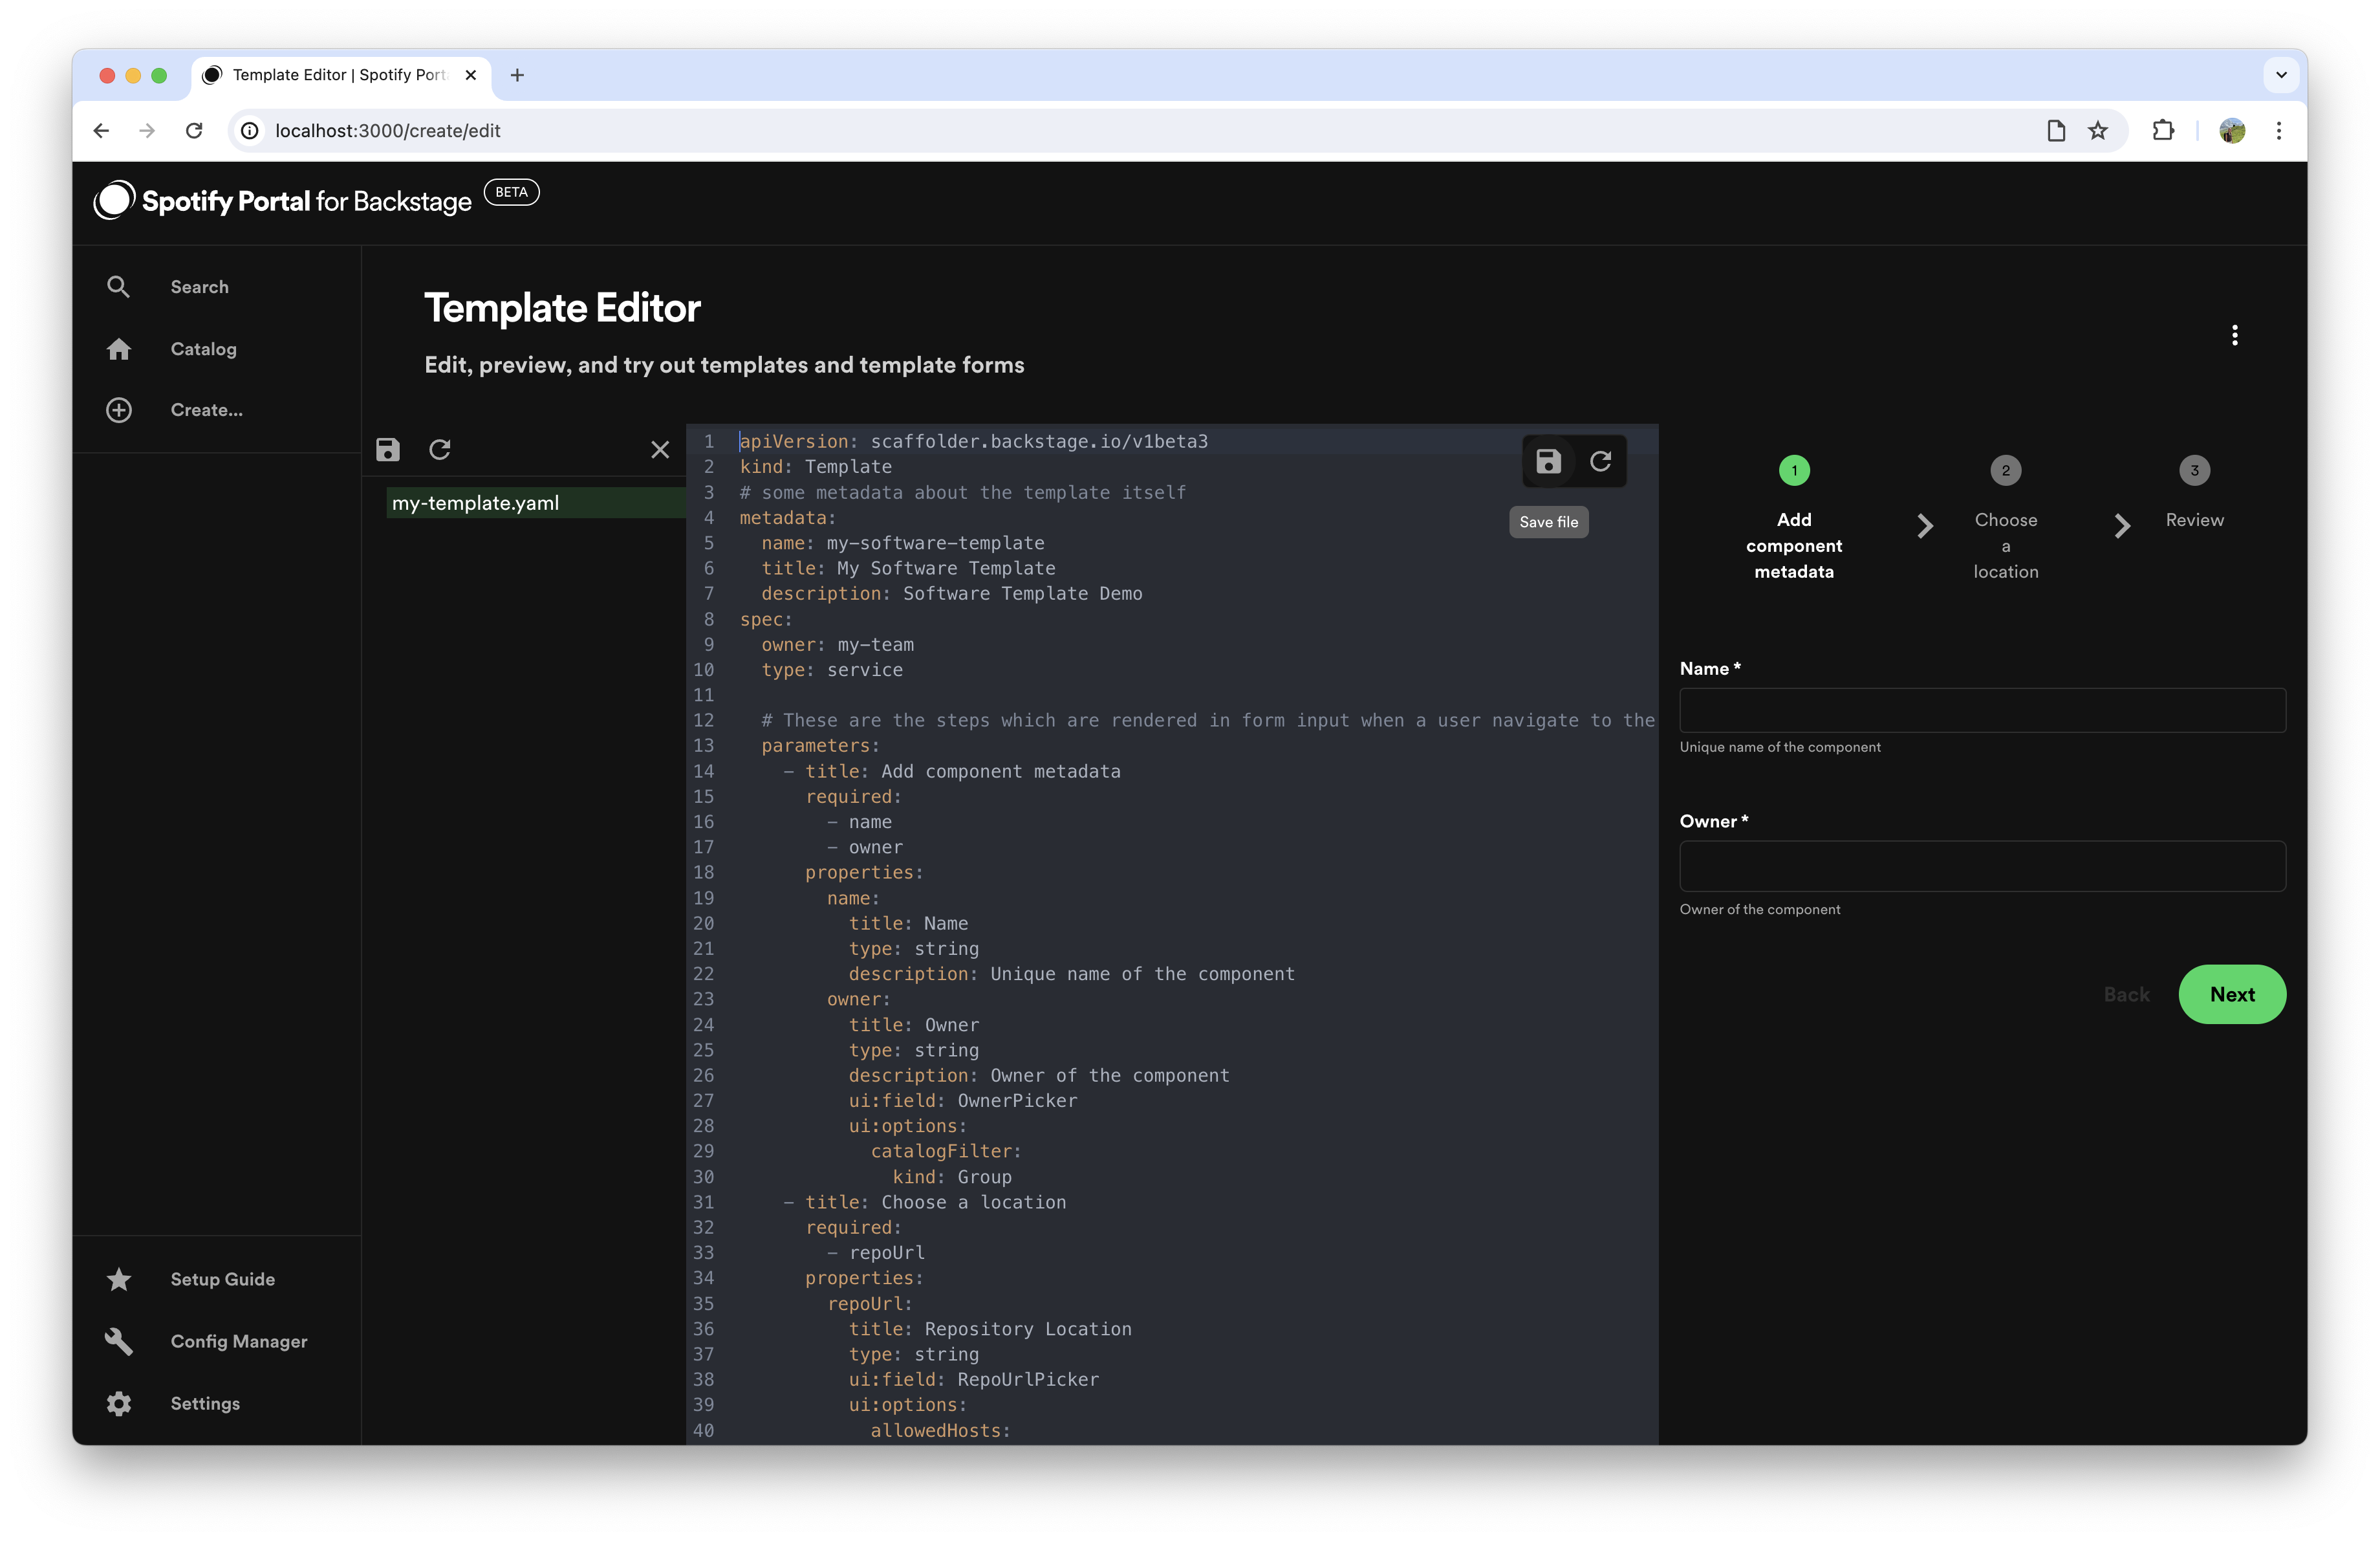
- Open your new empty template definition file using the Template Editor at
/create/edit
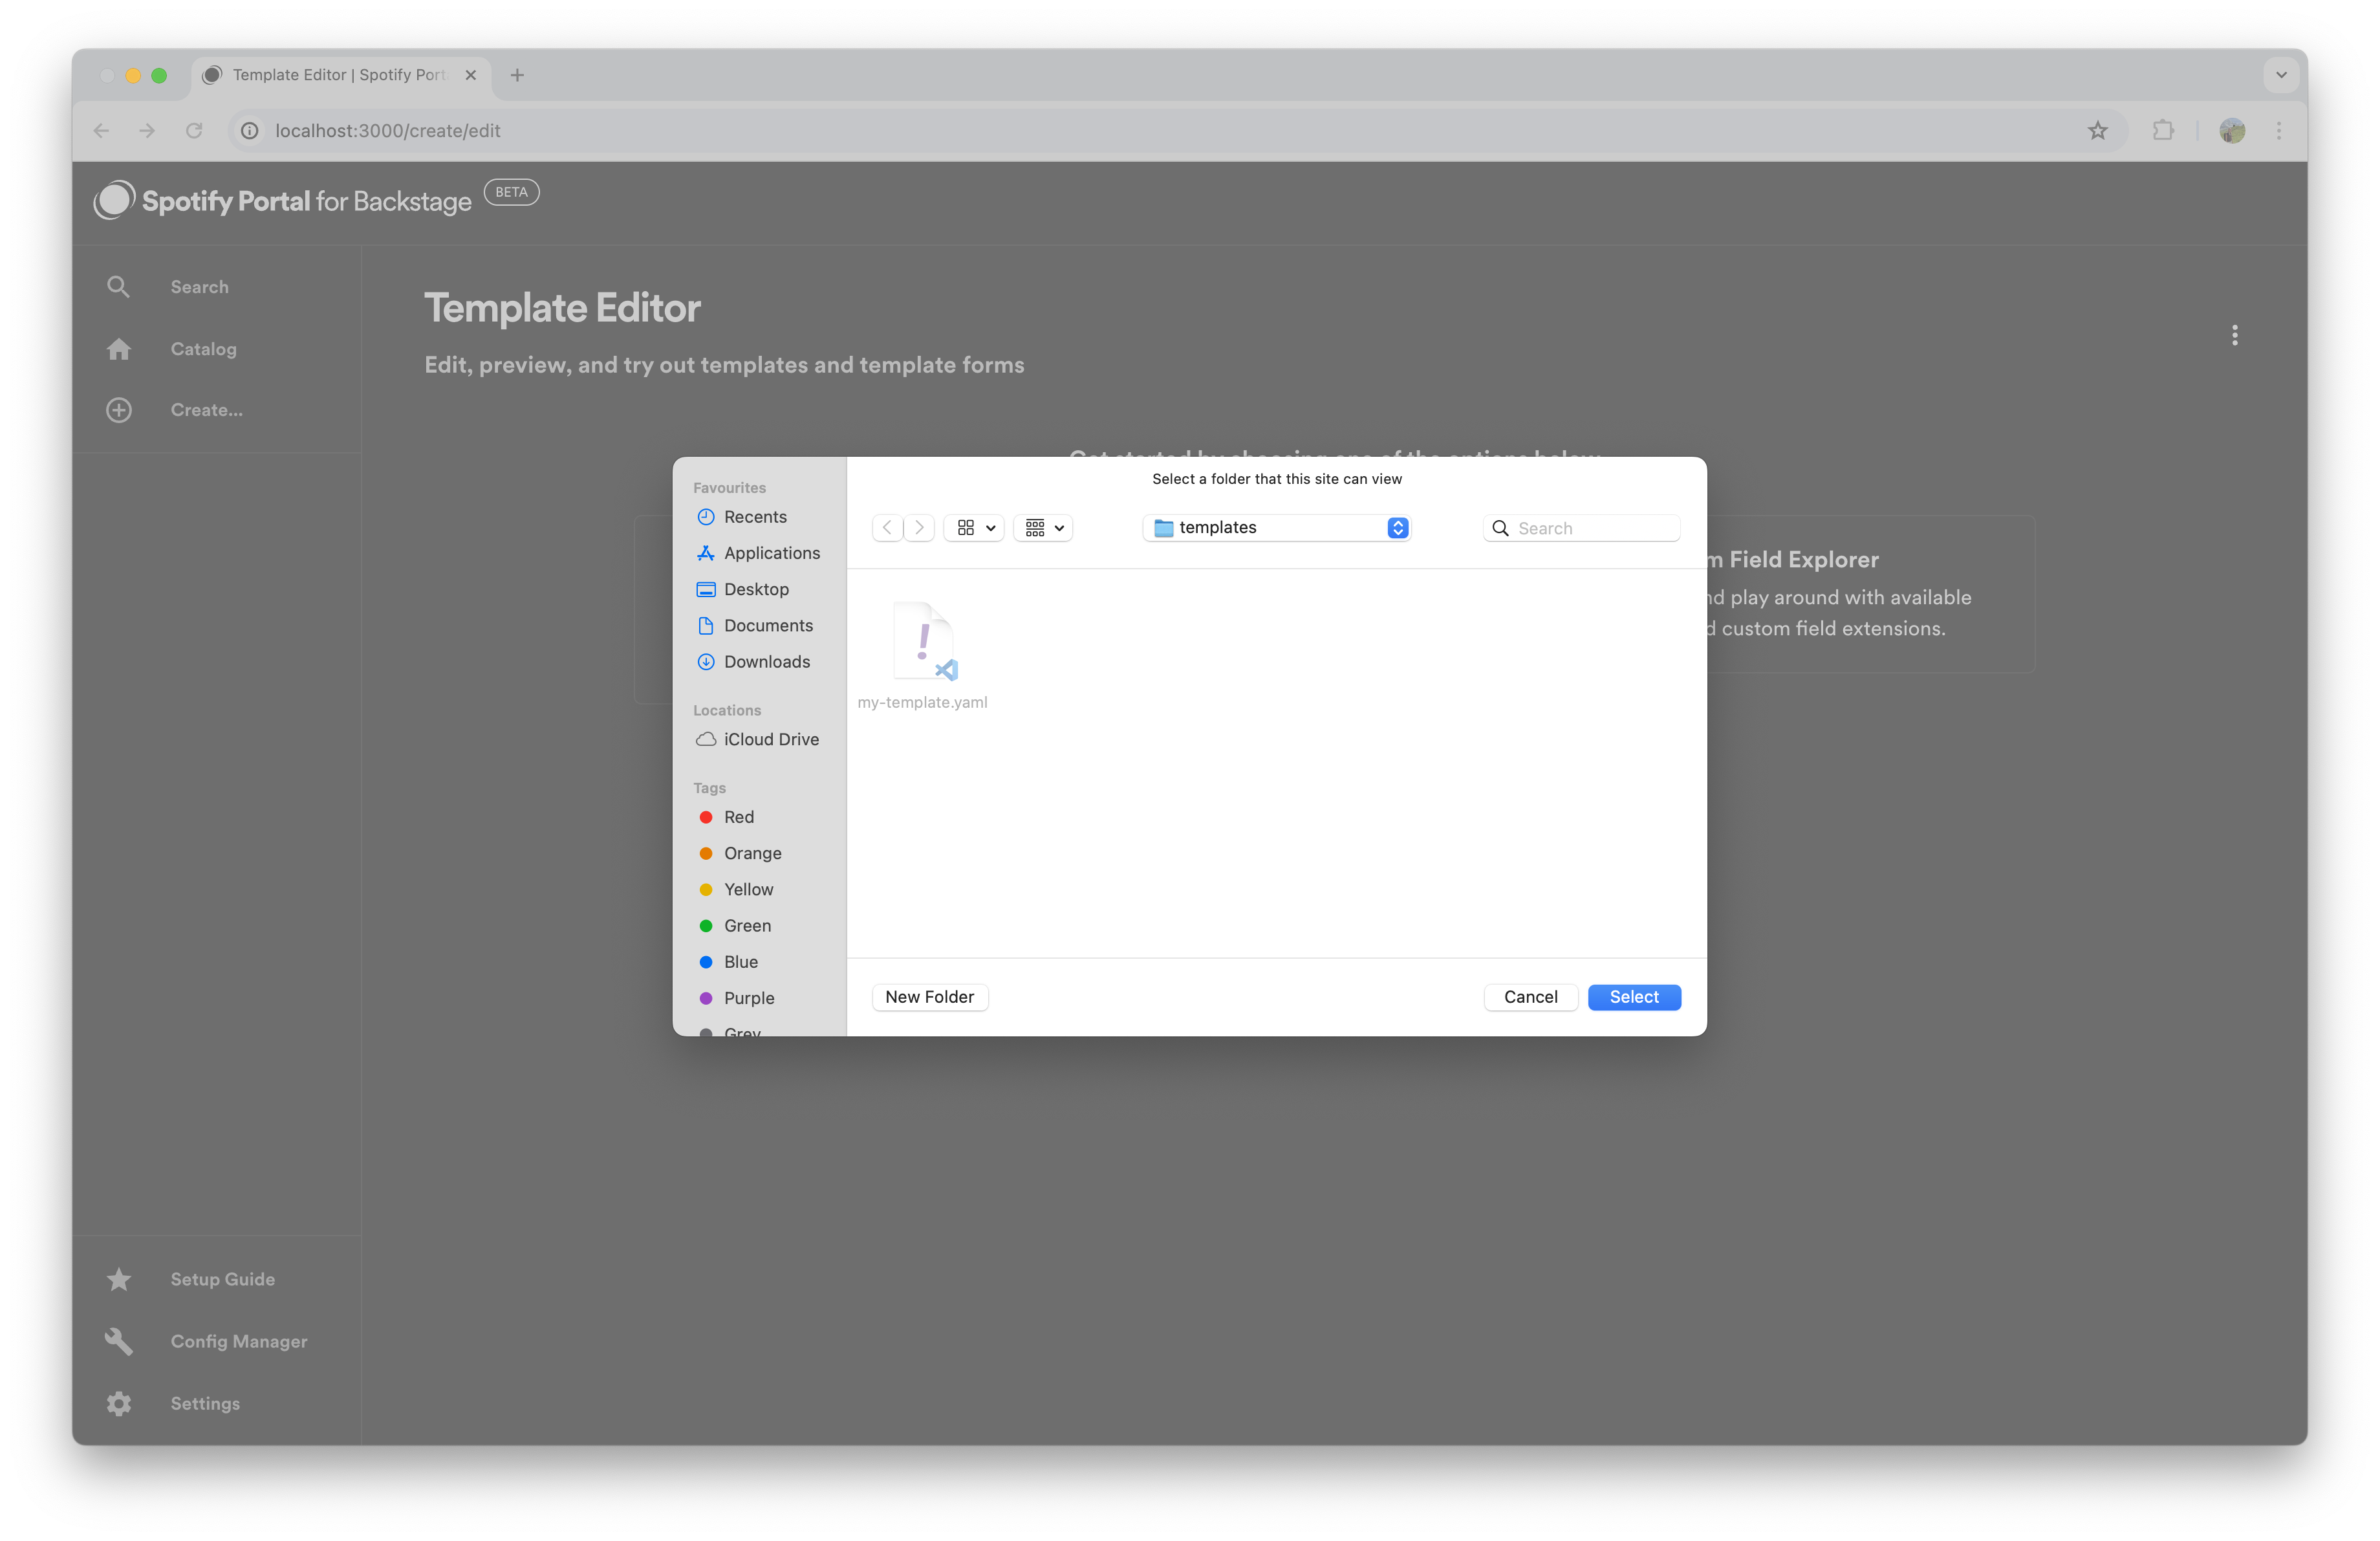
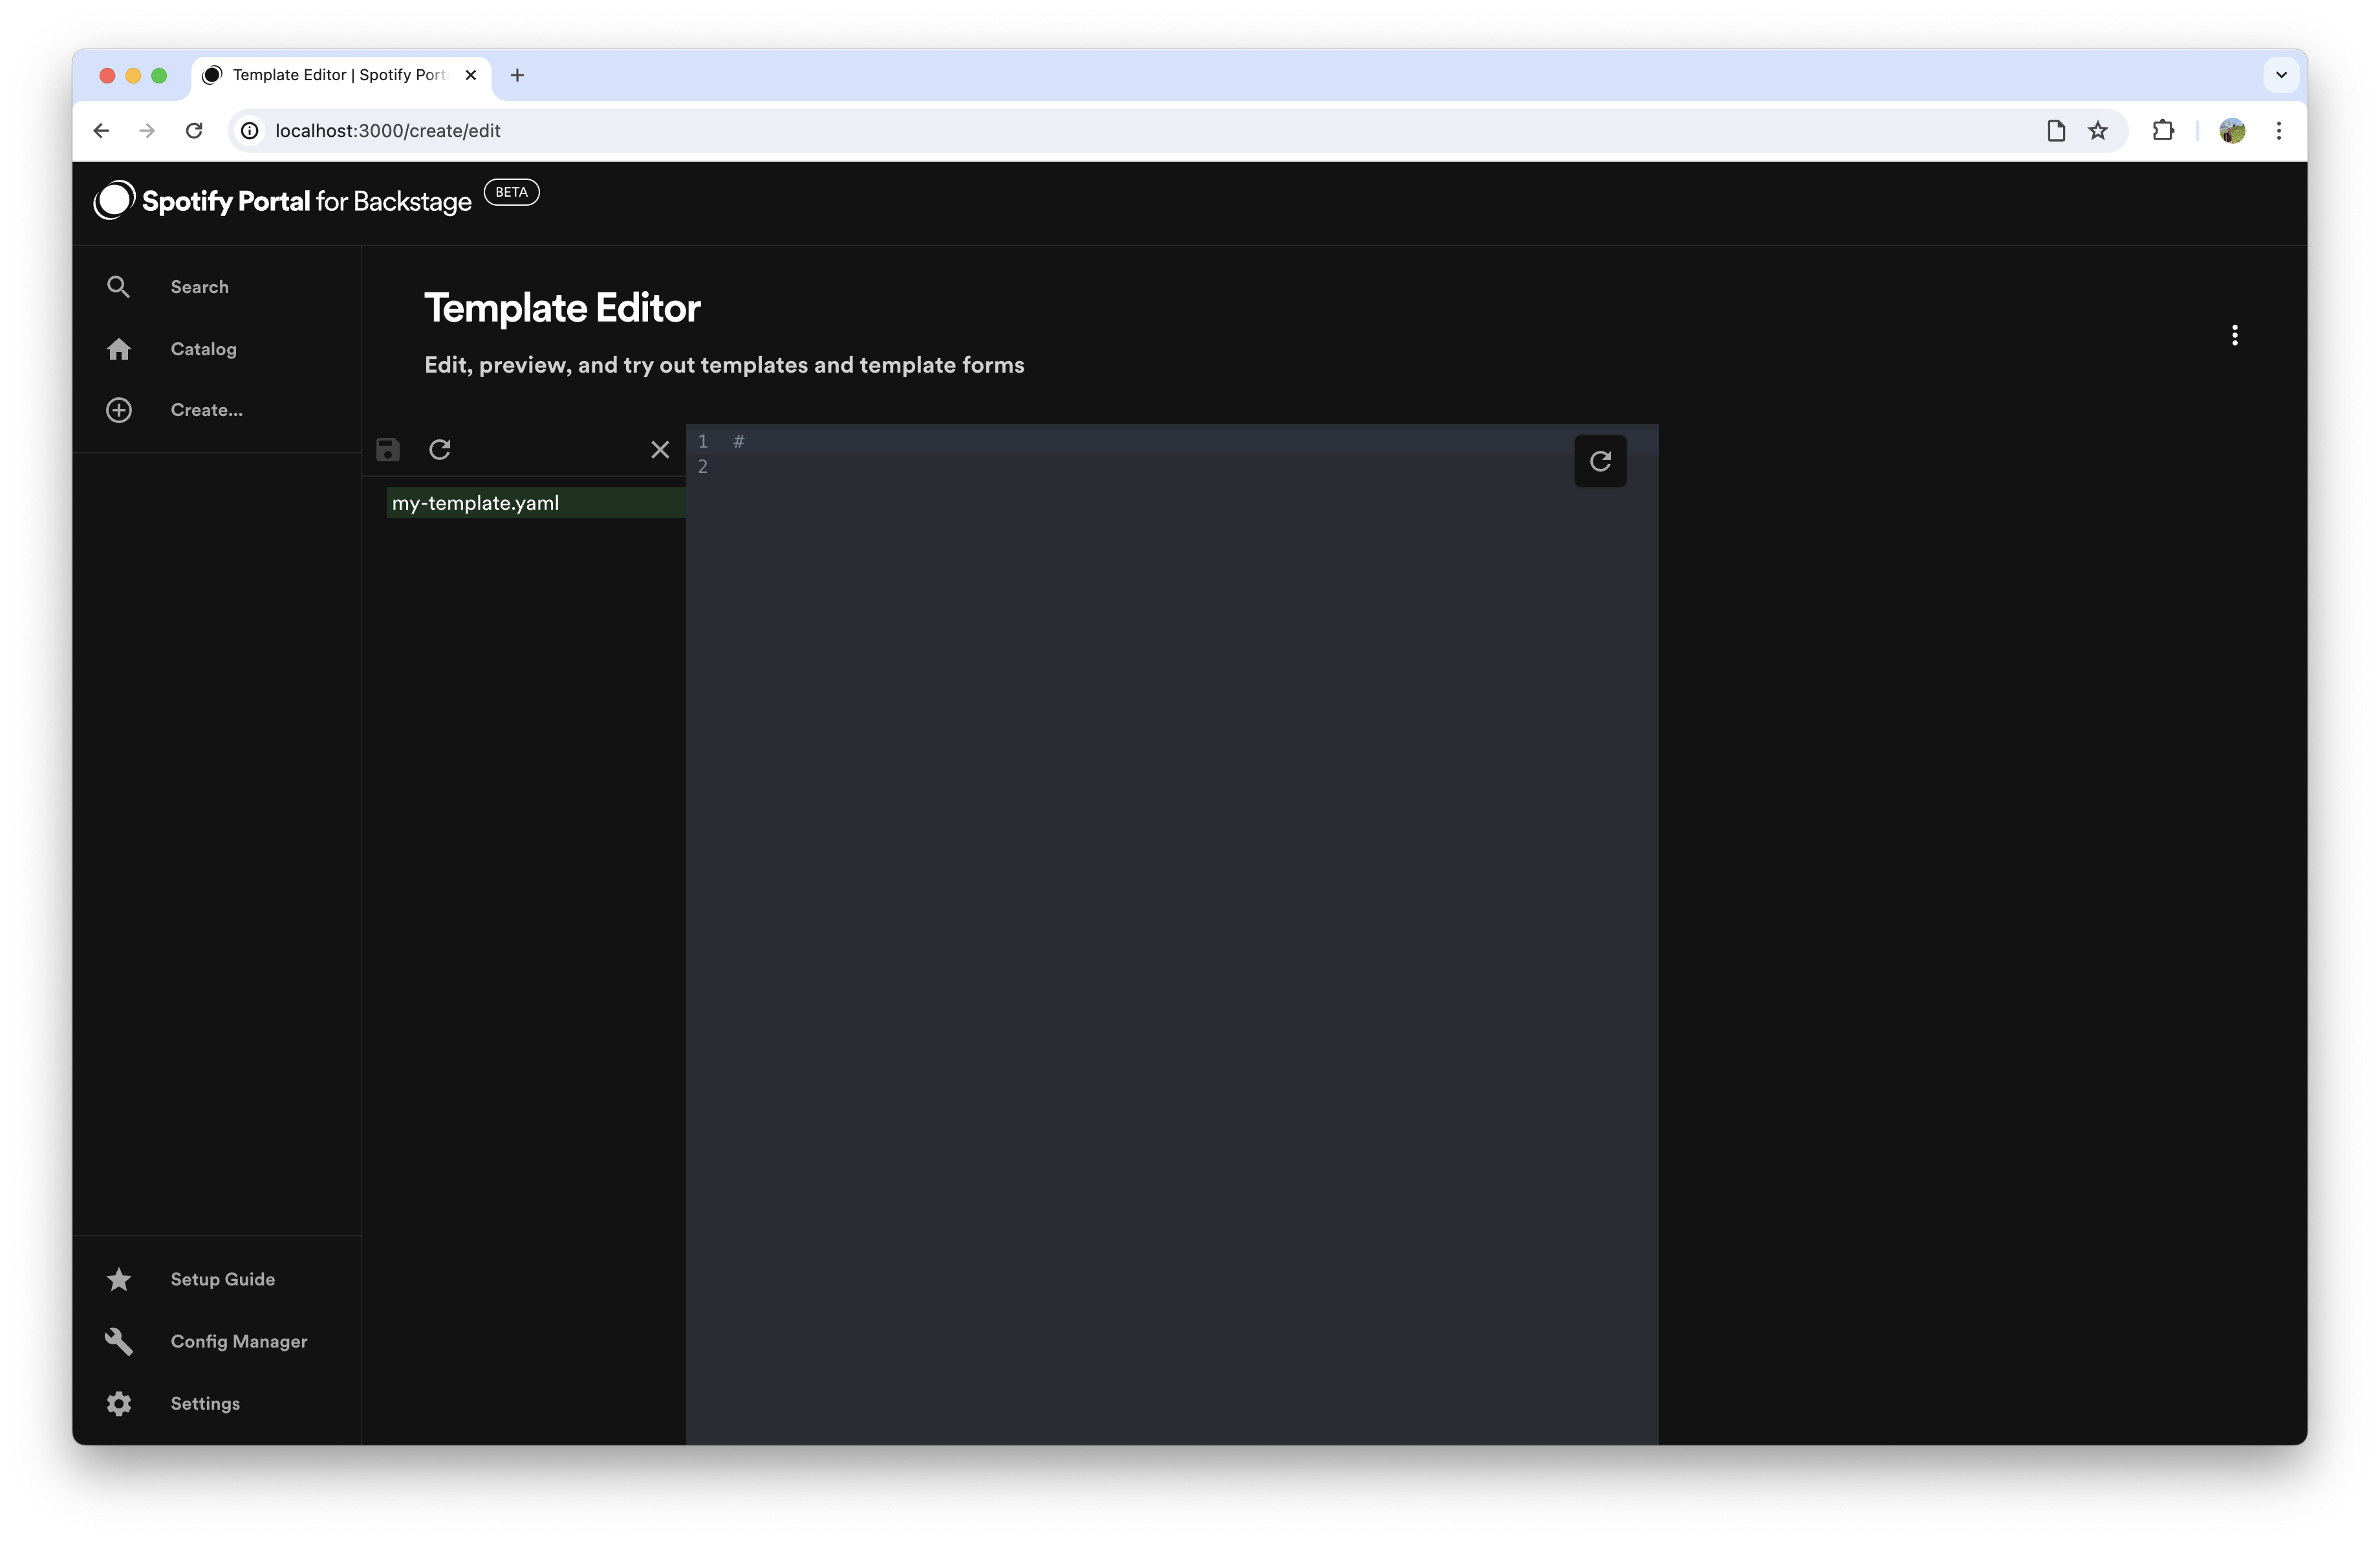
- Edit your template with the following example, you should now be able to see your steps defined in the preview screen to the right of the screen
Make sure to update the first step below to point to a location where you have put content you want to add to your template.
apiVersion: scaffolder.backstage.io/v1beta3
kind: Template
# some metadata about the template itself
metadata:
  name: my-software-template
  title: My Software Template
  description: Software Template Demo
spec:
  owner: my-team
  type: service

  # These are the steps which are rendered in form input when a user navigates to the software template
  parameters:
    - title: Add component metadata
      required:
        - name
        - owner
      properties:
        name:
          title: Name
          type: string
          description: Unique name of the component
        owner:
          title: Owner
          type: string
          description: Owner of the component
          ui:field: OwnerPicker
          ui:options:
            catalogFilter:
              kind: Group
    - title: Choose a location
      required:
        - repoUrl
      properties:
        repoUrl:
          title: Repository Location
          type: string
          ui:field: RepoUrlPicker
          ui:options:
            requestUserCredentials:
              secretsKey: USER_OAUTH_TOKEN
            allowedHosts:
              - github.com

  # here are the steps that are executed in series in the scaffolder backend
  steps:
    # Downloads single file and places it in the workspace.
    - id: fetch-base
      name: Fetch Base
      action: fetch:template
      input:
        # ℹ️ This should to be changed to a location where you have content you want to add to your template ℹ️
        url: https://github.com/emmaindal/test-template/tree/main
        values:
          name: ${{ parameters.name }}
          owner: ${{ parameters.owner }}

    - id: publish
      name: Publish
      action: publish:github
      input:
        allowedHosts: ['github.com']
        description: This is ${{ parameters.name }}
        repoUrl: ${{ parameters.repoUrl }}

    - id: register
      name: Register
      action: catalog:register
      input:
        repoContentsUrl: ${{ steps['publish'].output.repoContentsUrl }}
        catalogInfoPath: '/catalog-info.yaml'
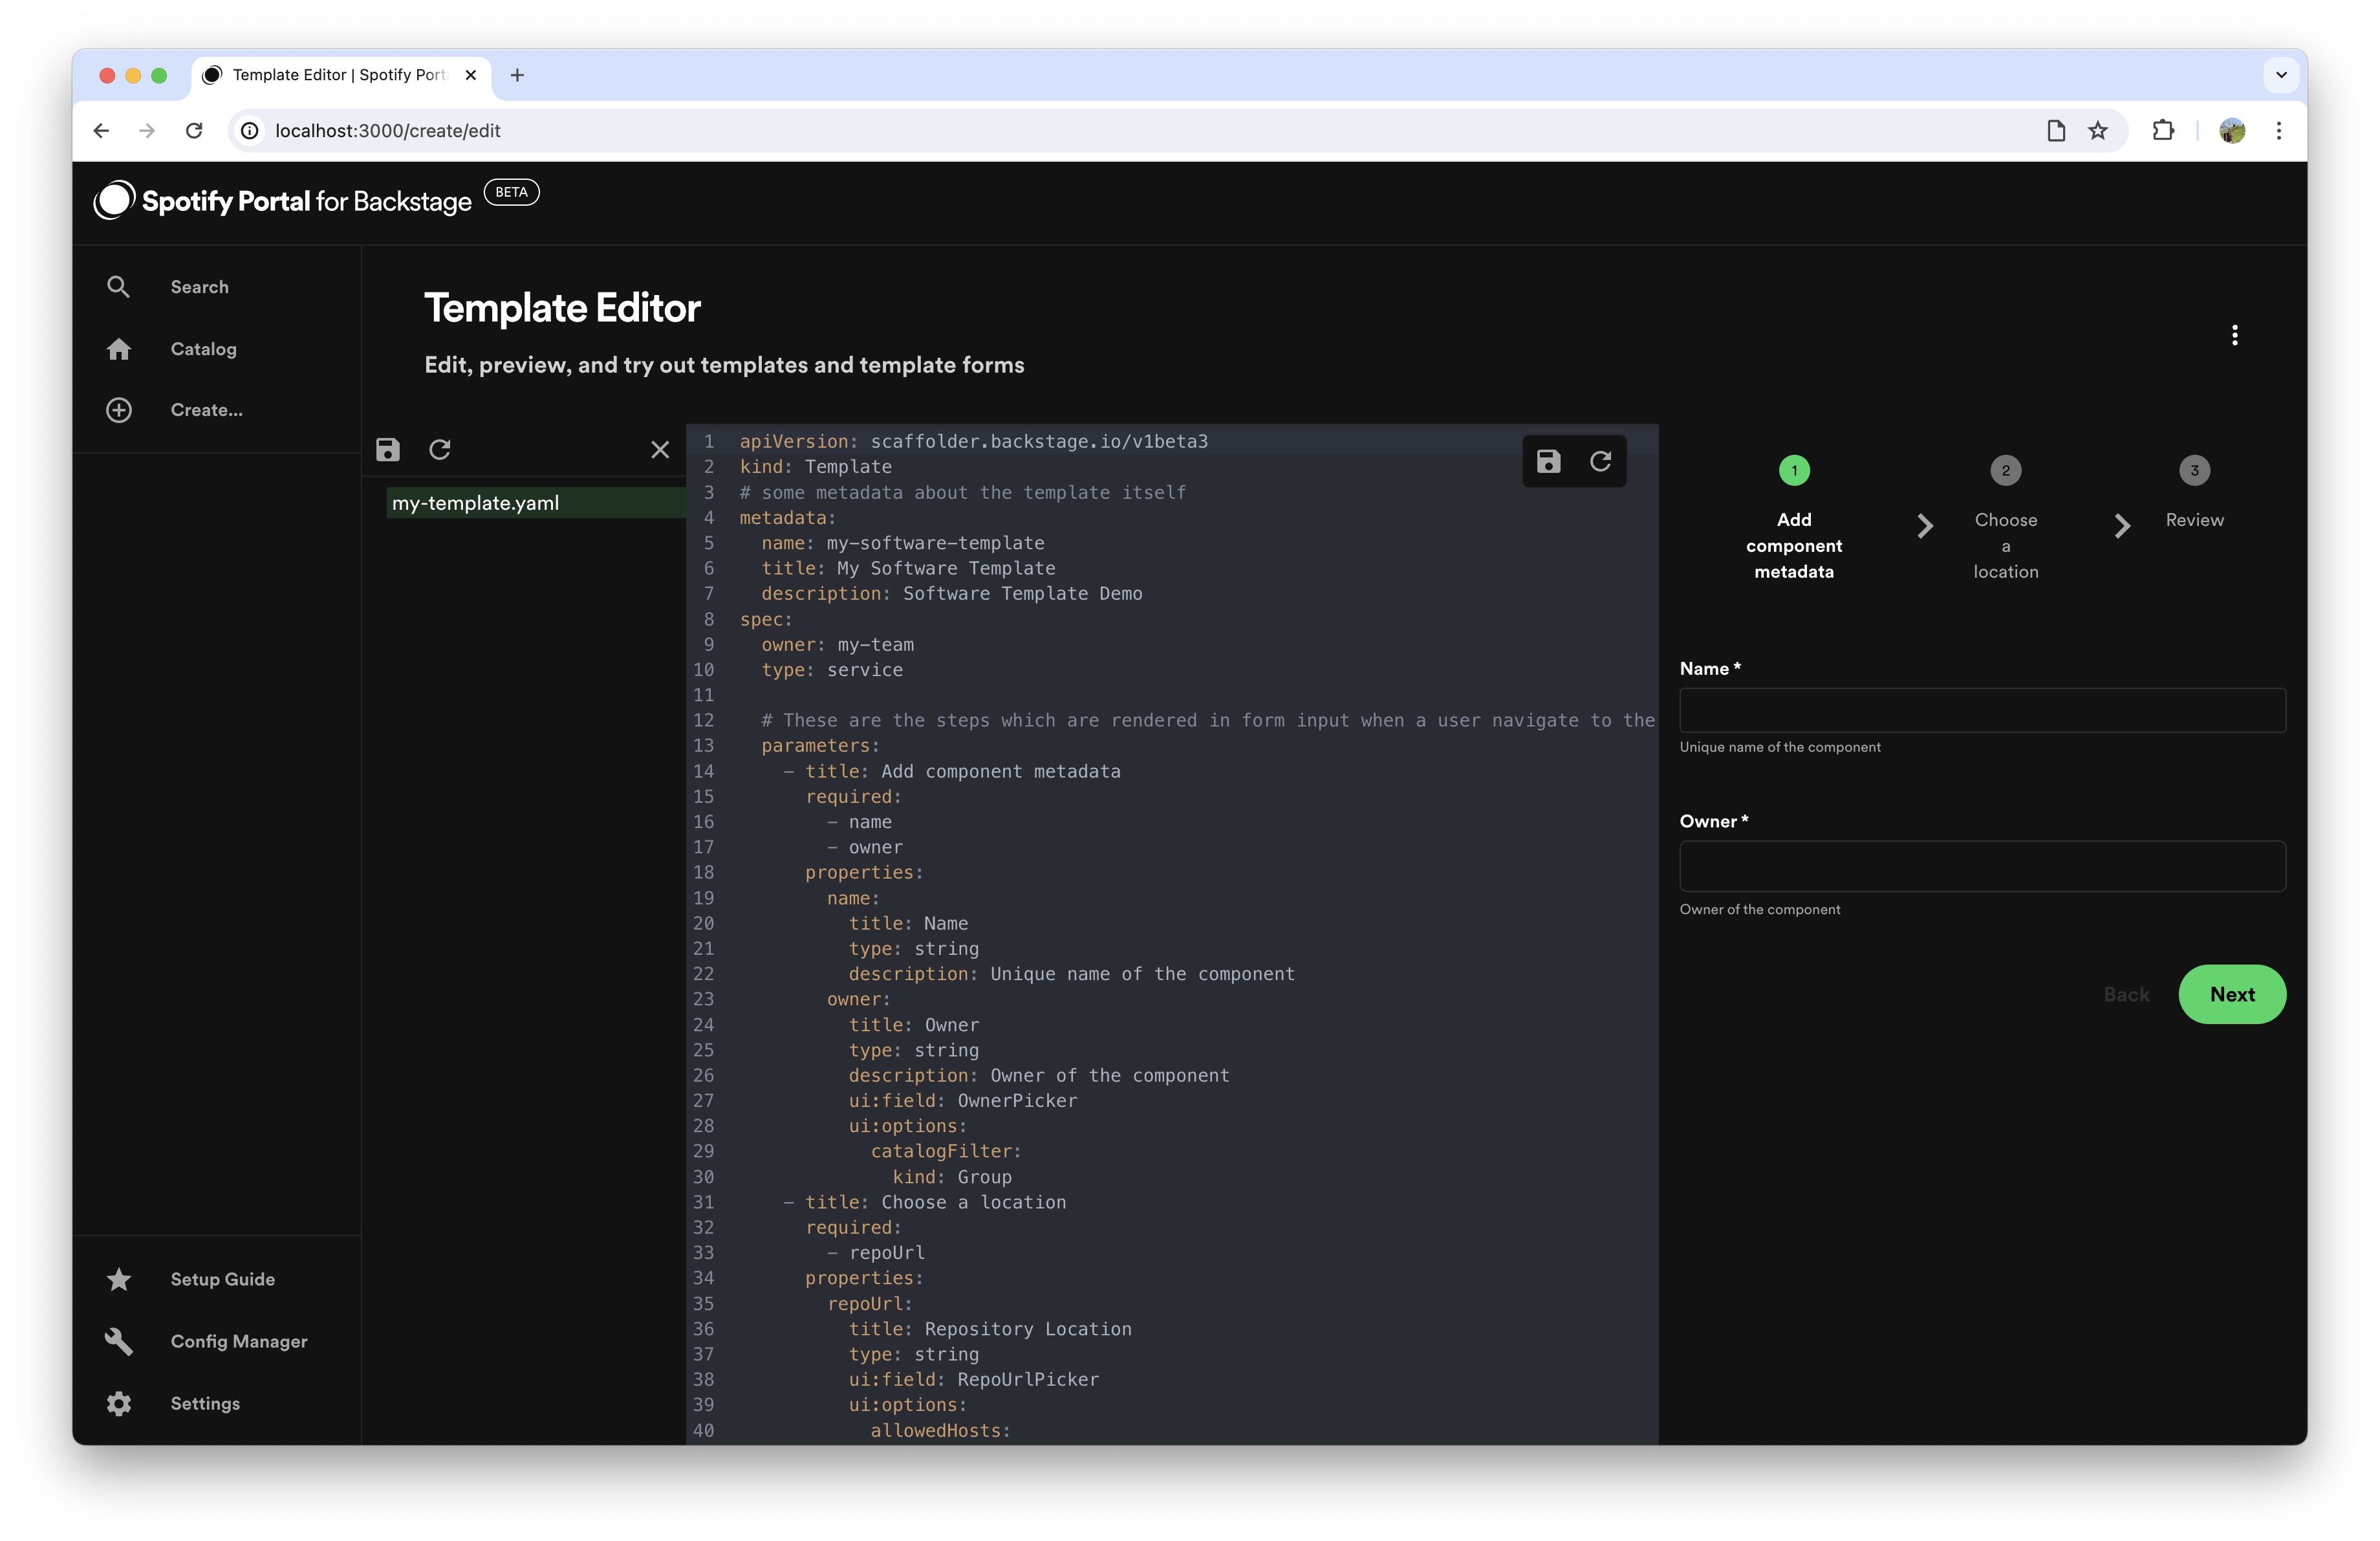
Once you are happy with your template, click save to save your updates to your template definition file.
- Store this template definition file somewhere accessible with a URL, e.g. in a Github repository.
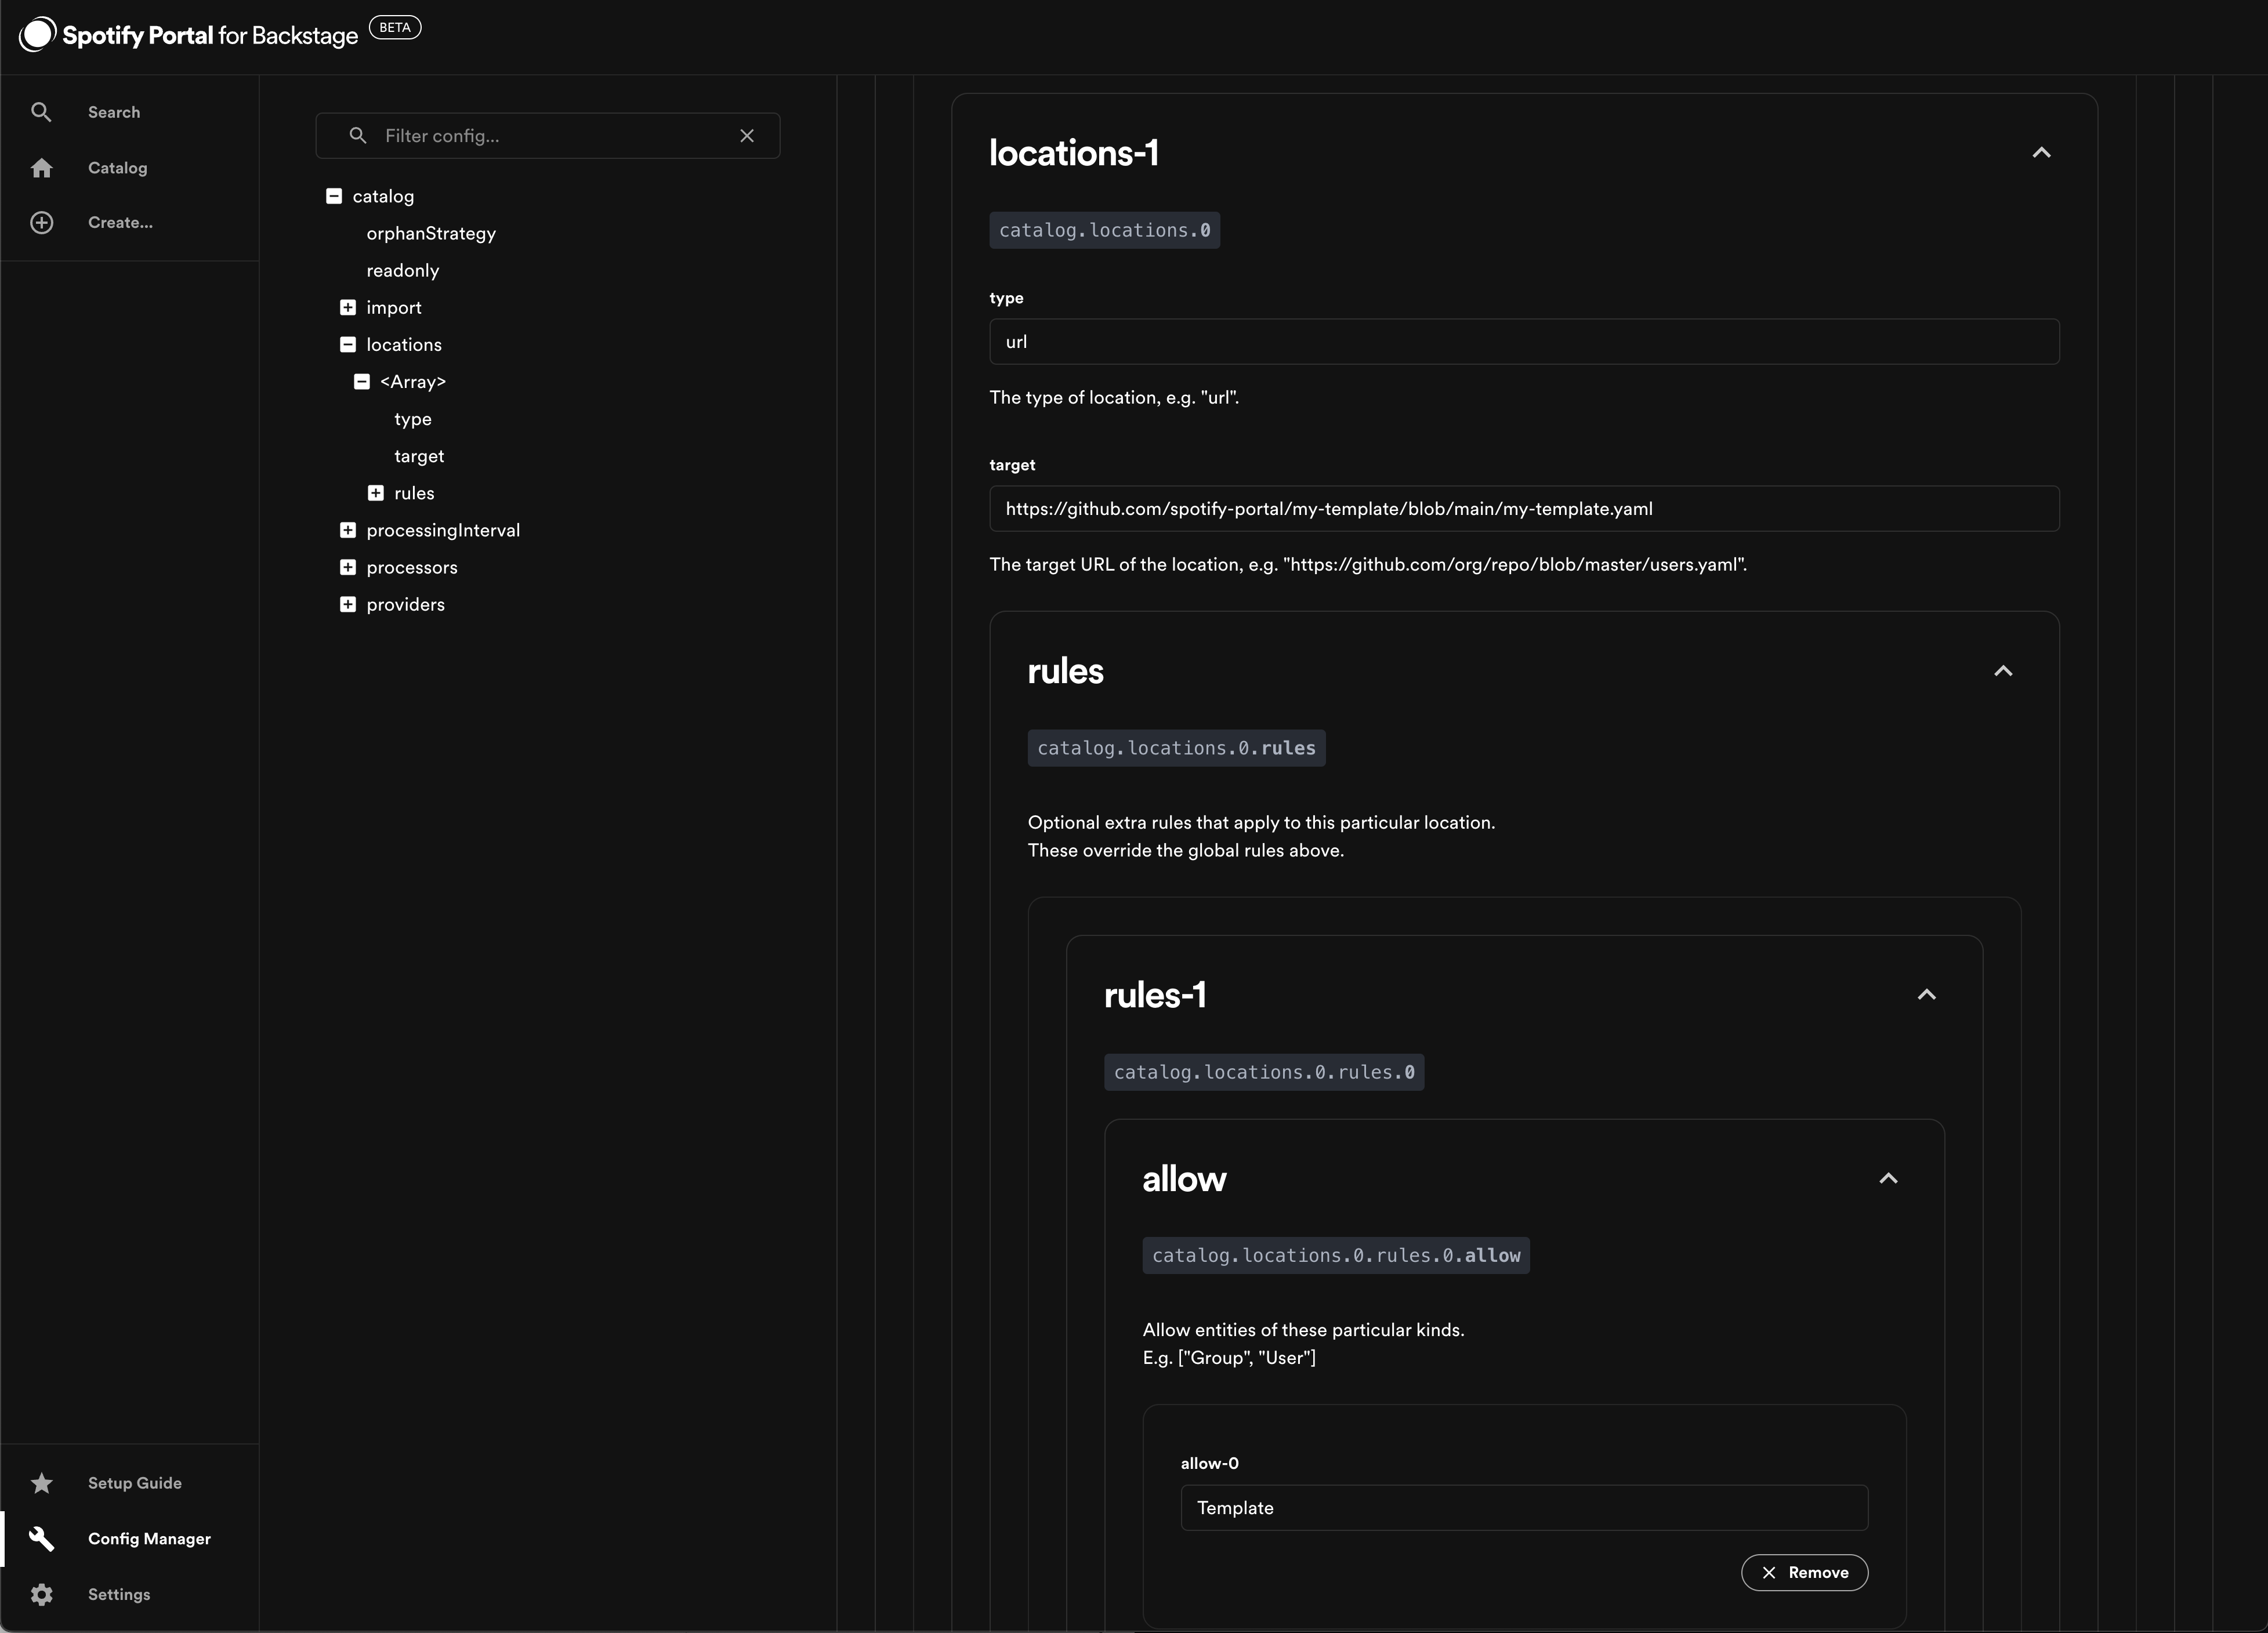
- (Requires administrator) Register your template definition file in the catalog using the Config Manager
An administrator can visit /config-manager/catalog#root~1.catalog~1.locations__title and enter the following configuration:
- type:
url - url: (URL for where you stored your template definition file in step 3)
- rules.allow:
Template
Then click "Save changes" at the bottom of the page to register the template.
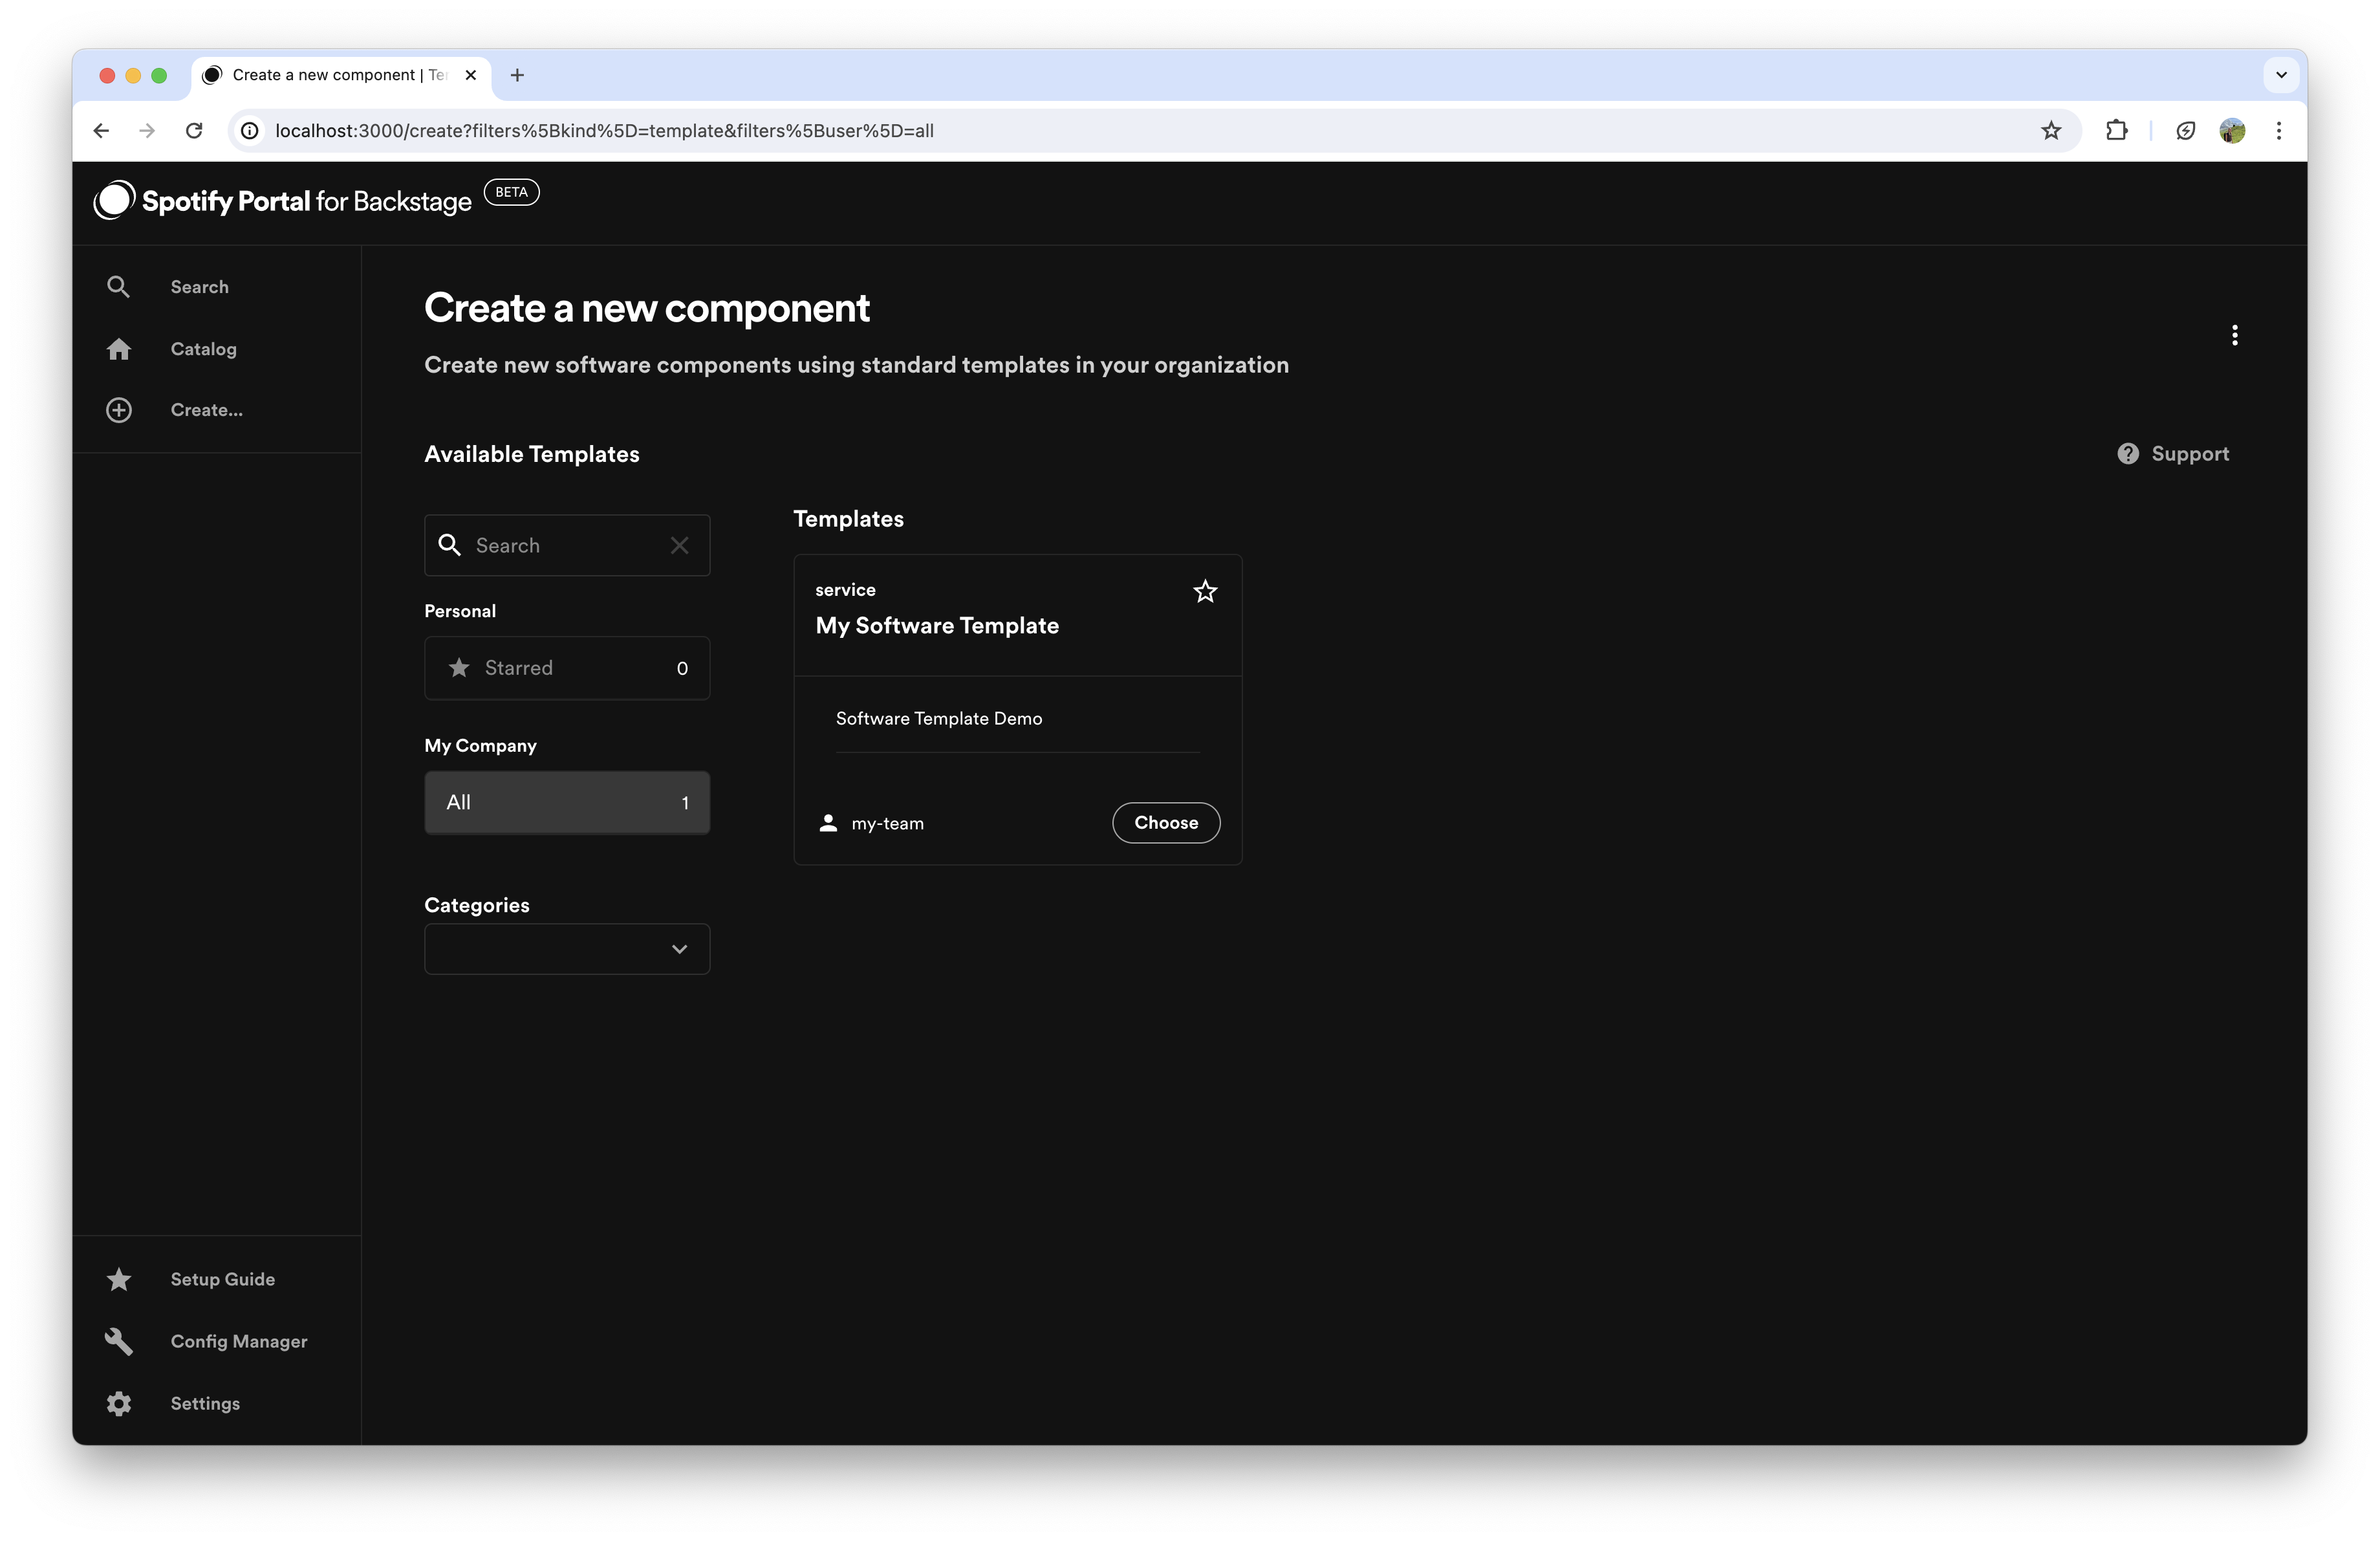
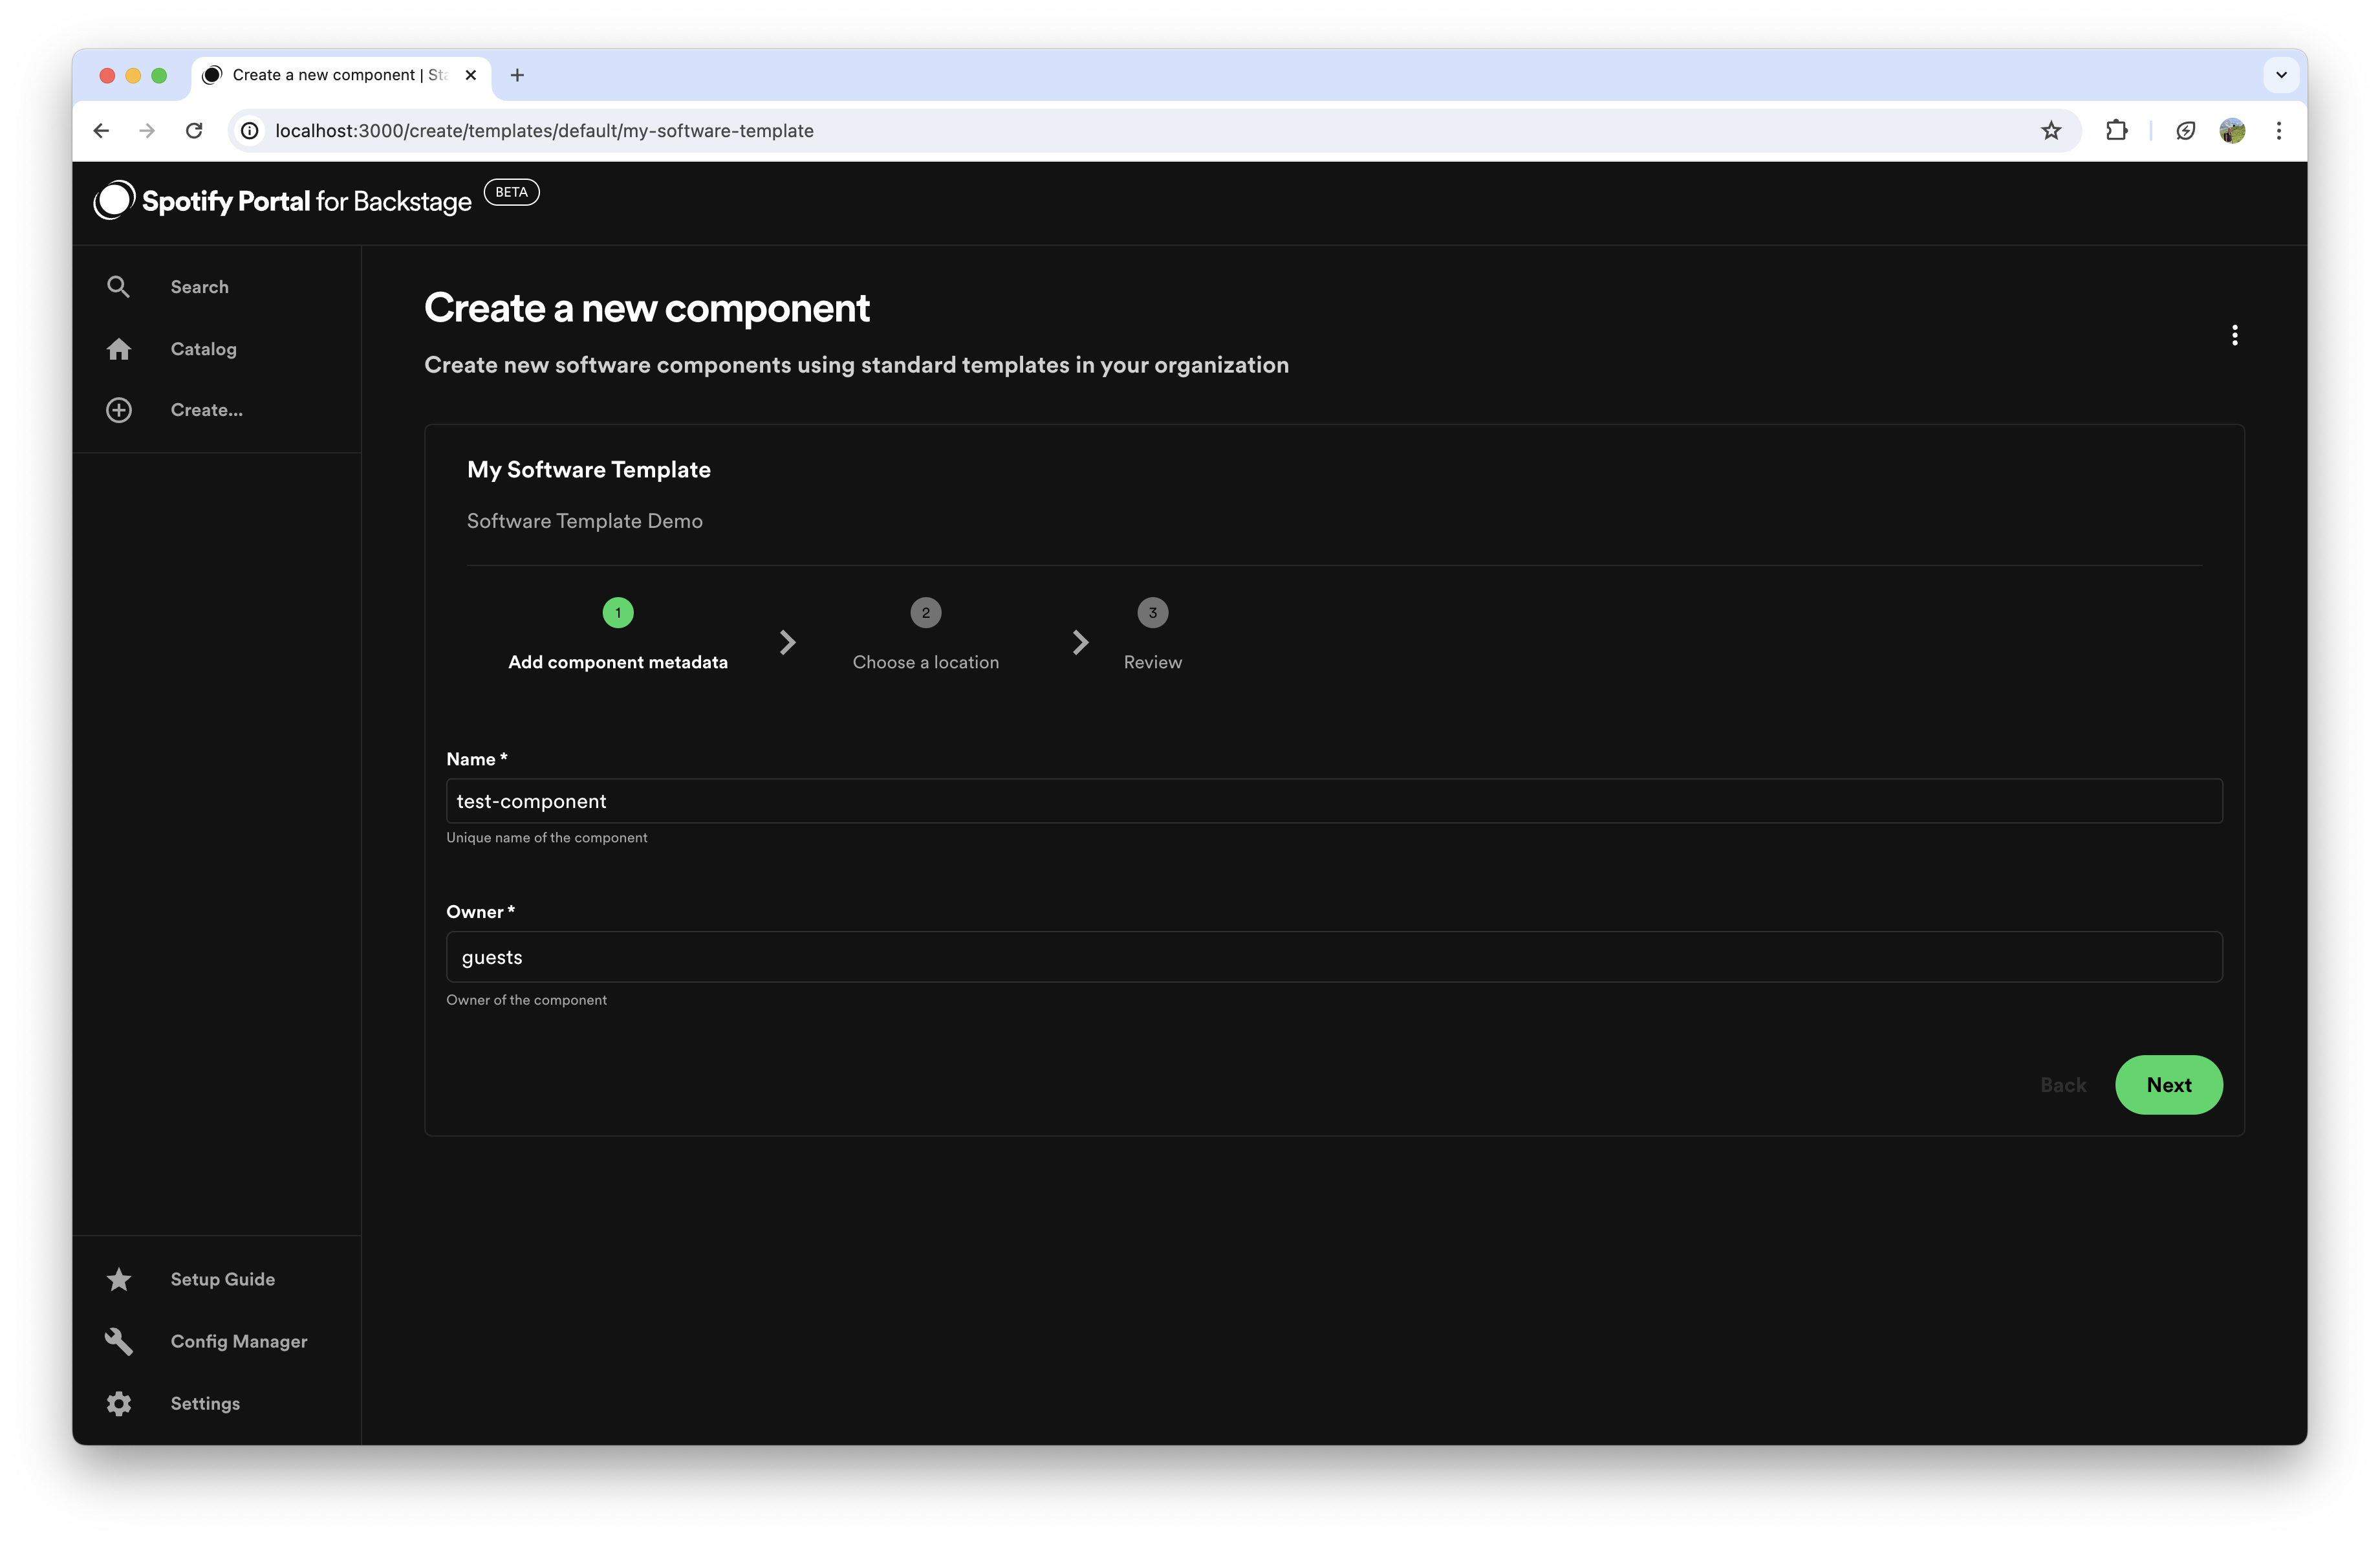
- Create new components based on this new template using Scaffolder
Once the template has been registered, anyone within your organization can create components based on the template you have defined. The component will also automatically get registered into the Software Catalog 🎉
Note: When you add or modify a template, you will need to refresh the location entity in the Software Catalog. Otherwise, Portal won't display the template in the available templates, or it will keep showing the old template. You can refresh the location instance by going to the /catalog page, choosing
Locationsinstead ofComponents, and selecting the correct location entity. From there, you can click on the refresh icon representing "Scheduled entity refresh" action. Afterwards, you should see your template updated.