Software Catalog Overview
What is a Software Catalog?
The Portal Software Catalog is a centralized system that keeps track of ownership and metadata for all the software in your ecosystem (services, websites, libraries, data pipelines, etc). The catalog is built around the concept of metadata YAML files stored together with the code, which are then harvested and visualized in Portal.
How it works
Portal and the Portal Software Catalog make it easy for one team to manage 10 services — and makes it possible for your company to manage thousands of them.
More specifically, the Software Catalog enables two main use-cases:
- Helping teams manage and maintain the software they own. Teams get a uniform view of all their software; services, libraries, websites, ML models — you name it, Portal knows all about it.
- Makes all the software in your company, and who owns it, discoverable. No more orphan software hiding in the dark corners of your software ecosystem.
Getting Started
The Software Catalog is available to browse at /catalog. If you've followed
Getting Started with Portal, you should be able to
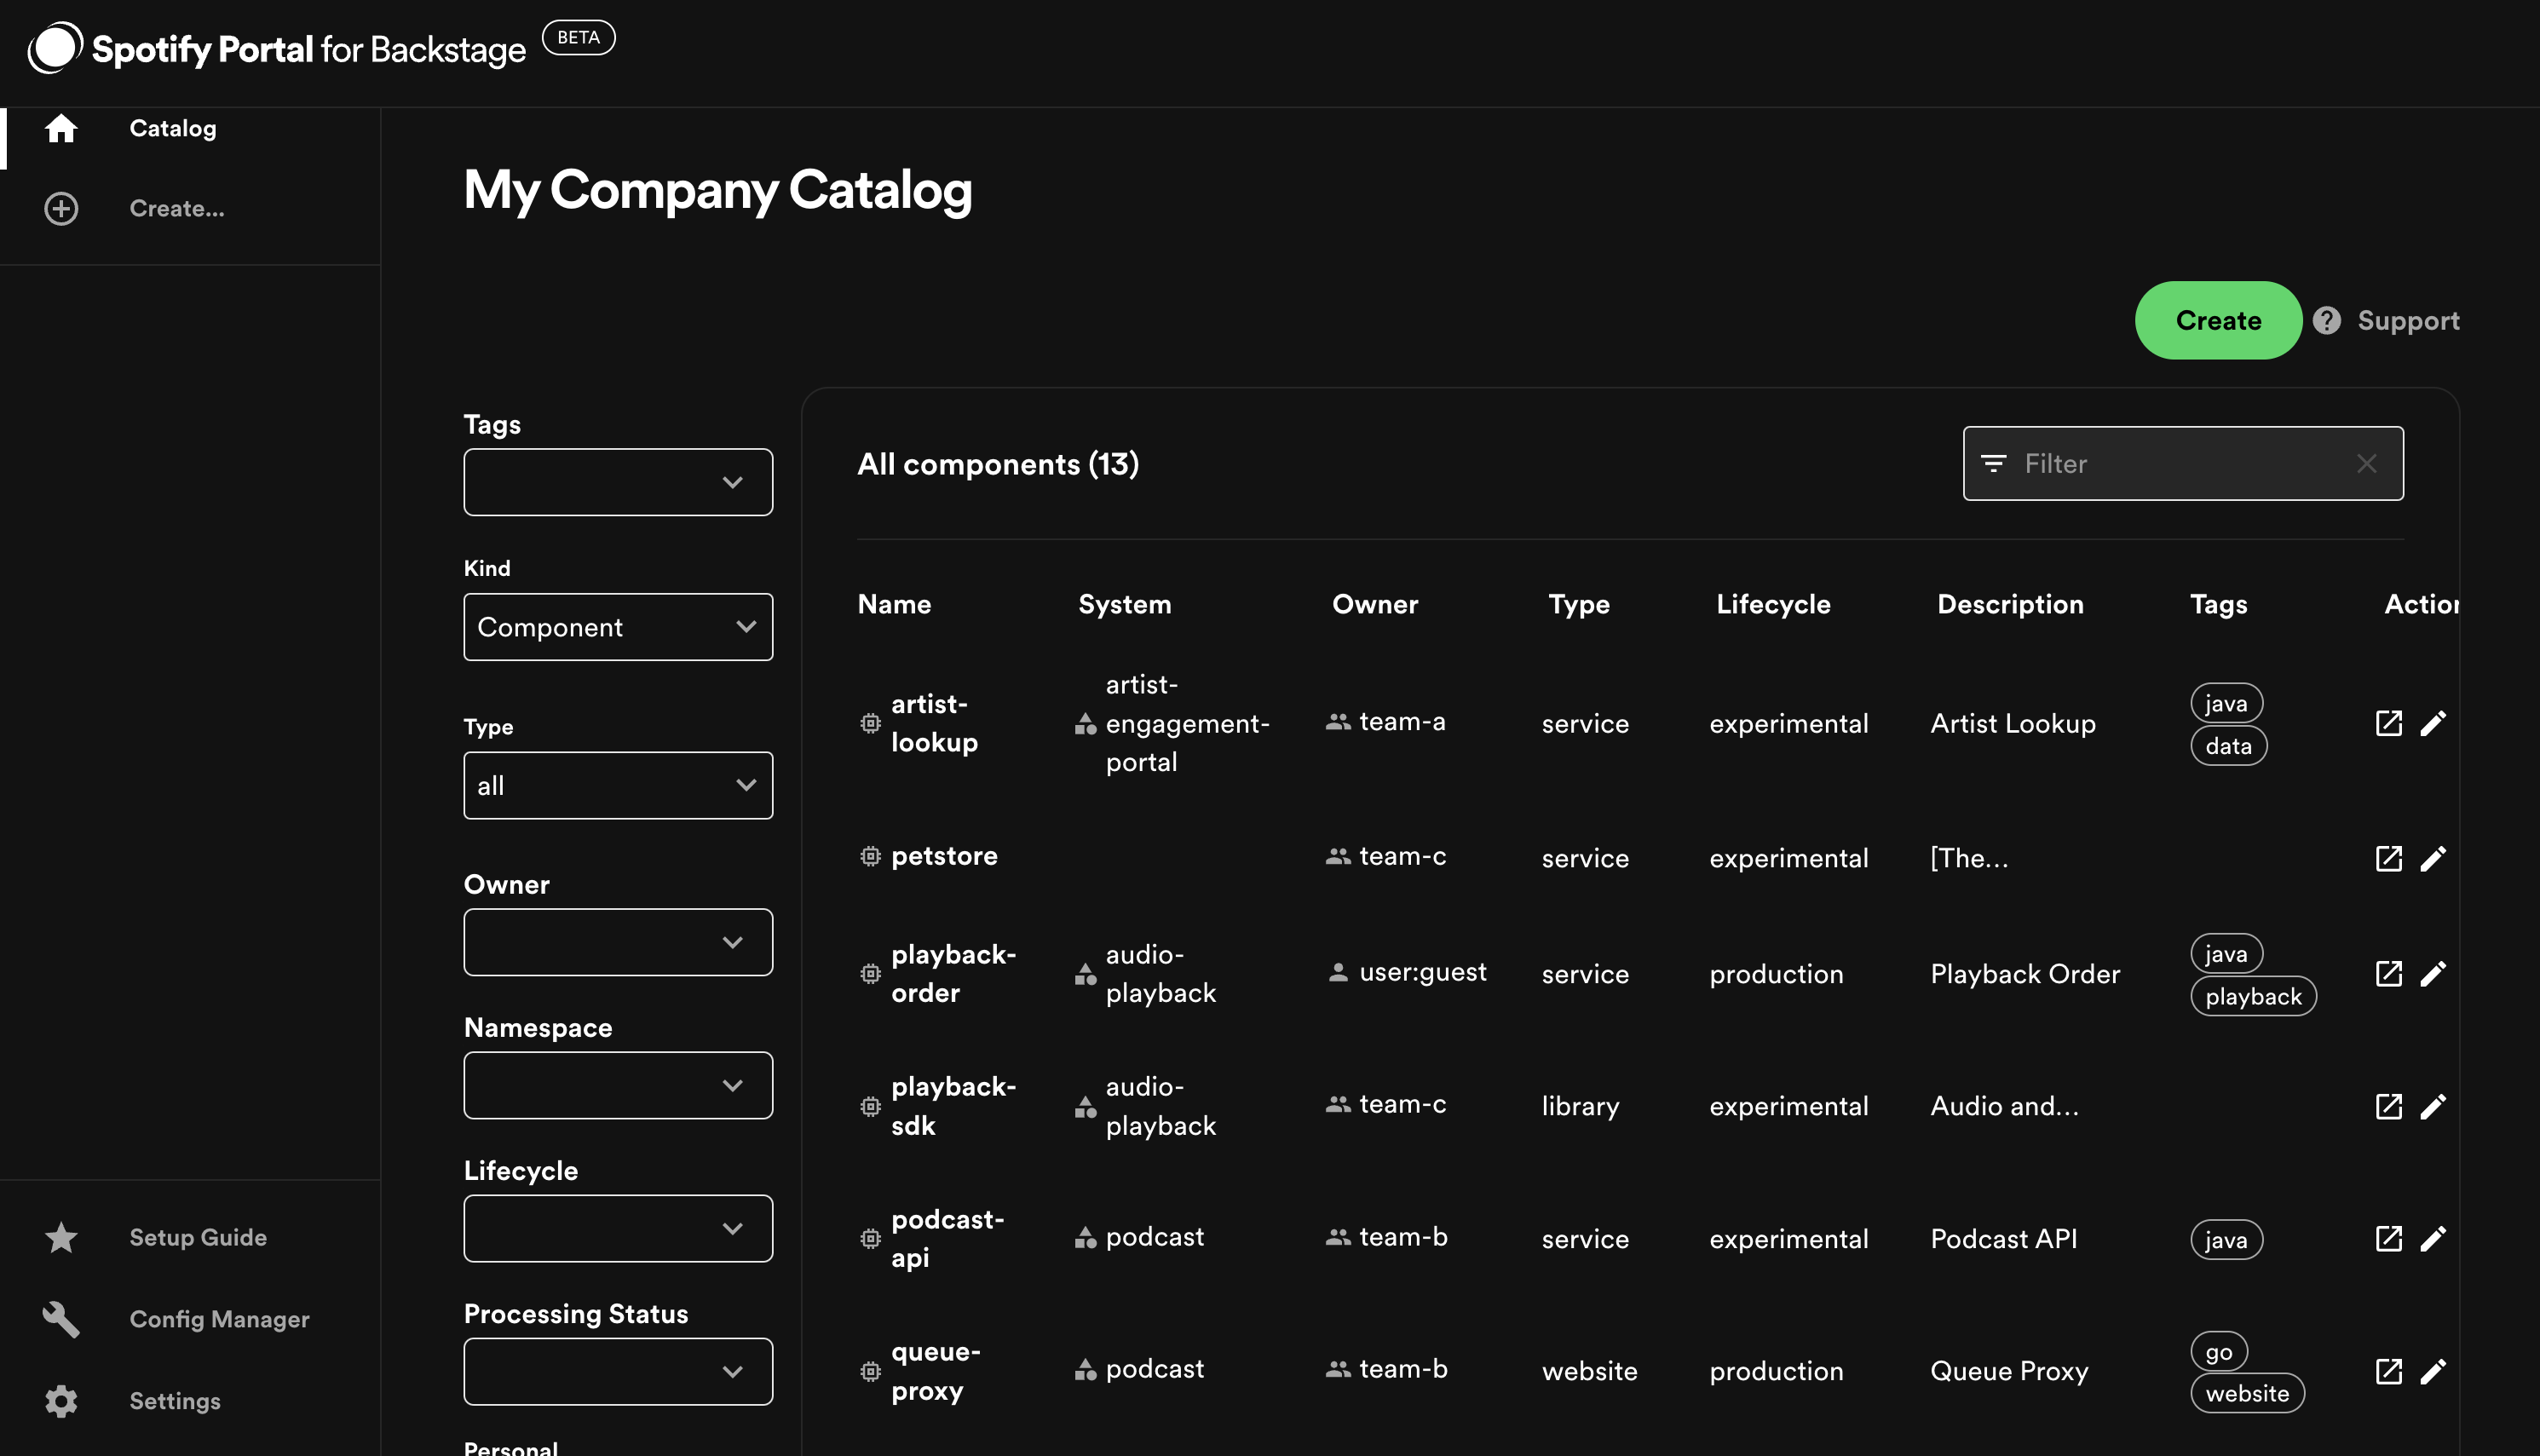
browse the catalog at http://localhost:3000.
Adding components to the catalog
The source of truth for the components in your software catalog are metadata YAML files stored in source control (GitHub). Repositories can include one or multiple metadata files. Usually the metadata file is located in the repository root. This is not a formal requirement & metadata files can be placed anywhere in the repository.
There are 3 ways to add components to the catalog:
- No-code wizard (Recommended)
- Manually register components
- Creating new components through Portal
No-code wizard (Recommended)
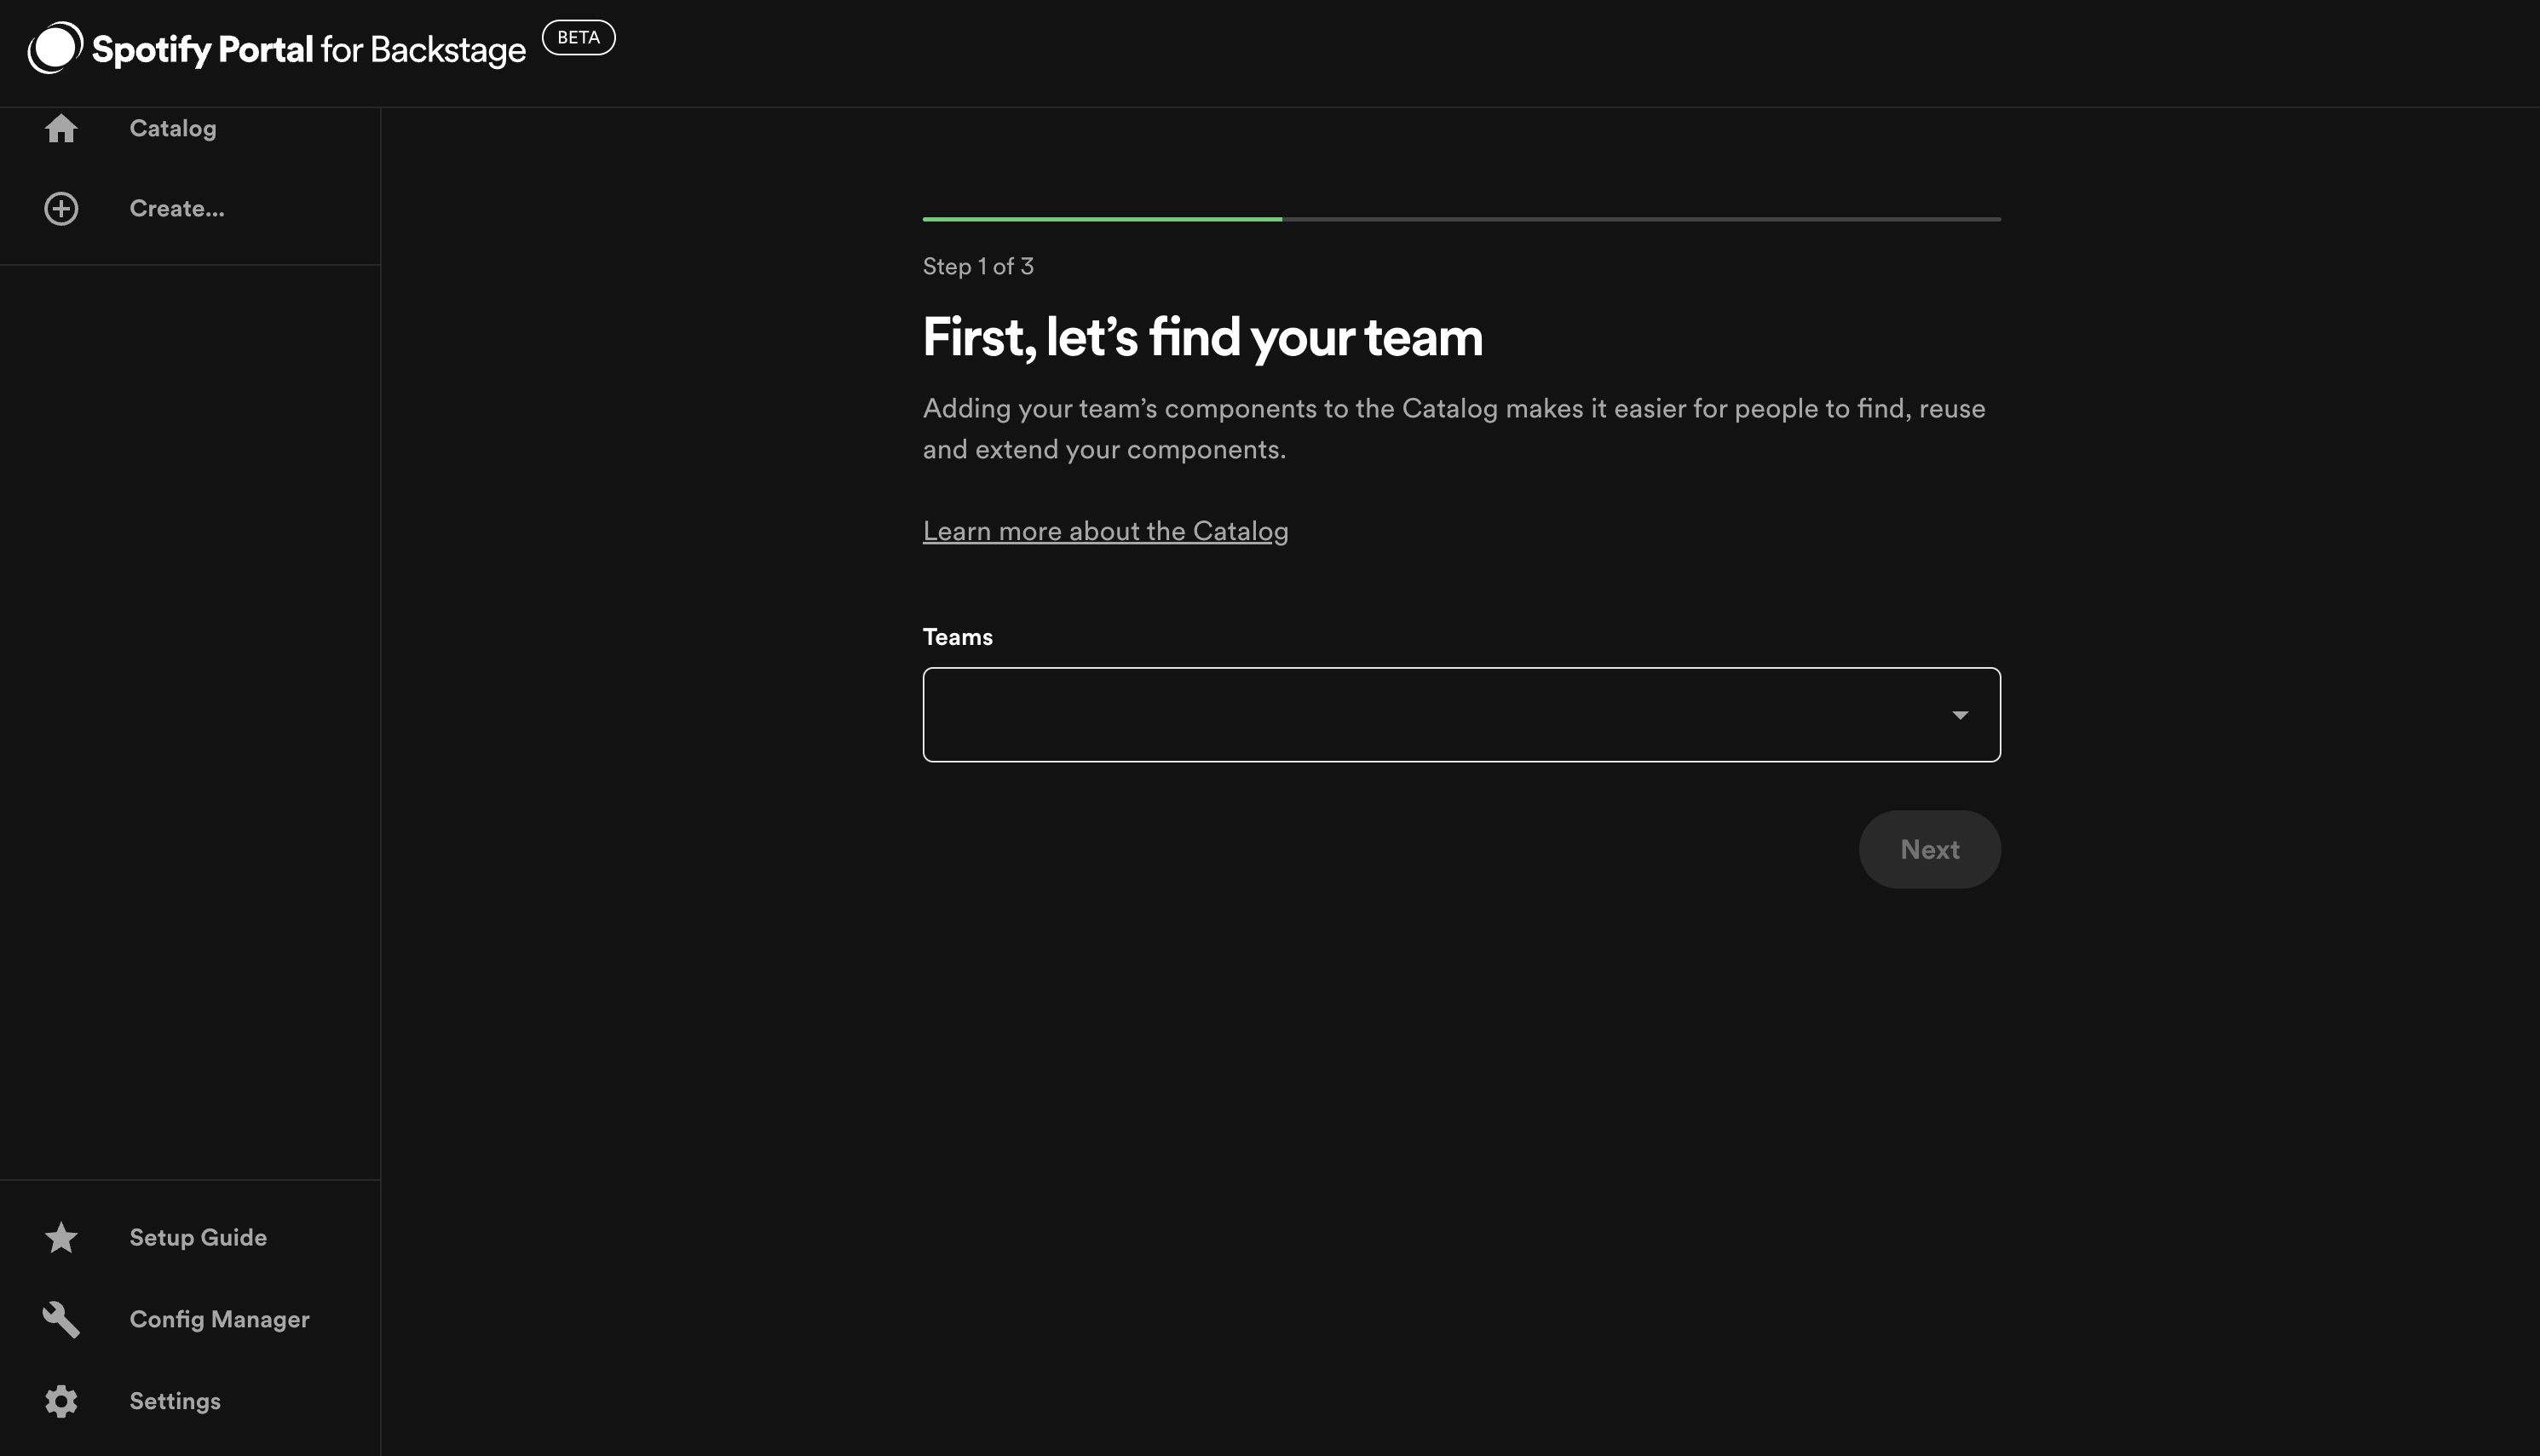
- Select your team from the drop-down list
- Portal will suggest the software components it thinks your team owns.
- You can update the list of components you want to add by
- Selecting "Add more" and search for other components your team owns
- Remove the software components you want to remove by selecting the checkboxes and "Remove"
- Make sure to select the component type from the drop down for each component
- Once you're ready to add the components to the software catalog, you can select "Create pull requests". This will create a pull request with the catalog-info.yaml file that describes each component you add.
- Once created, you can view the pull request in Github and share with your team to review before merging.
- Once the pull request has merged, it will appear in the software catalog page. This can take up to 3 minutes.
Manually register components
Users can register new components by going to /catalog-import and clicking the
REGISTER EXISTING COMPONENT button:
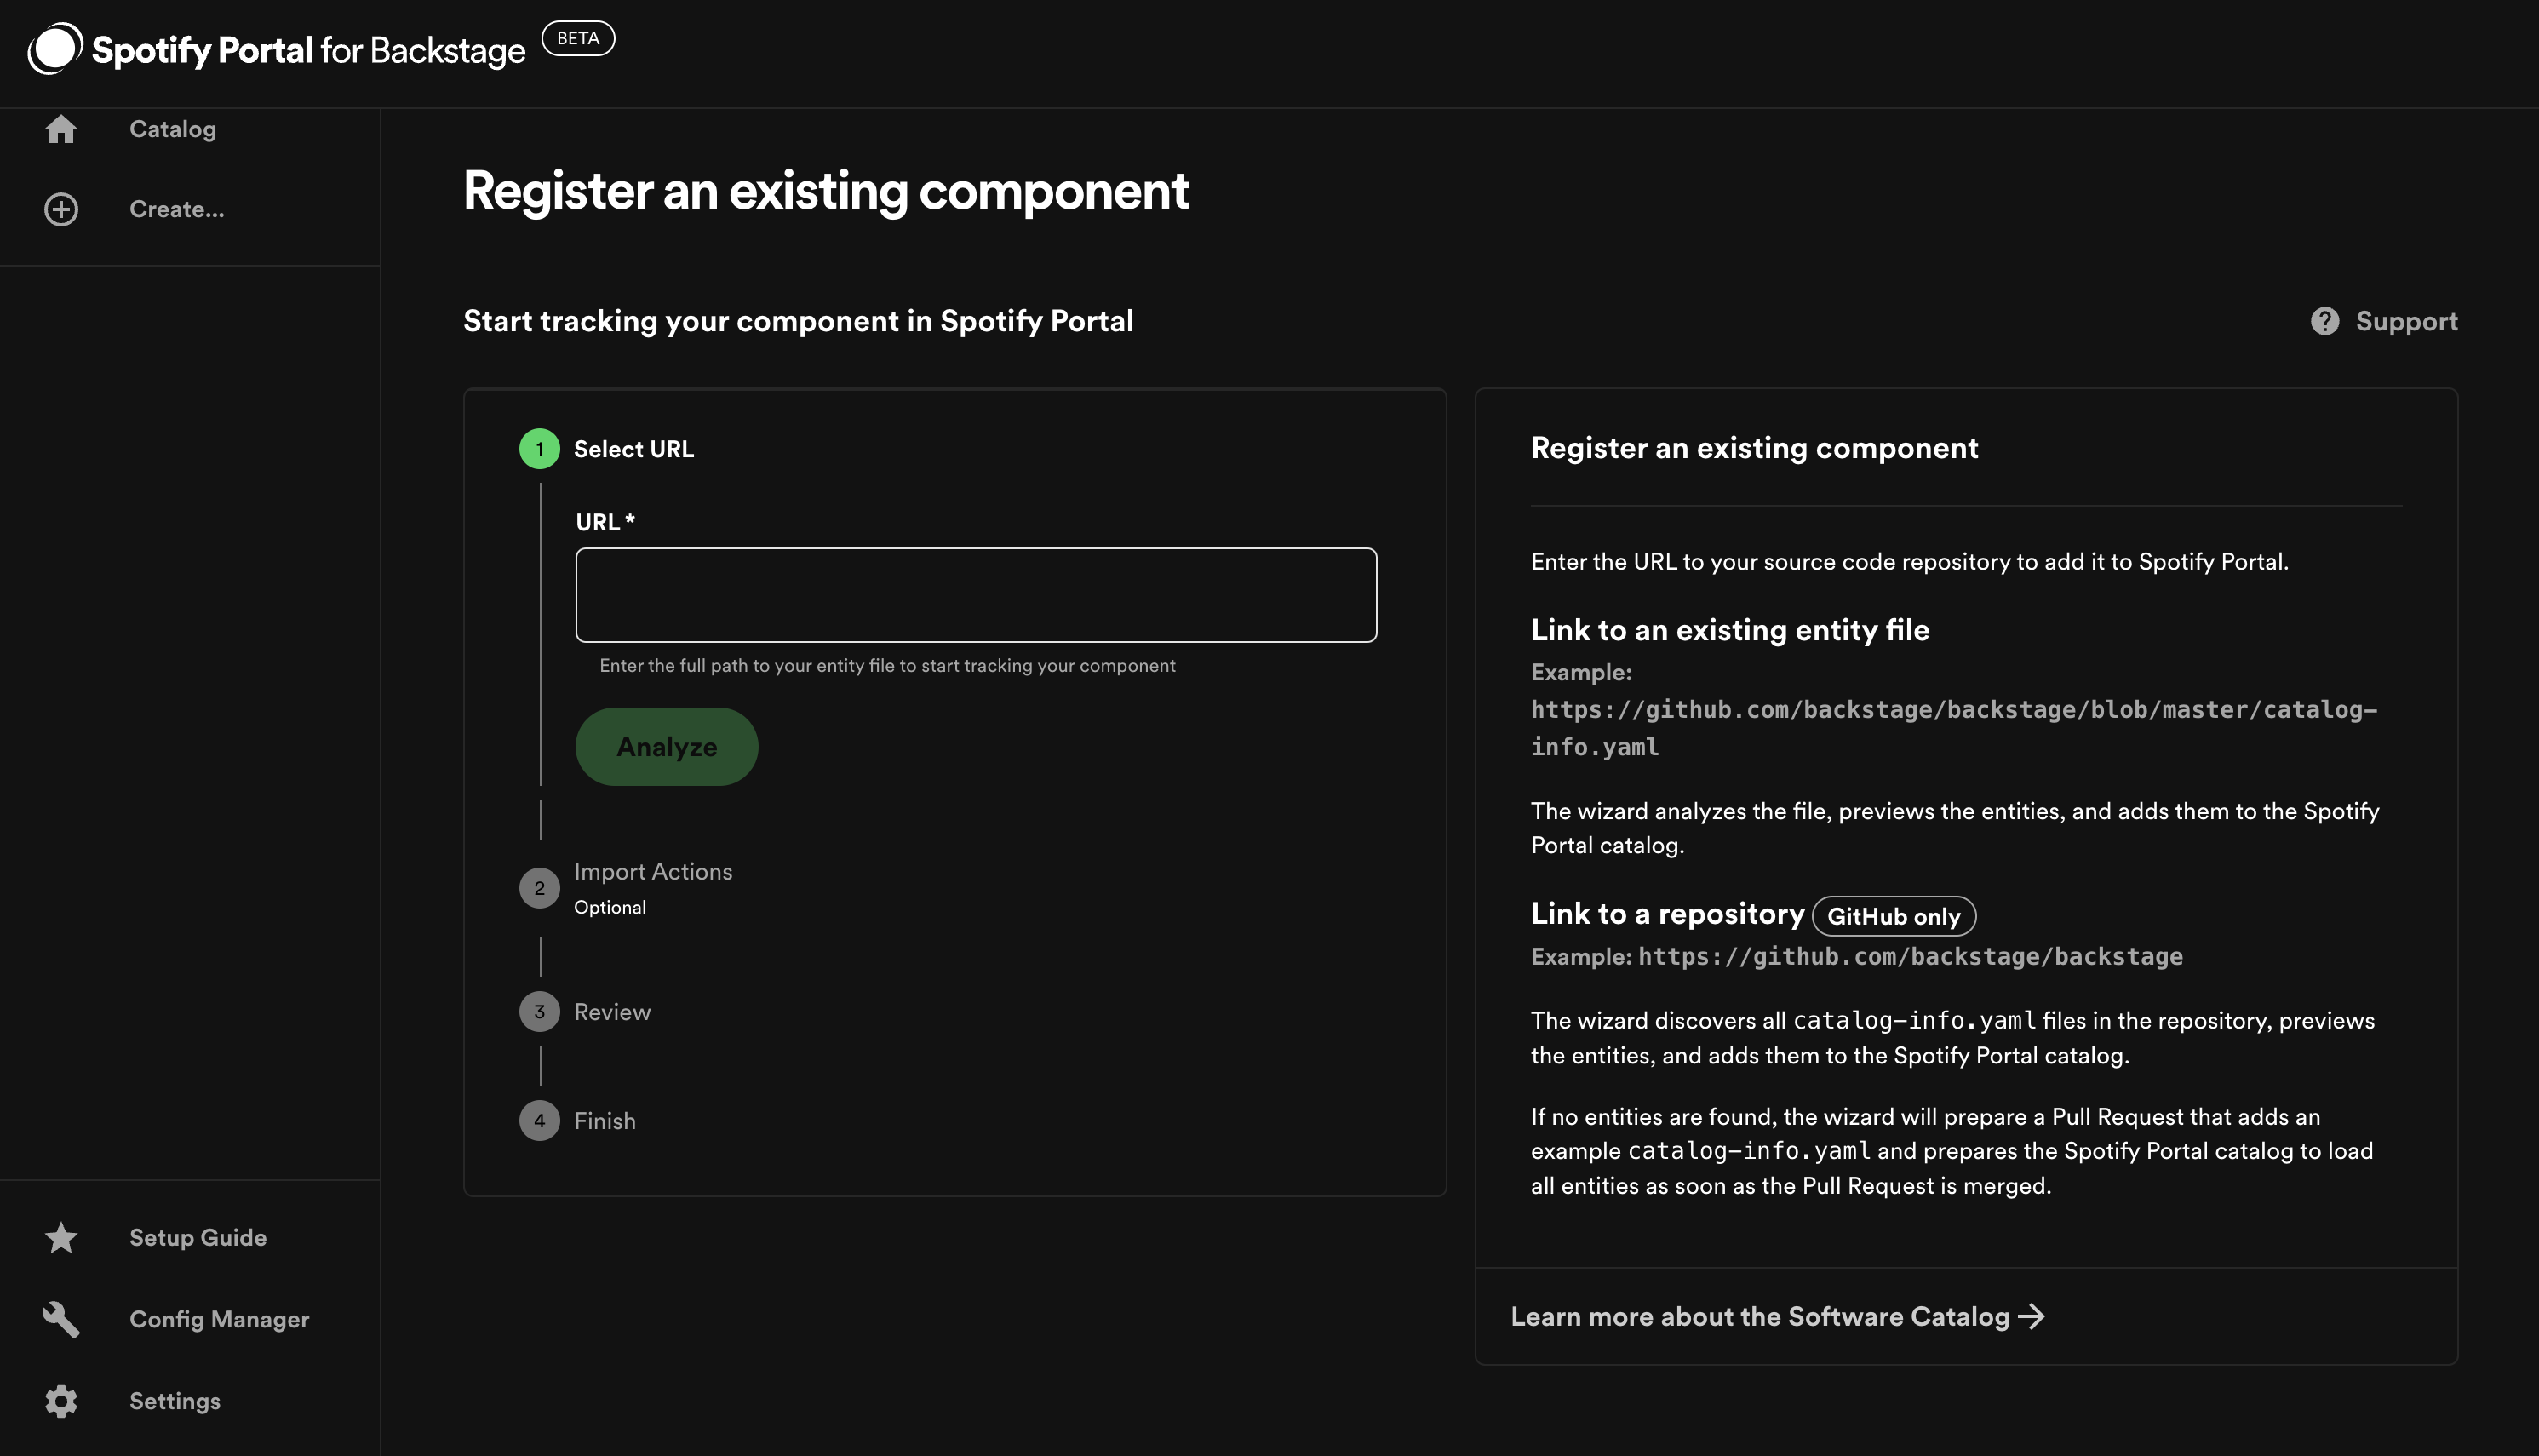
Backstage expects the full URL to the YAML in your source control. Example:
https://github.com/backstage/backstage/blob/master/packages/catalog-model/examples/components/artist-lookup-component.yaml
More examples can be found here.
It is important to note that any kind of software can be registered in Backstage. Even if the software is not maintained by your company (SaaS offering, for example) it is still useful to create components for tracking ownership.
Creating new components through Portal
To create new components through Portal, you first need to set up a software template using the Scaffolder .
If you already have pre-made templates, follow these steps:
-
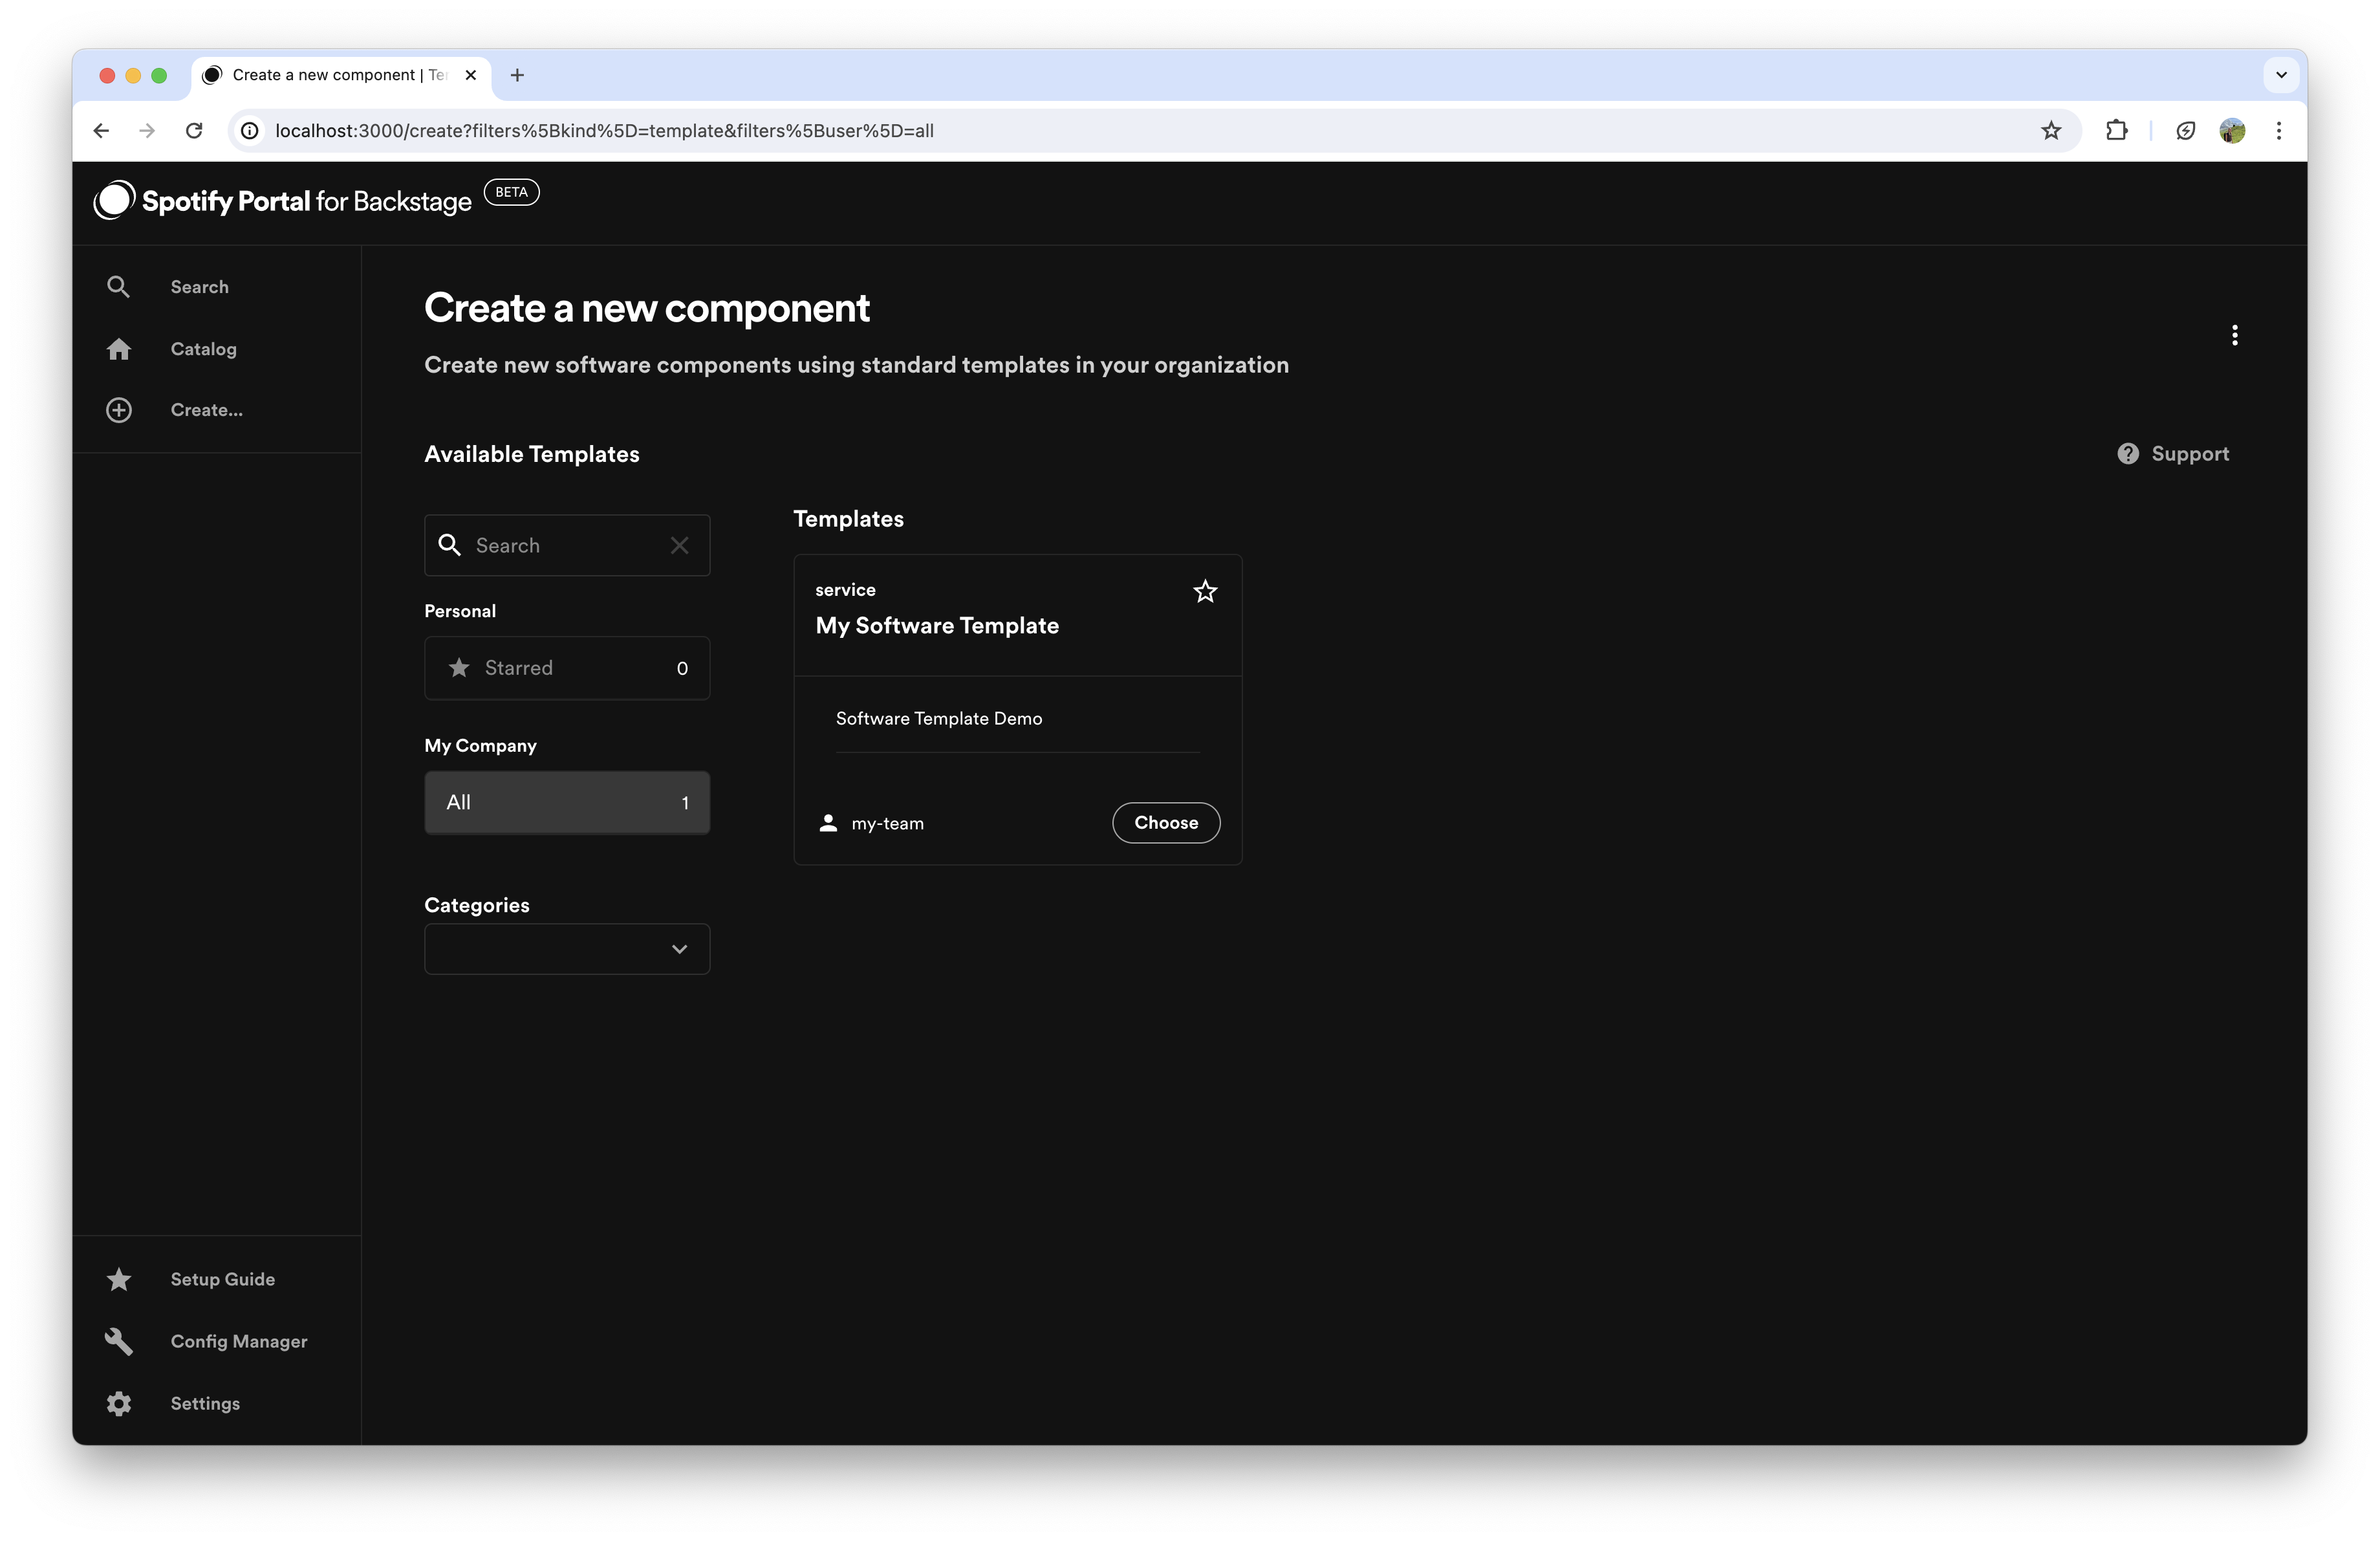
Select the Template: Choose the template you wish to create the component from.
-
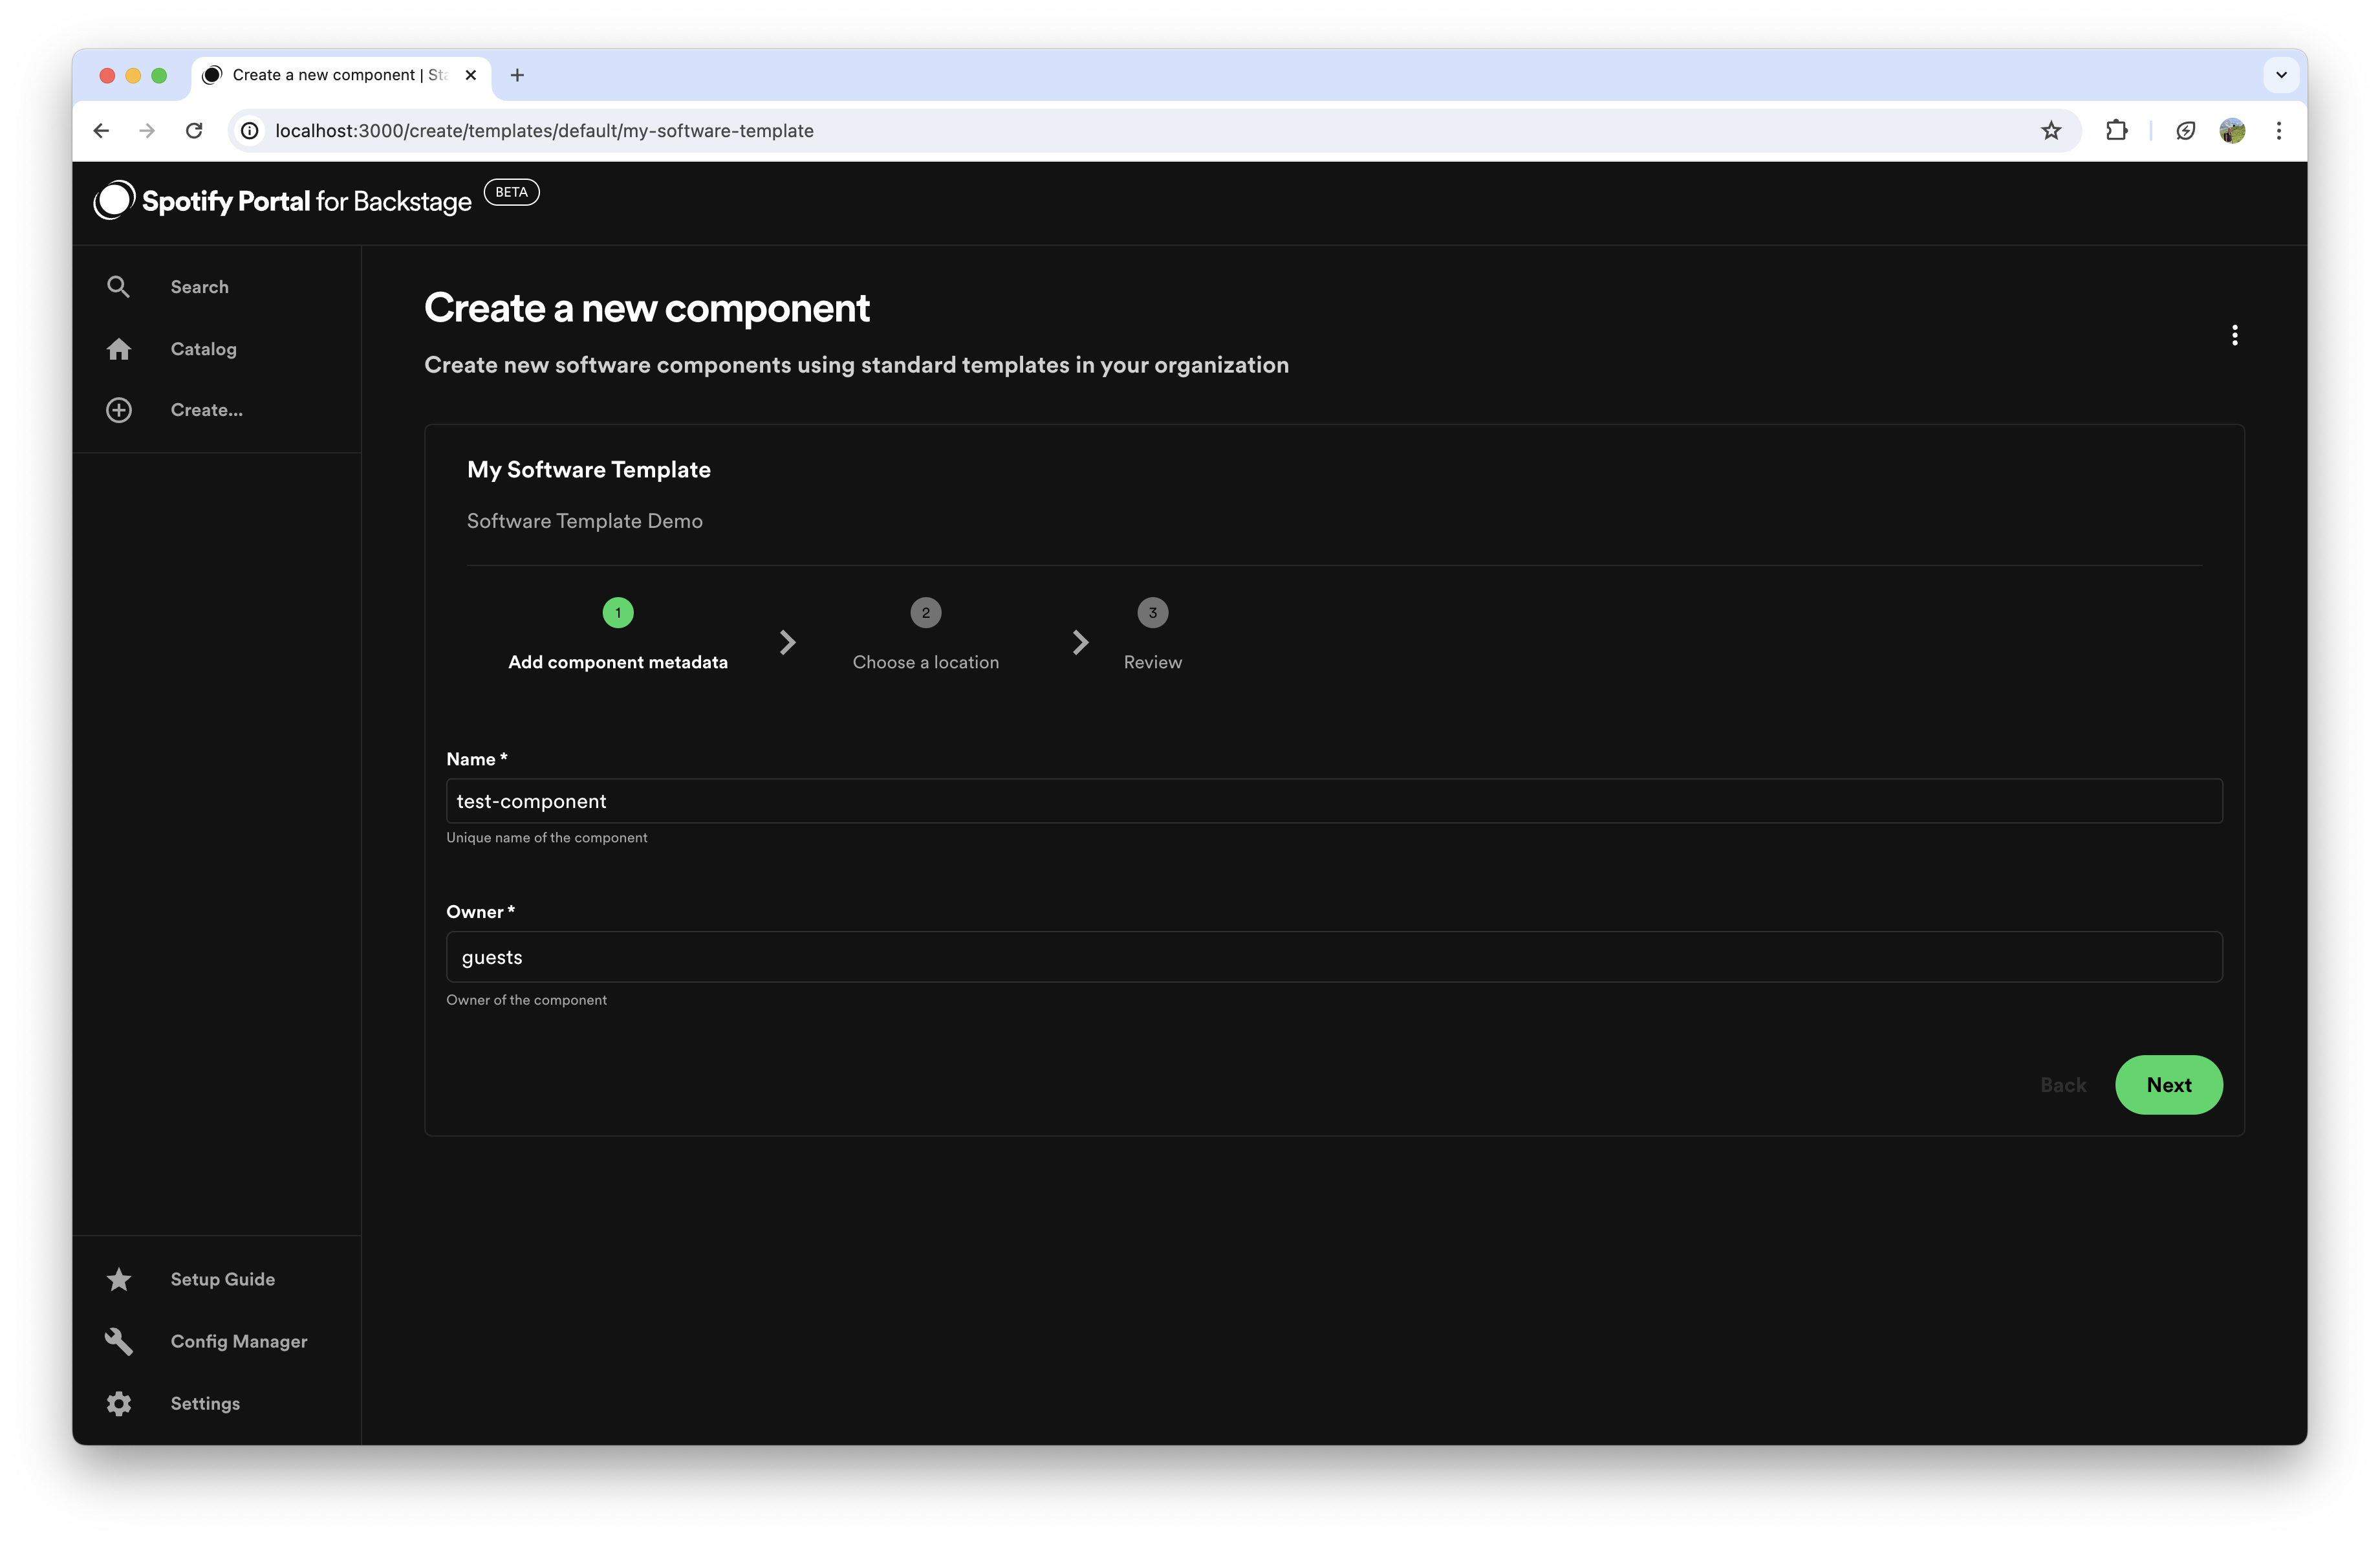
Add Metadata: Create a name for your new component and select the group that will own the component from the list.
-
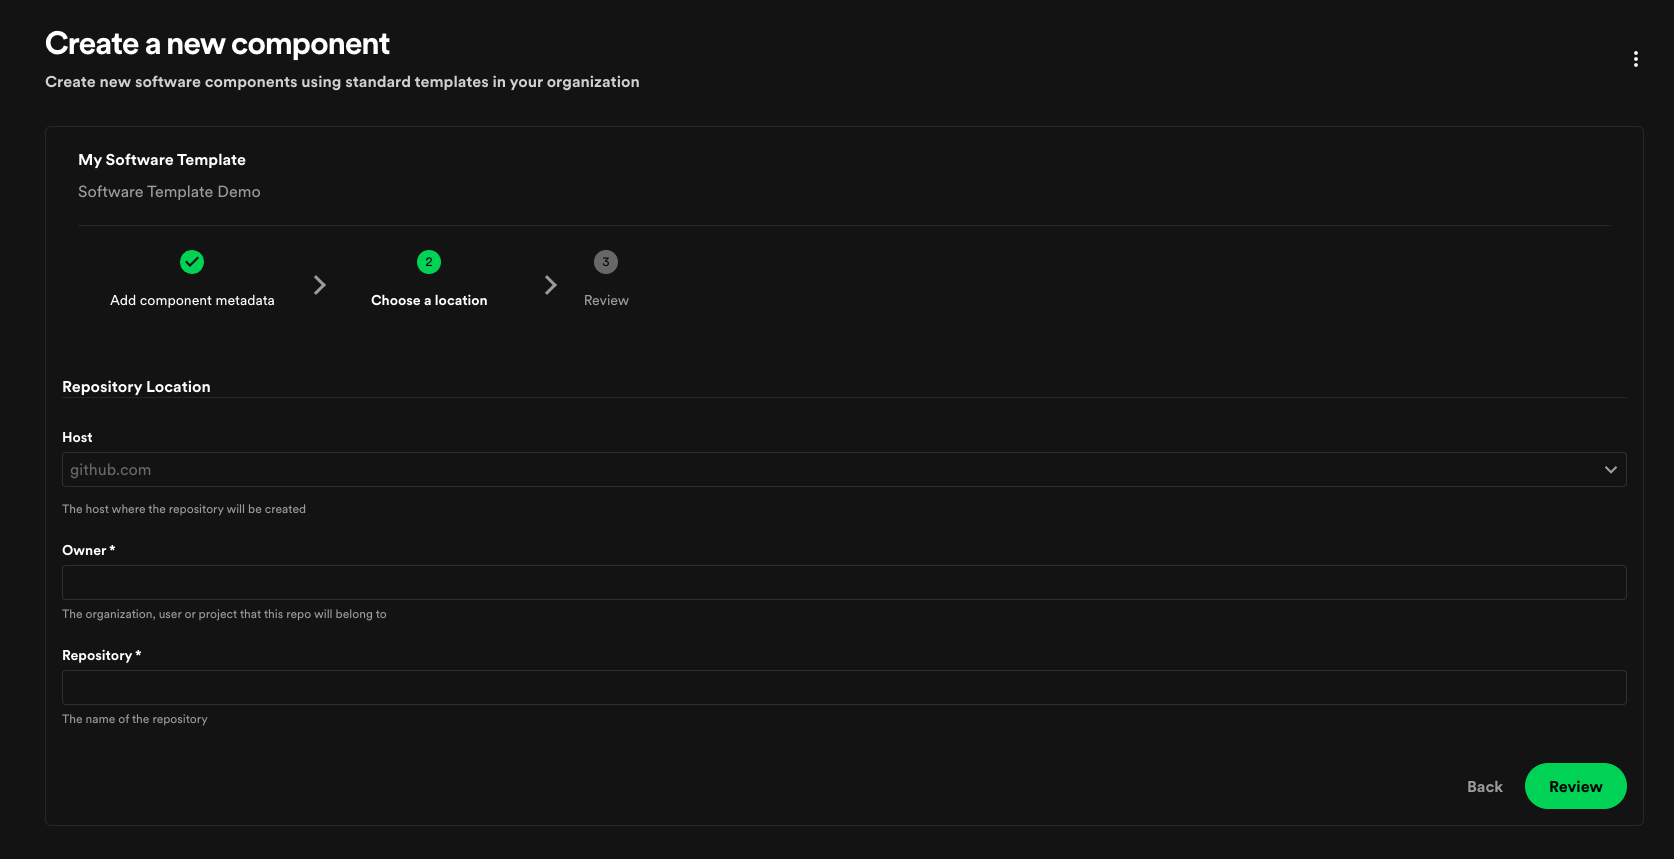
Add Component Location: Choose your host, the organization that owns the repository, and specify a repository name for your new repository.
-
Review New Component Details: Review the details of your new component. If everything looks correct, click the "Create" button.
-
New Component Is Being Created: A progress bar will appear. Once it is complete, you will be able to find and view your new component in the catalog. If you encountered any error or you would like to follow the progress, you can see the logs of the process by selecting 'show logs'
Tips to Ensure Success:
- Ensure your user has write access to the repository where you are adding the new component.
- Make sure your template does not contain a catalog-info.yaml file.
Static catalog configuration
In addition to manually registering components, it is also possible to register components through static configuration. For example you can add components through the Config Manager under the Catalog plugin > Locations. For example:
Type: url
Target: https://github.com/backstage/backstage/blob/master/packages/catalog-model/examples/components/artist-lookup-component.yaml
Updating component metadata
Teams owning the components are responsible for maintaining the metadata about them, and do so using their normal Git workflow.
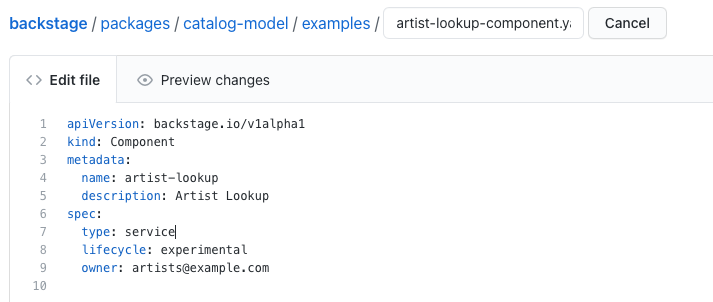
Once the change has been merged, Portal will automatically show the updated metadata in the software catalog after a short while.
Customizing the Validation Rules for The Entity Envelope
After pieces of raw entity data have been read from a location, they are passed through a field format validation step before landing in Catalog. Portal supports the ability to adjust a subset of these validations.
You can extend the maximum length of an entity name from the default (63 characters), by specifying the MaxNameLength field in the
entity-validation-customization module under Catalog.
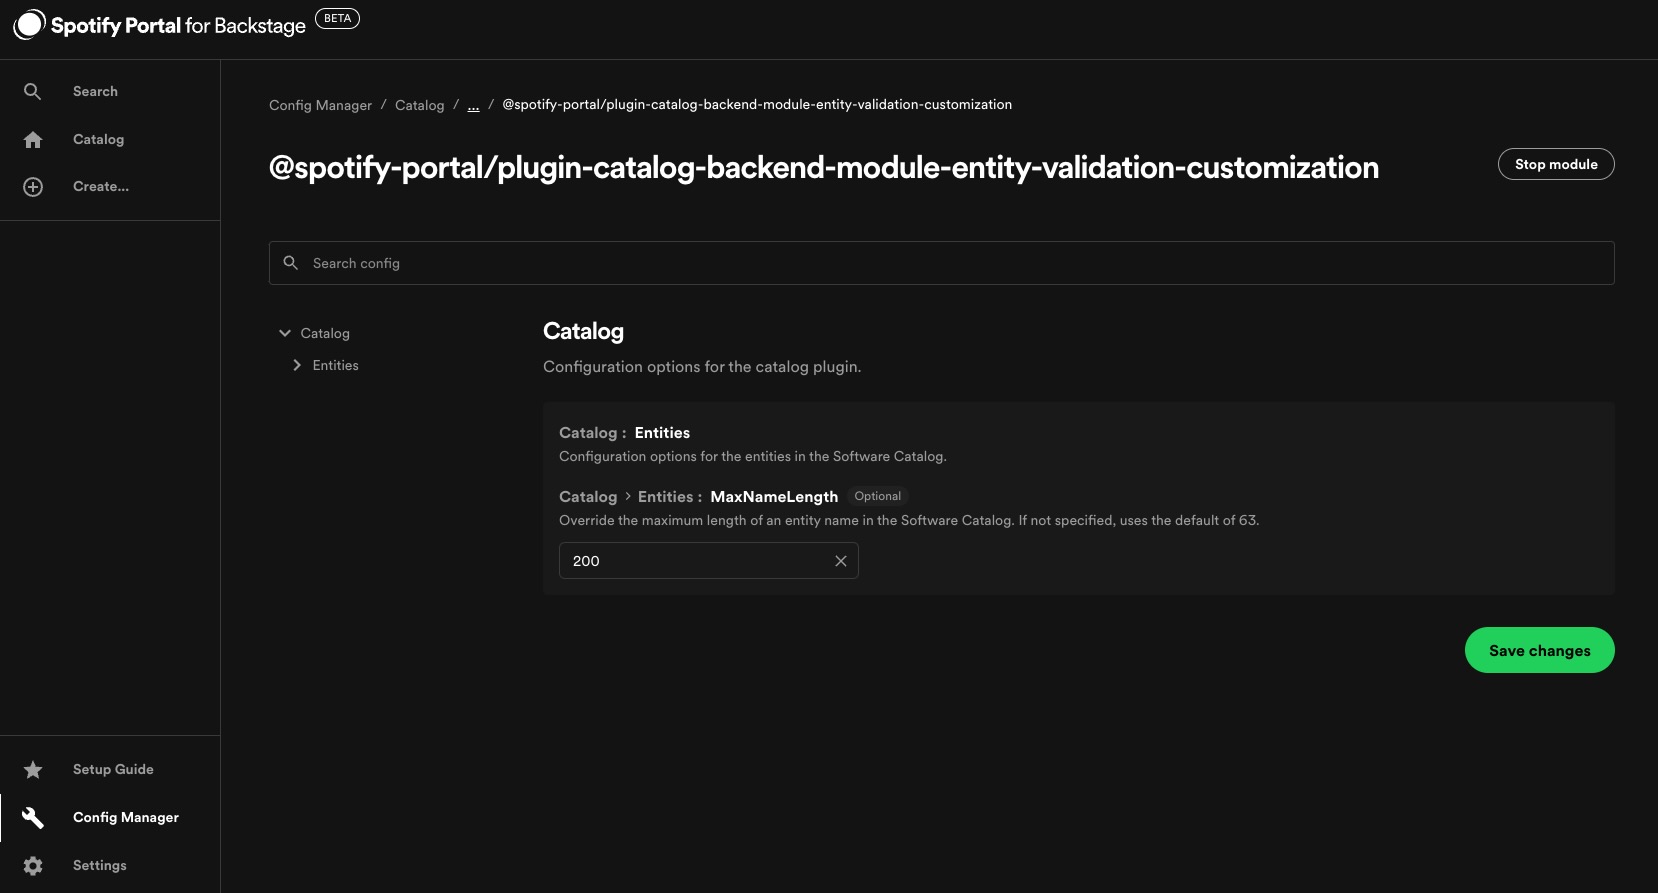
You should be careful about not making the rules more strict than they used to be after populating the catalog with data. This risks making previously valid entities start having processing errors and fail to update.
Finding software in the catalog
By default the software catalog shows components owned by the team of the logged in user. But you can also switch to All to see all the components across your company's software ecosystem. Basic inline search and column filtering makes it easy to browse a big set of components.

Starring components
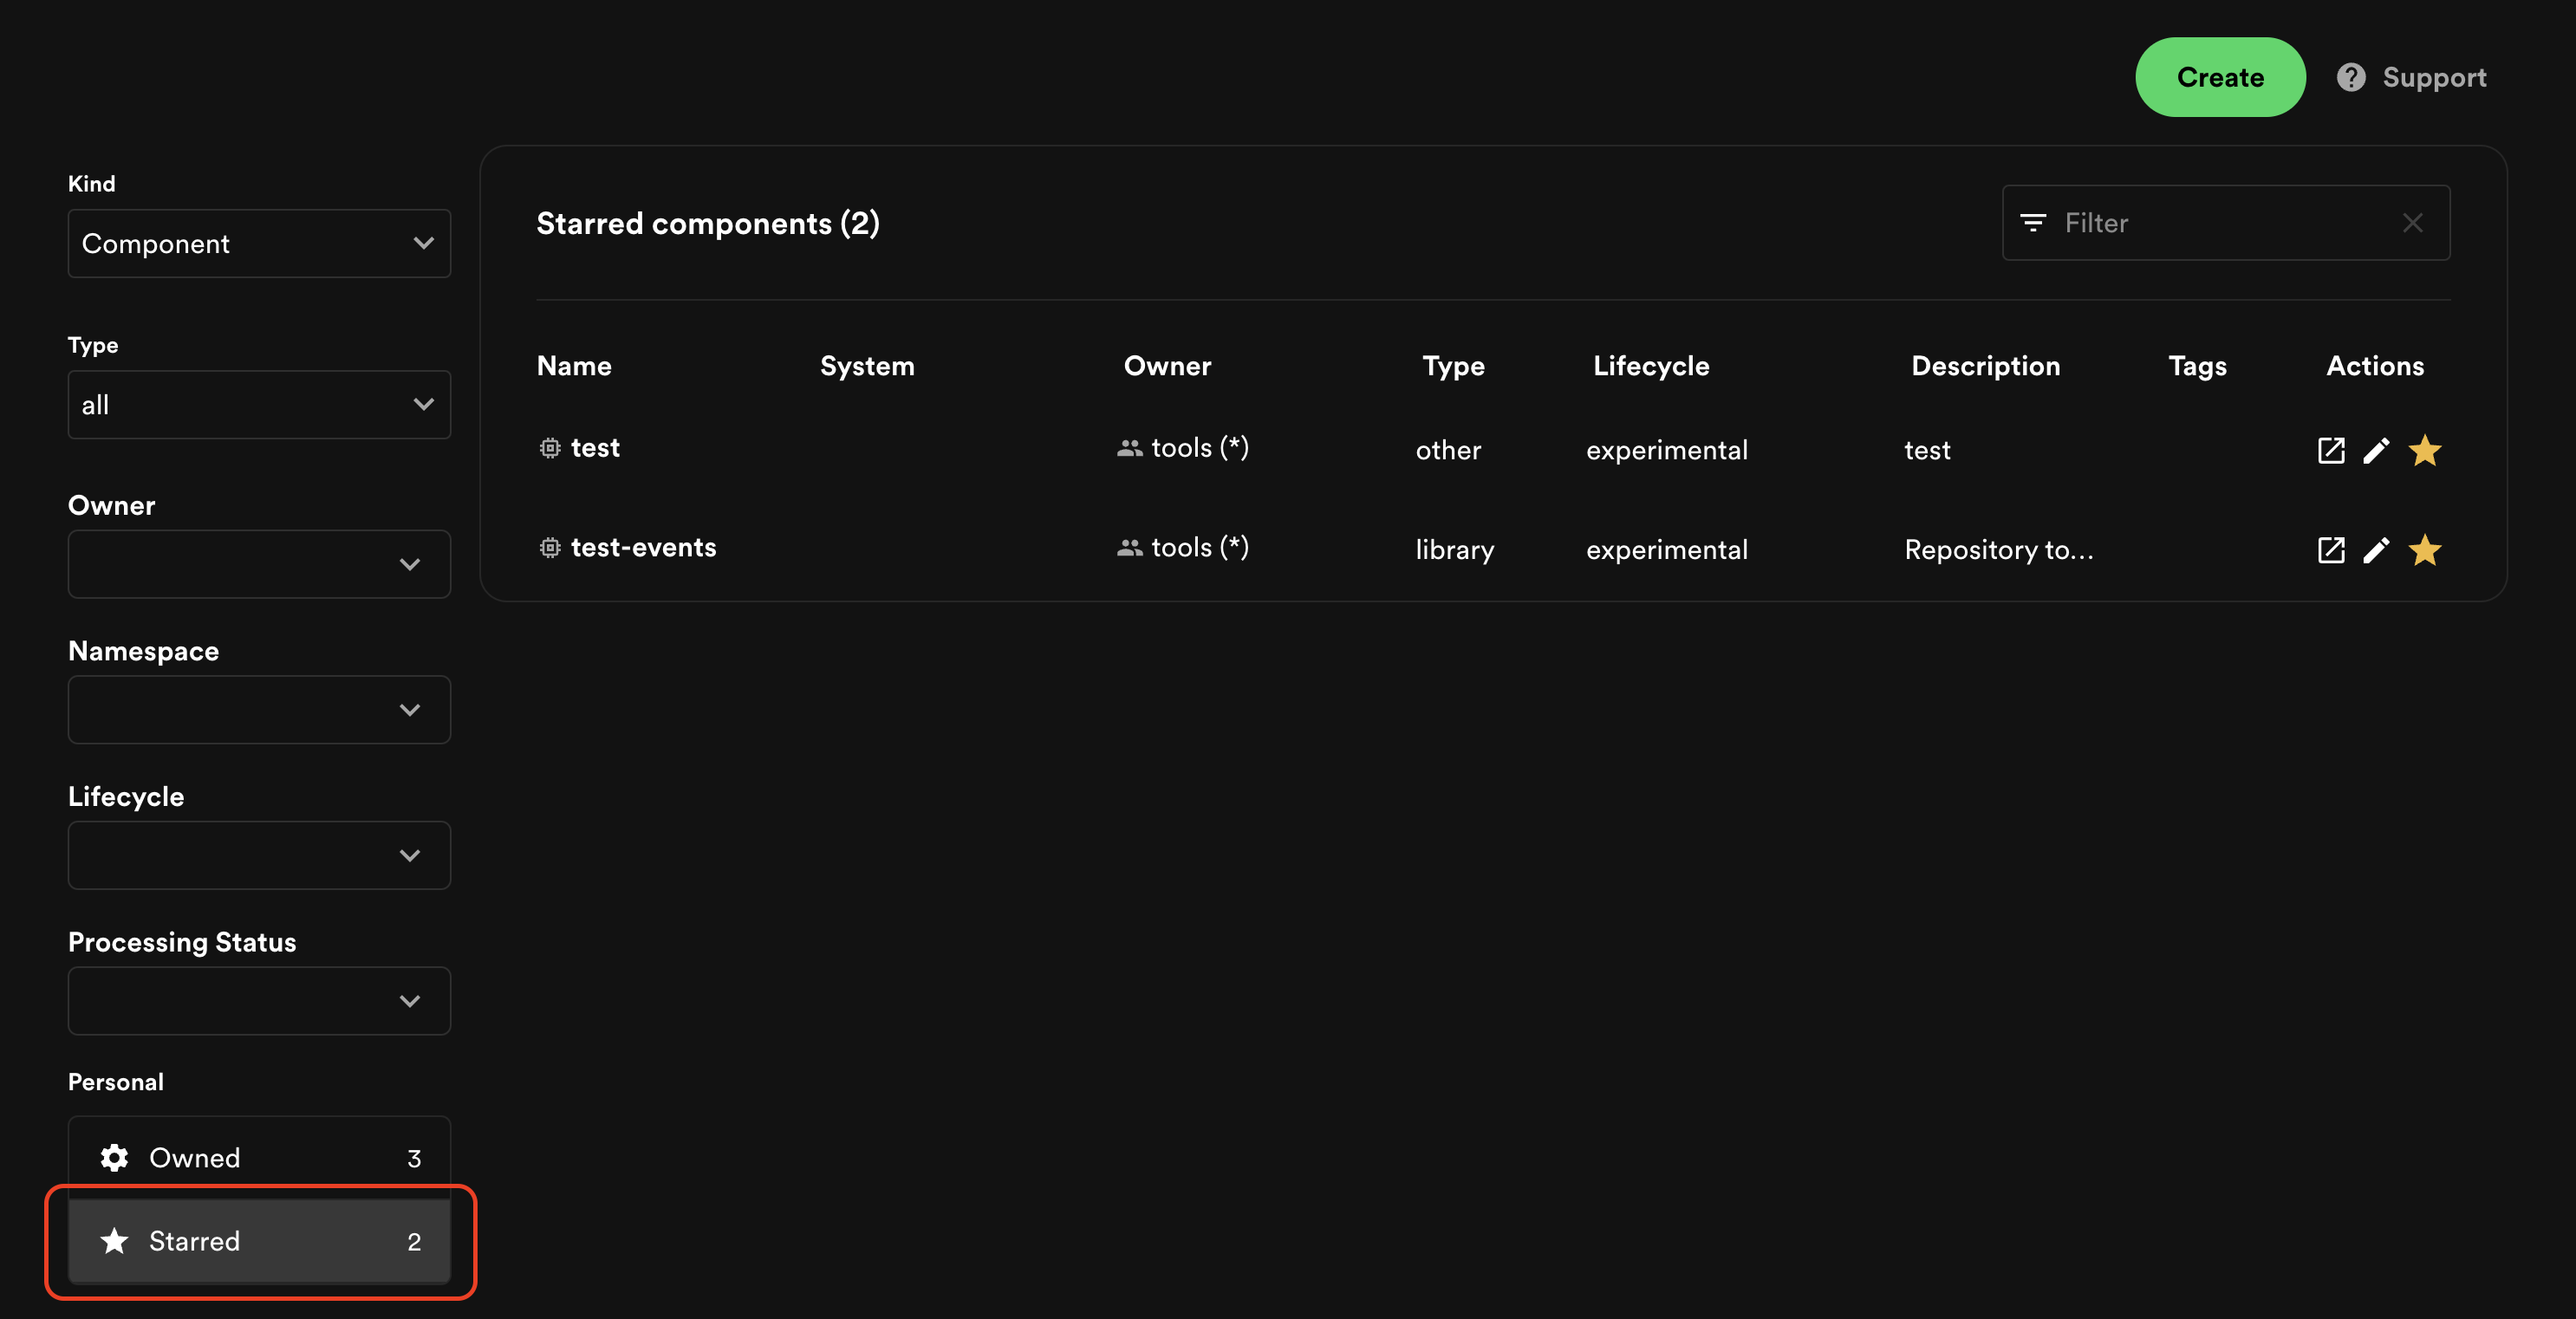
For easy and quick access to components you visit frequently, Portal supports starring of components:
