Setting up Software Templates
45 MINS
Writing new Software Templates
Note: Software Templates = Scaffolder, used interchangeably as it is the name of the Backstage plugin enabling that functionality.
Let’s create a simple Software Template and register in the Software Catalog.
- In your local computer, create a directory called
test-docs-templateanywhere. - Inside the directory, create a
template.yamlfile with the following content:
apiVersion: scaffolder.backstage.io/v1beta3
kind: Template
metadata:
  name: docs-template
  title: Documentation Template
  description: Create a new standalone documentation project
  tags:
    - recommended
    - techdocs
    - mkdocs
spec:
  owner: my-awesome-team
  type: documentation

  parameters:
    - title: Fill in some steps
      required:
        - name
        - description
      properties:
        name:
          title: Name
          type: string
          description: Unique name of the component
          ui:field: EntityNamePicker
          ui:autofocus: true
        description:
          title: Description
          type: string
          description: A description for the component
        owner:
          title: Owner
          type: string
          description: Owner of the component
          ui:field: OwnerPicker
          ui:options:
            allowedKinds:
              - Group
    - title: Choose a location
      required:
        - repoUrl
      properties:
        repoUrl:
          title: Repository Location
          type: string
          ui:field: RepoUrlPicker
          ui:options:
            allowedHosts:
              - github.com

  # This template is meant to be used on top of an existing template.
  # By adding the following and fetching from an absolute URL you can
  # add in the docs template
  steps:
    - id: fetch
      name: Template Docs Skeleton
      action: fetch:template
      input:
        url: ./skeleton
        values:
          name: ${{ parameters.name }}
          description: ${{ parameters.description }}
          destination: ${{ parameters.repoUrl | parseRepoUrl }}
          owner: ${{ parameters.owner }}

    - id: publish
      name: Publish
      action: publish:github
      input:
        allowedHosts: ['github.com']
        description: This is ${{ parameters.name }}
        repoUrl: ${{ parameters.repoUrl }}

    - id: register
      name: Register
      action: catalog:register
      input:
        repoContentsUrl: ${{ steps.publish.output.repoContentsUrl }}
        catalogInfoPath: '/catalog-info.yaml'

  output:
    links:
      - title: Repository
        url: ${{ steps.publish.output.remoteUrl }}
      - title: Open in catalog
        icon: catalog
        entityRef: ${{ steps.register.output.entityRef }}
To learn more about the specific fields, read the following docs https://backstage.io/docs/features/software-catalog/descriptor-format#kind-template
- Now create a skeleton directory at the same level as
template.yaml. Inside the skeleton directory, create aREADME.mdfile with some template values. These template values will be overwritten in the first step defined in the template with id fetch.
# ${{ values.name }}

${{ values.description }}

Owned by ${{ values.owner }}
- Lastly, next to
README.md, create acatalog-info.yamlfile with the following content:
apiVersion: backstage.io/v1alpha1
kind: Component
metadata:
  name: ${{values.name | dump}}
  description: ${{values.description | dump}}
  annotations:
    github.com/project-slug: ${{values.destination.owner + "/" + values.destination.repo}}
spec:
  type: documentation
  lifecycle: experimental
  owner: ${{values.owner | dump}}
This file will be used in automatically registering the newly created software components using the template you have just created.
At this point, the structure of the template directory should look like this:
test-docs-template/
	template.yaml
	skeleton/
		README.md
		catalog-info.yaml
It’s now time to import the template into your Backstage local instance and use it.
- Update your
app-config.yamlin your Backstage app and add the following line undercatalog.locationssection.
catalog:
  locations:
    #....
    - type: file
      target: /path/to/test-docs-template/template.yaml
💡 NOTE: You can also use a relative path, relative to where the backend is running i.e. packages/backend/ in your Backstage app, not the root of the project.
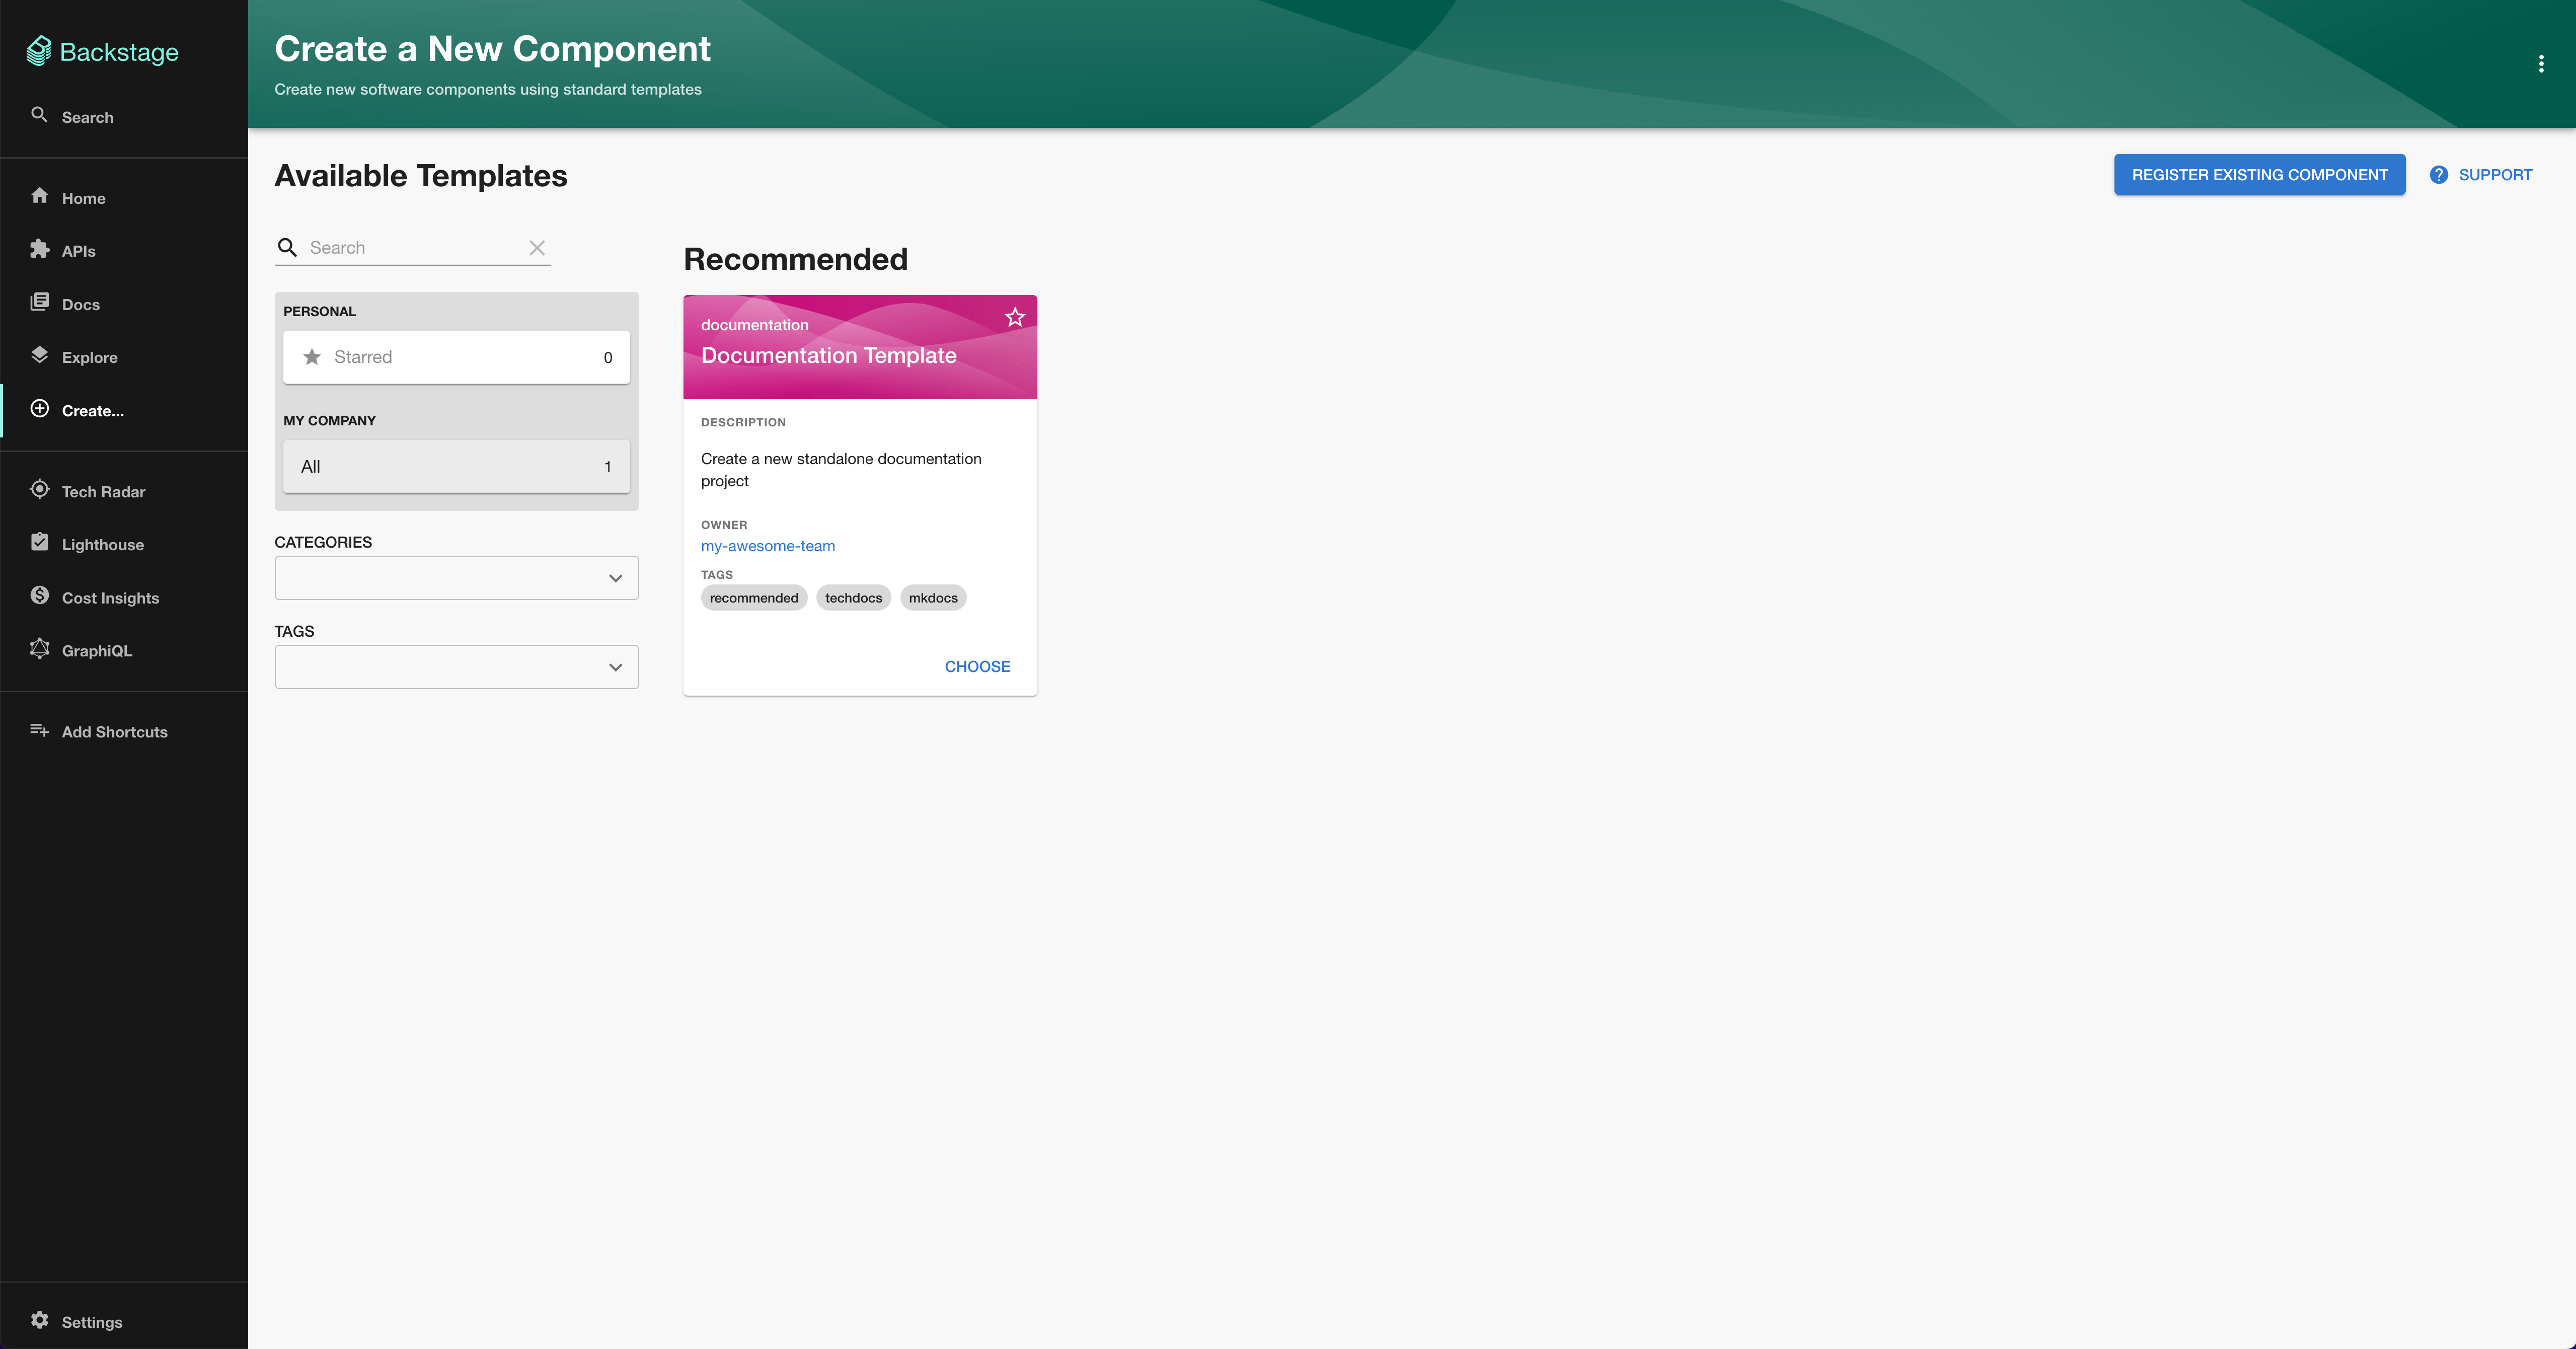
- Restart your backend and now load the
/createscreen by clicking Create in the sidebar. You should be able to find your newly created Software Template.
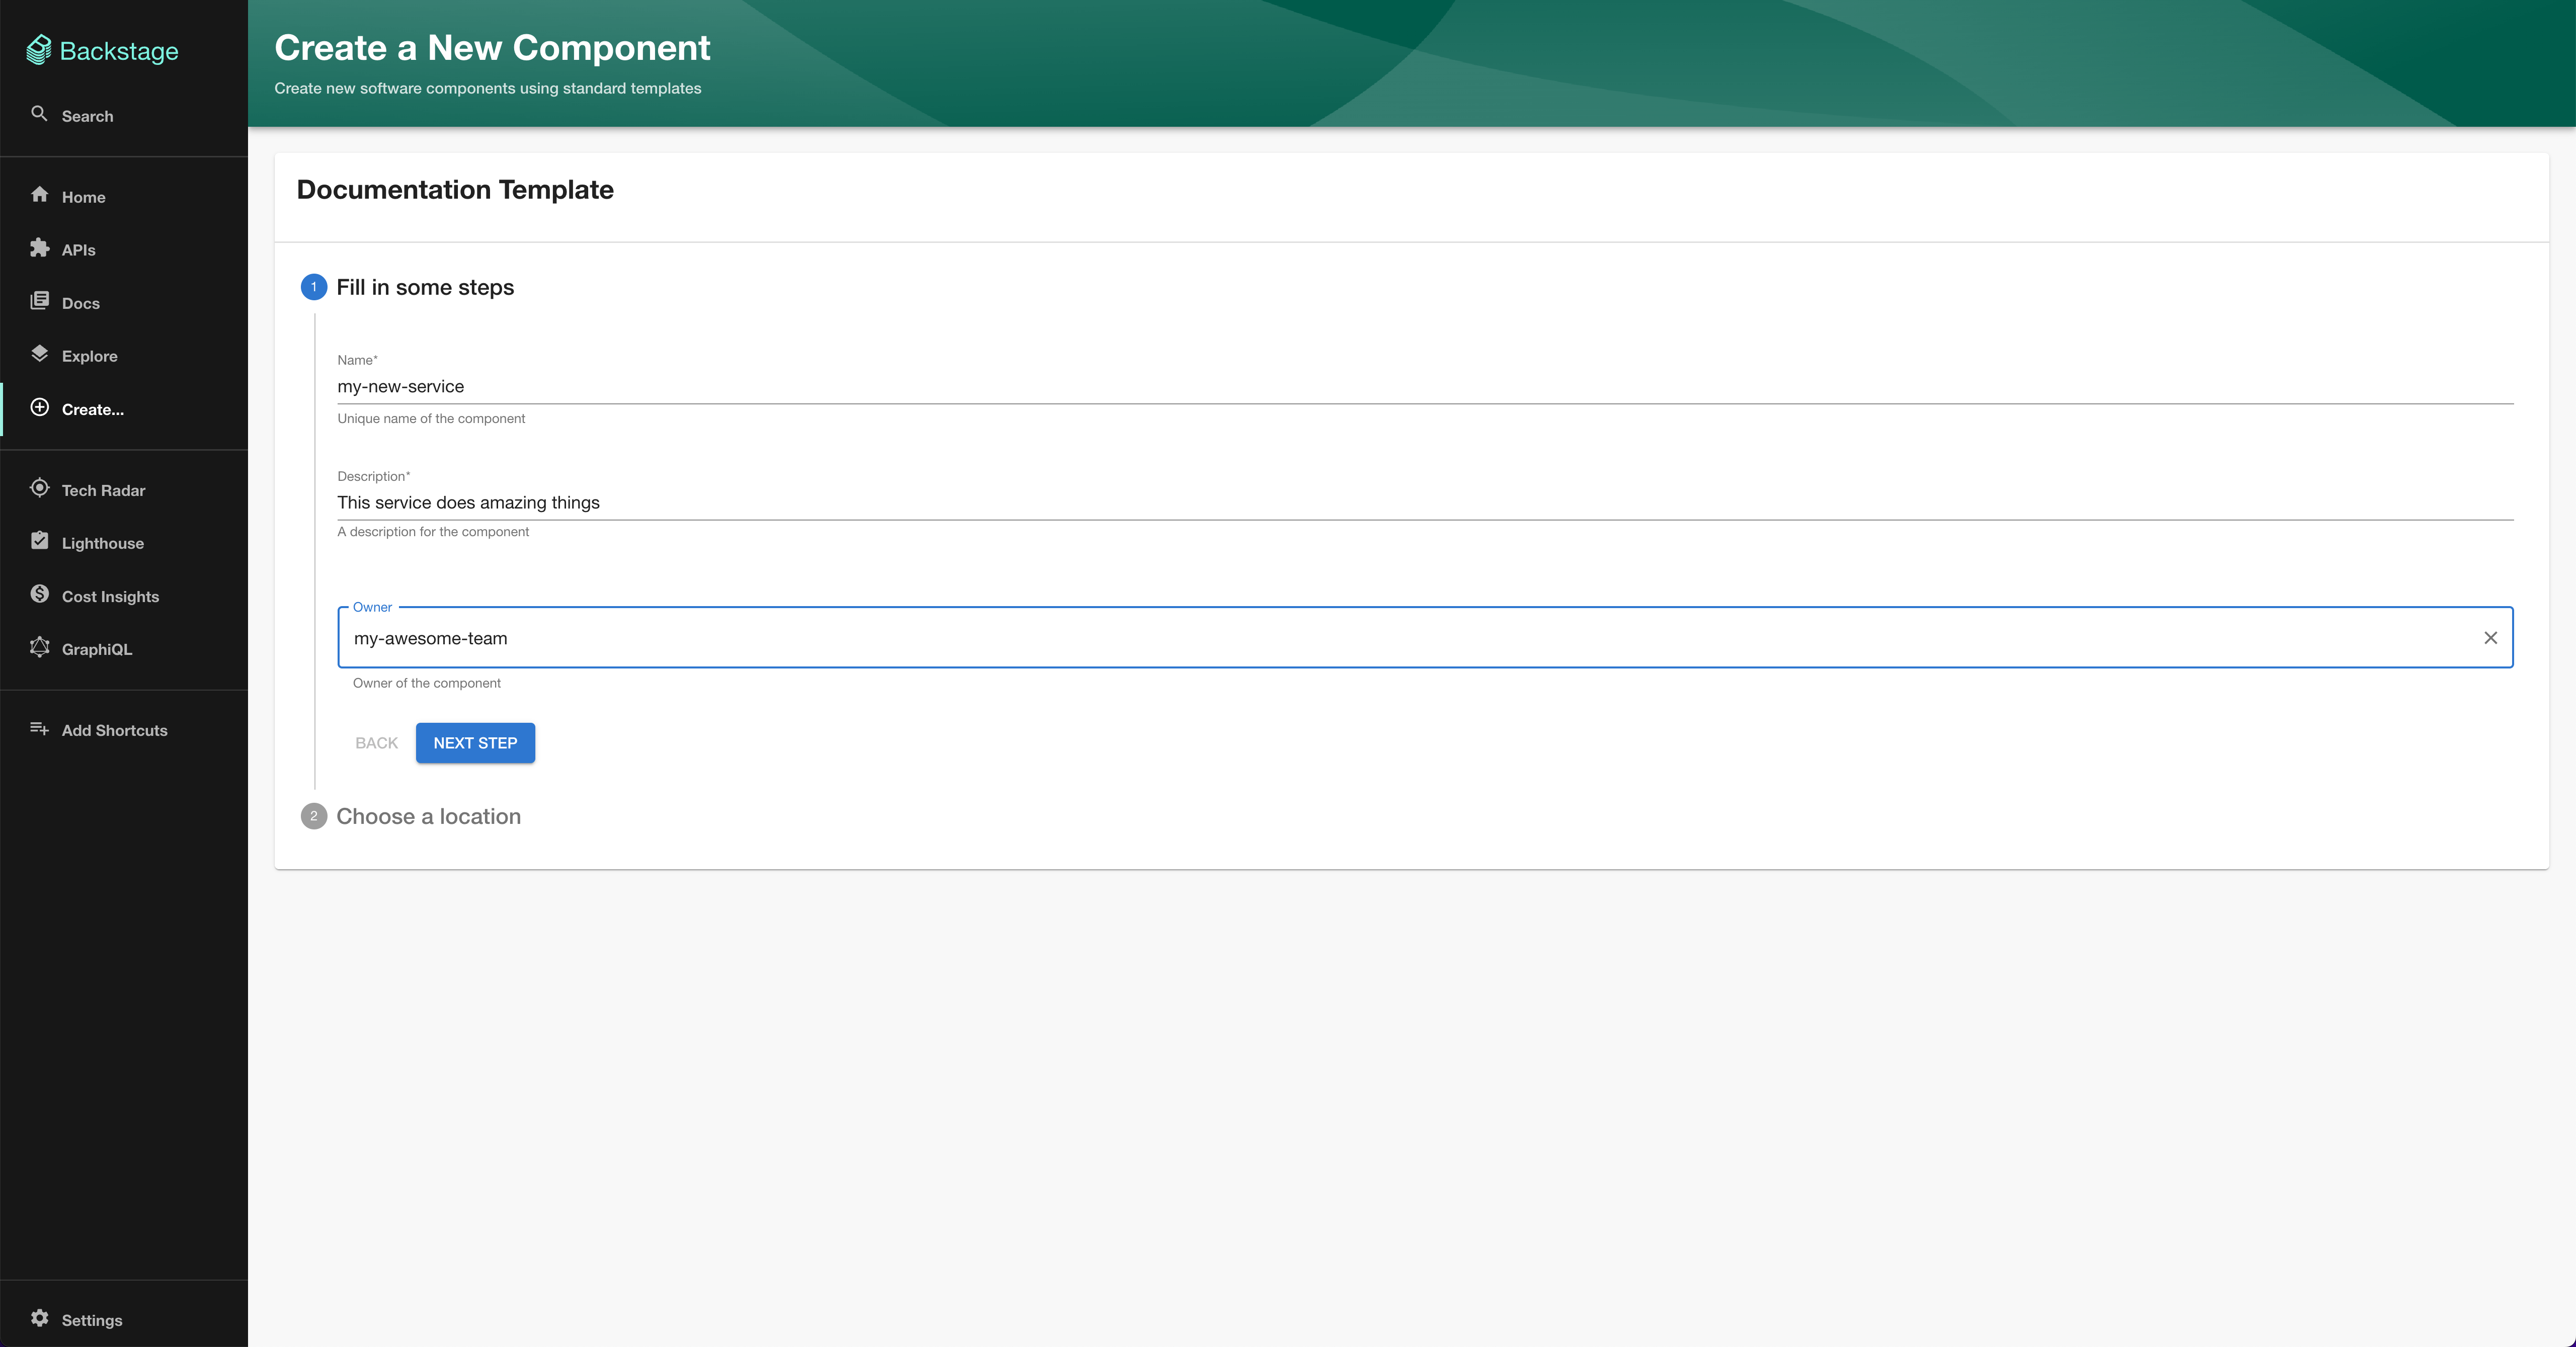
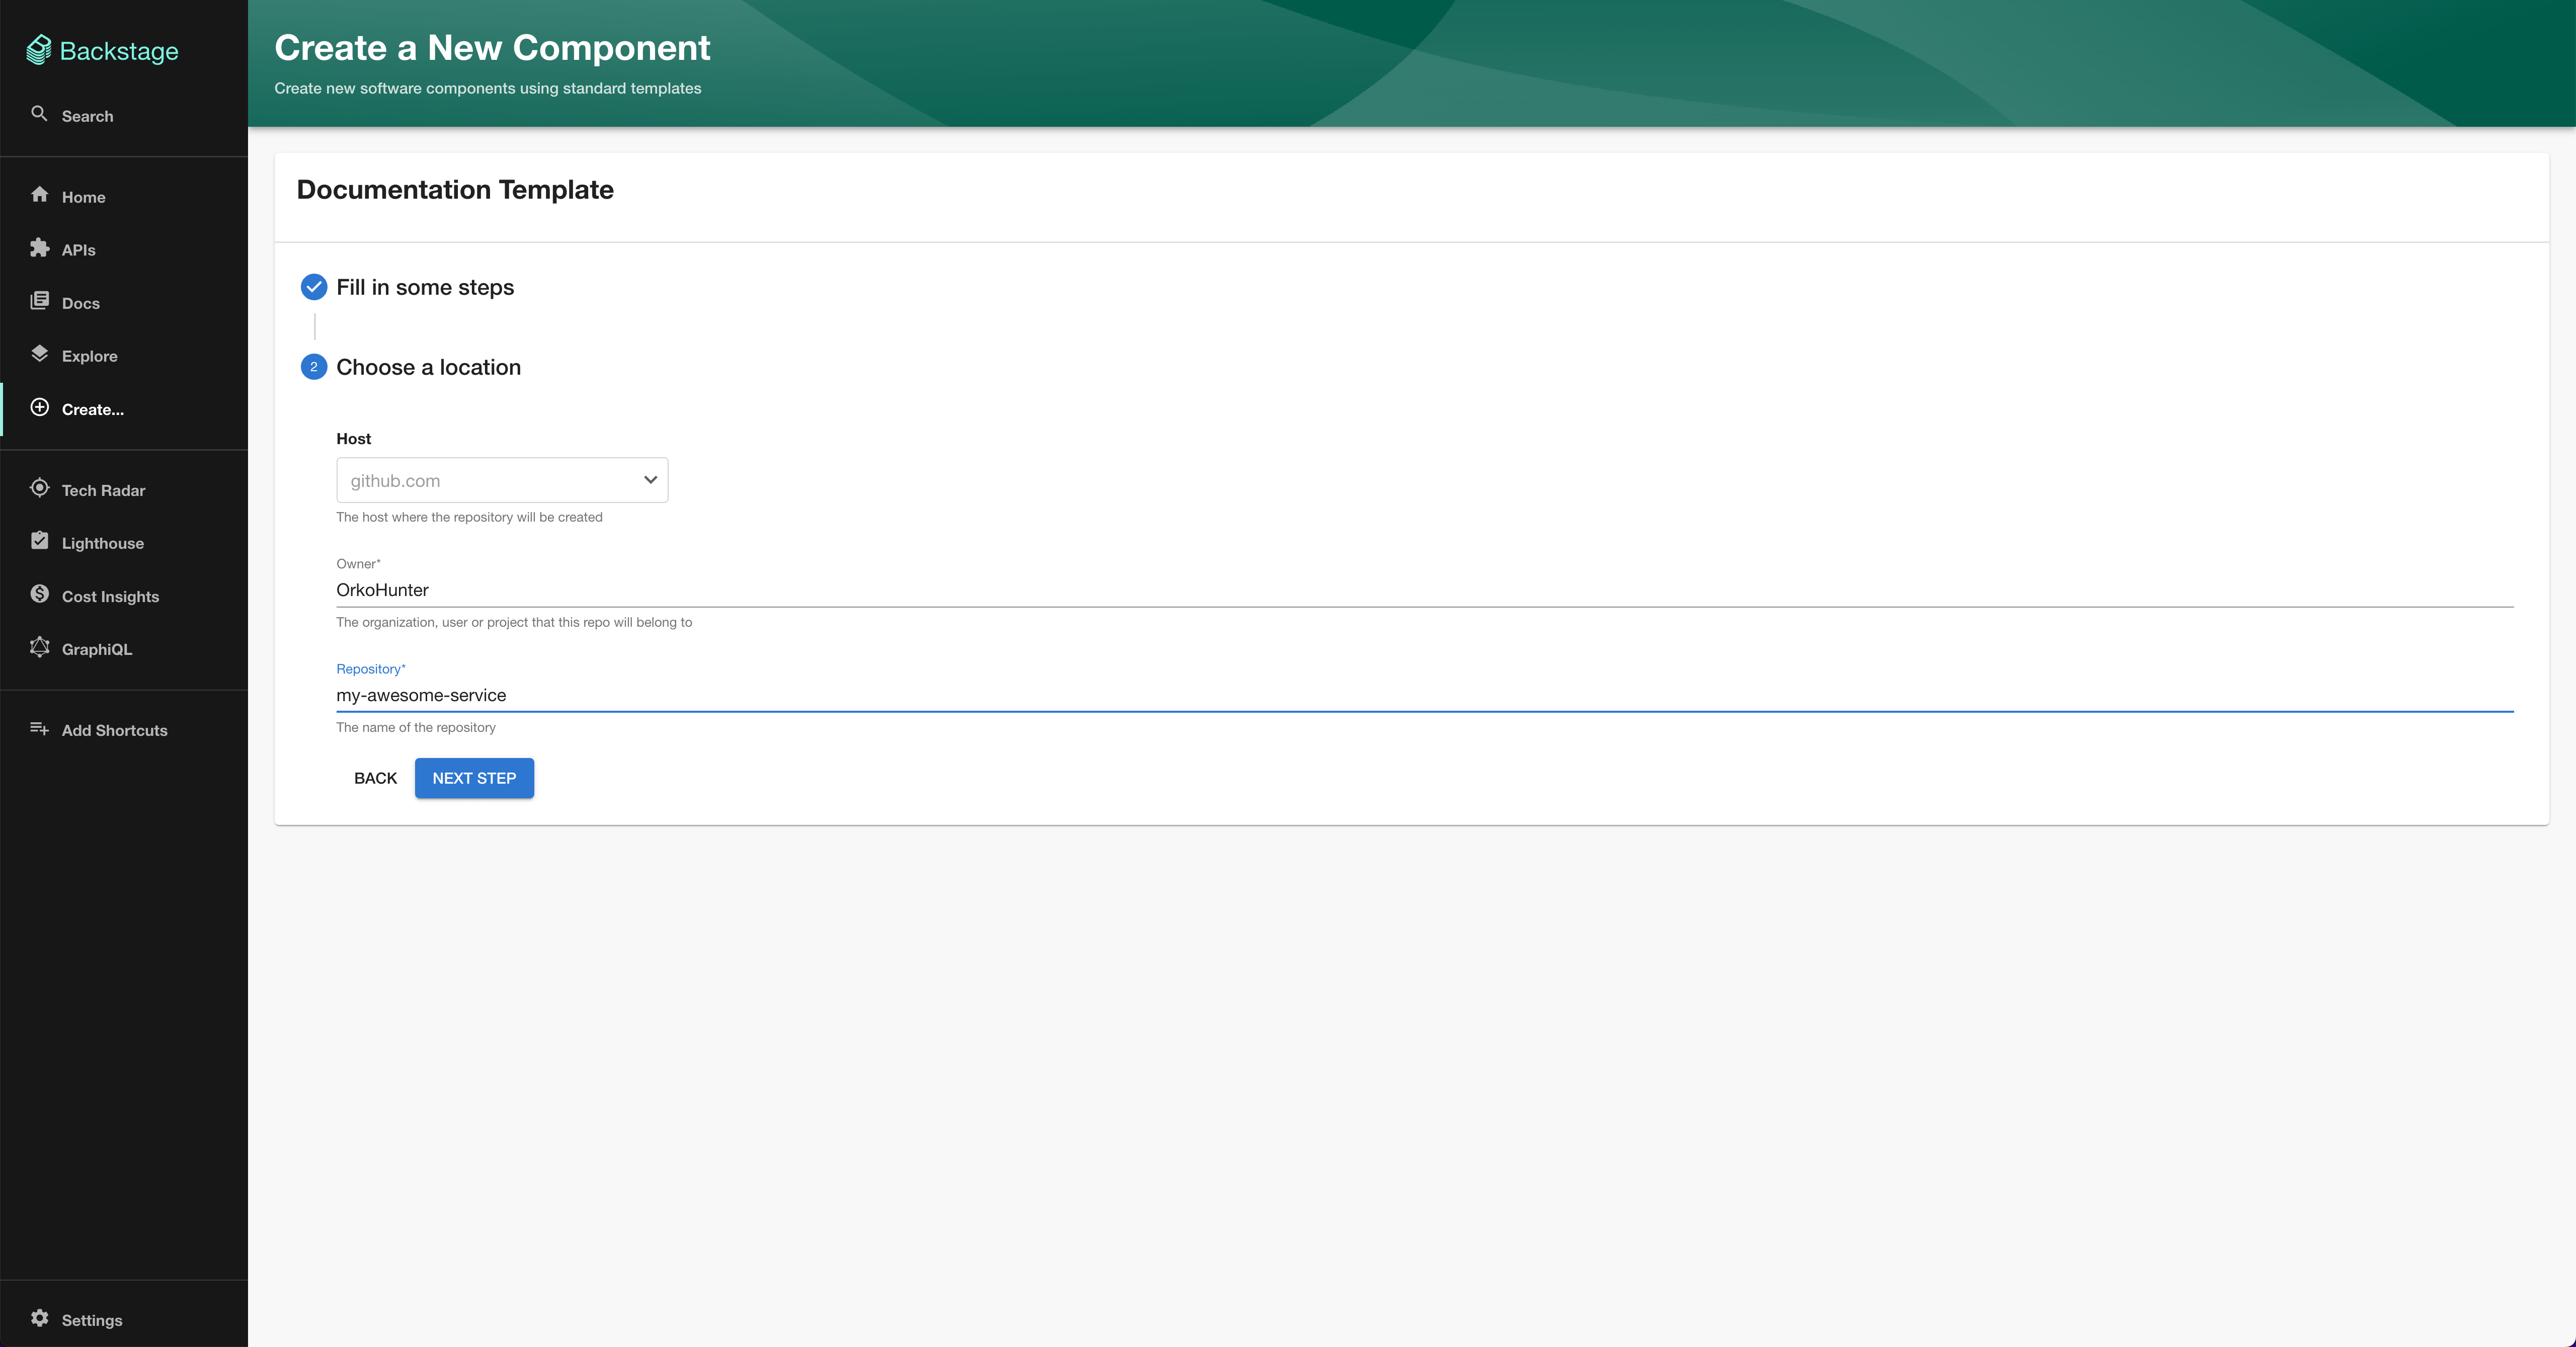
- Click on choose, fill in the minimum details needed to publish and hit run. Make sure your
integrations:section inapp-config.yamlhas all the necessary tokens to publish to GitHub, Gitlab, etc. If not, checkout the Integrations section in the Standing Up Backstage module.
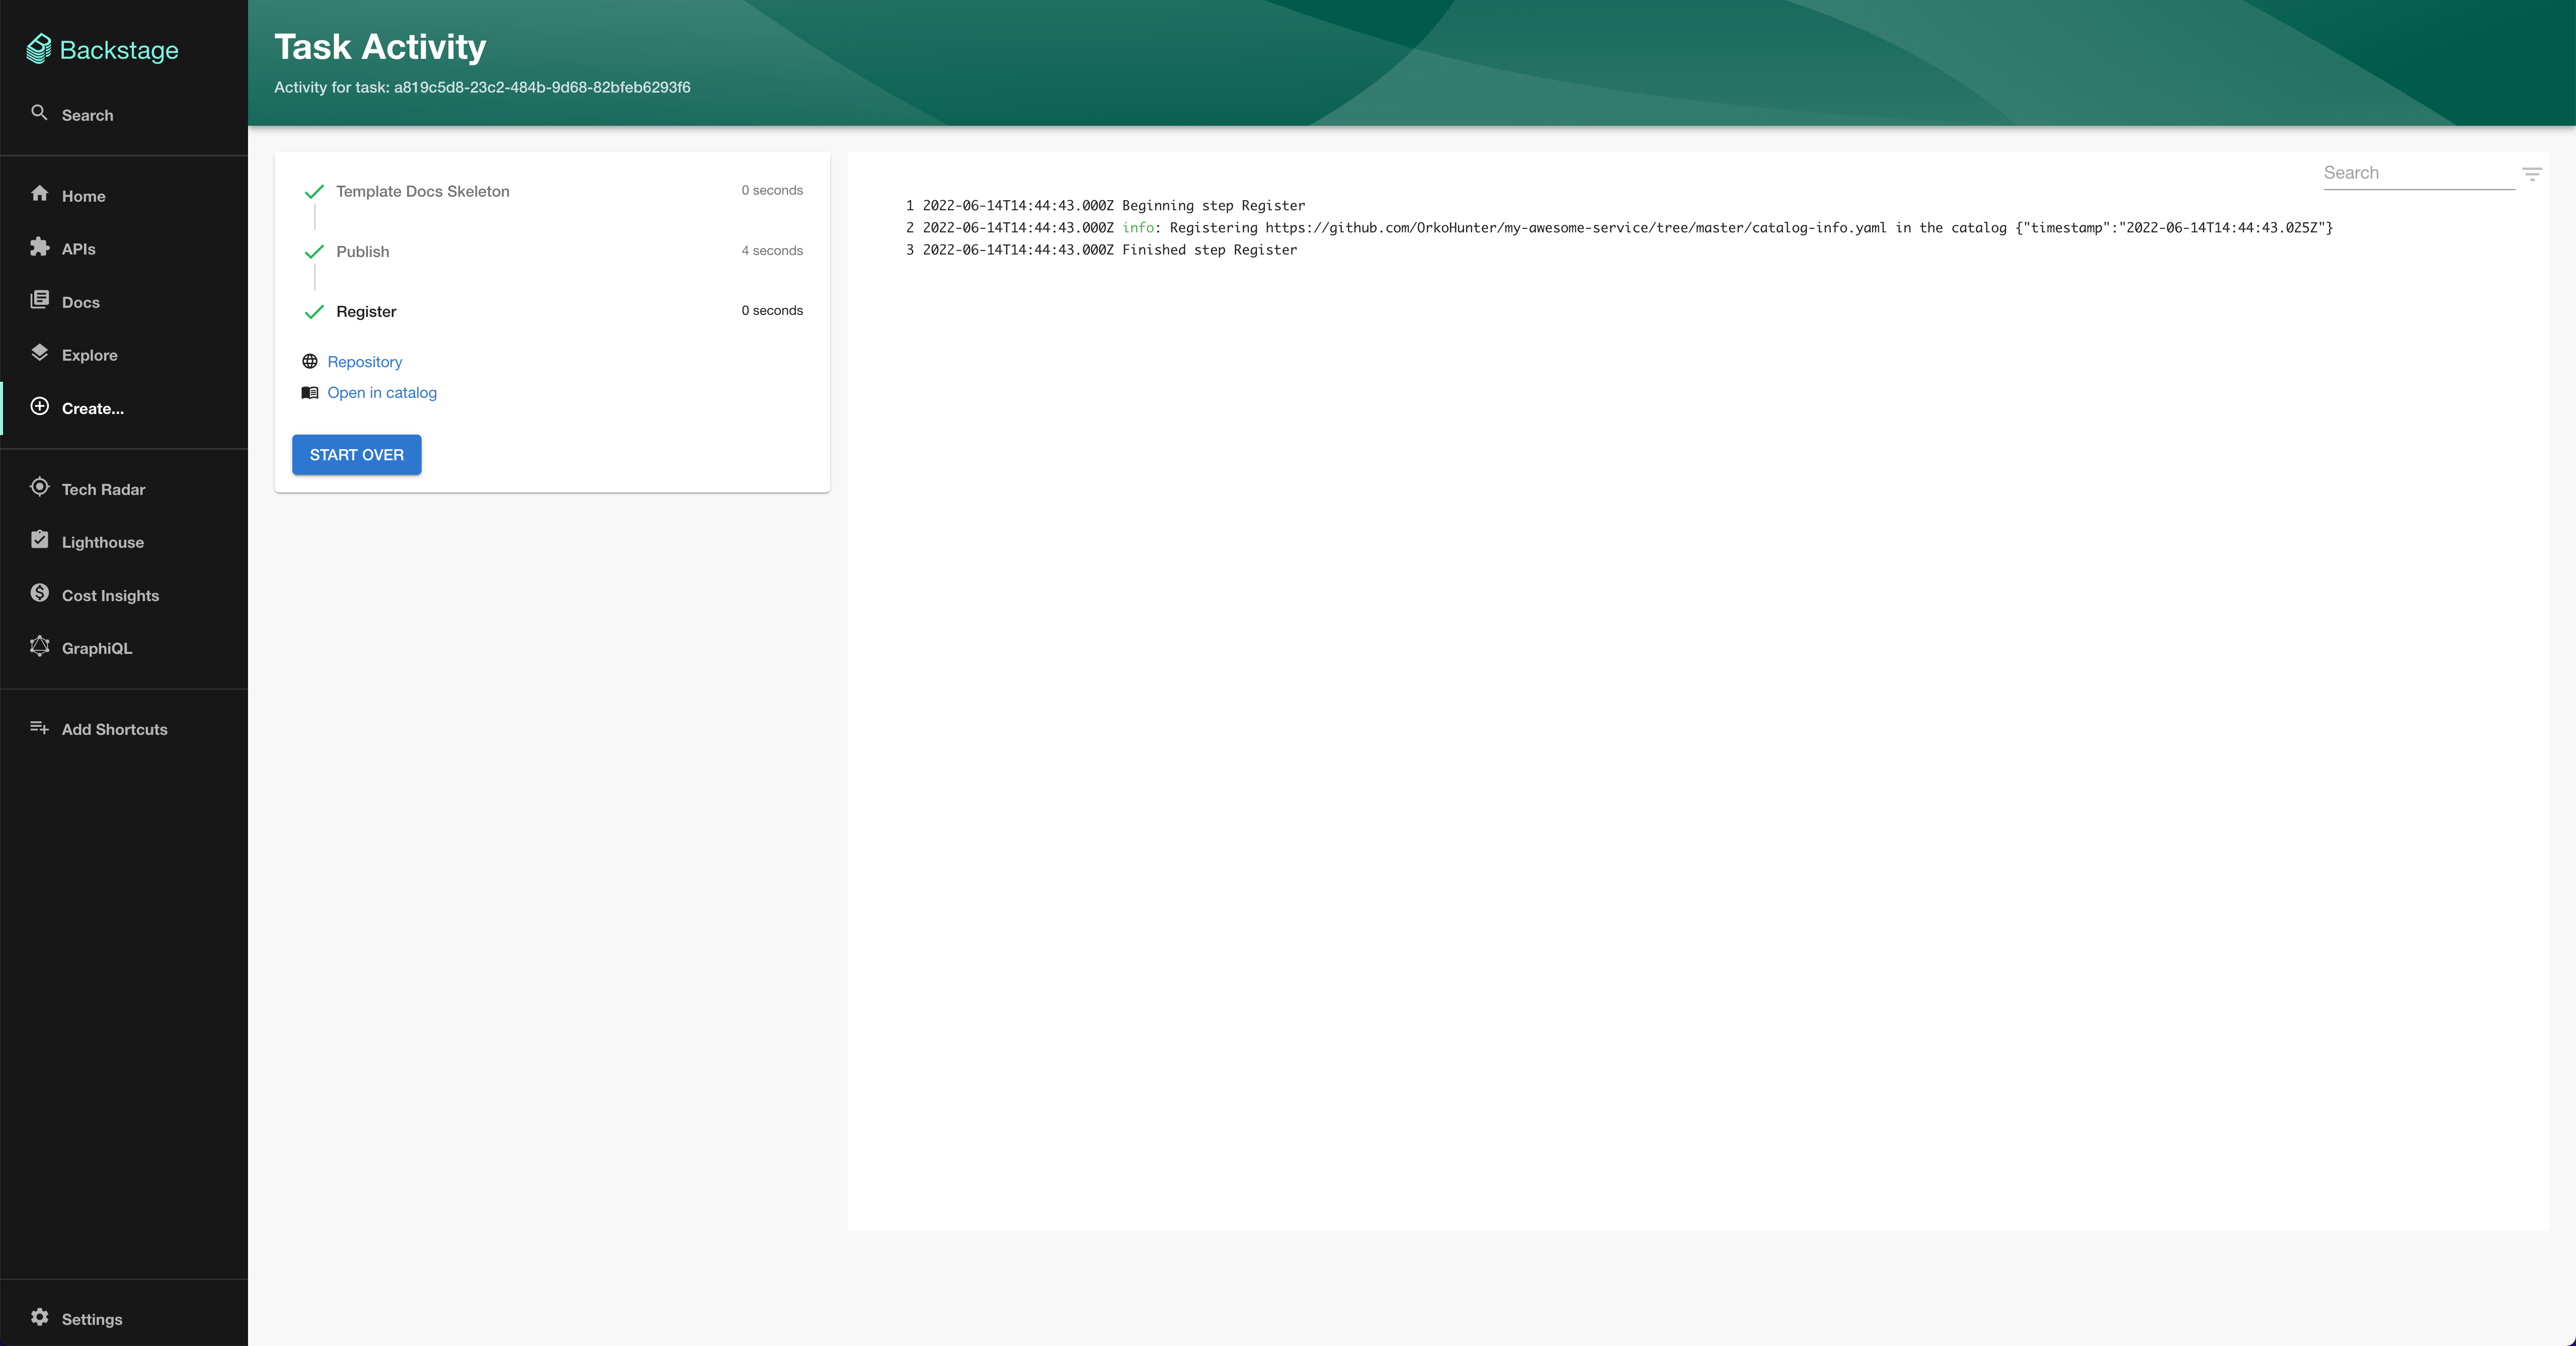
- In a few seconds, you can see the logs and find your component created and registered in the Software Catalog for you!