Publish & install a plugin
Publish a plugin privately
To publish a plugin to Portal Cloud, contact Spotify to receive a publishing token for your Portal Cloud instance.
Next, set up your local environment to publish to your Portal Cloud instance:
- Configure your plugin's
package.jsonto add aregistrykey:
{
 "name": "@portal-internal/plugin-example",
 "version": "0.1.0",
 ...
 "publishConfig": {
   "registry": "https://<company>.spotifyportal.com/api/plugin-installer/registry/npm"
 },
 ...
}
- Add a
.yarnrc.ymlwith thenpmAuthTokenkey defined with an environment variable:
npmAuthToken: ${PORTAL_PUBLISHING_TOKEN}
- Export the publishing token you received from Spotify:
export PORTAL_PUBLISHING_TOKEN=<token>
- Build your plugin:
# From a monorepo root directory
$ yarn tsc && yarn build:all

# From the plugin directory
$ yarn tsc && yarn build
- Publish your plugin:
# From a monorepo root directory
yarn workspace @portal-internal/plugin-example npm publish

# From the plugin directory
yarn npm publish
- Repeat Step 5 for any other plugin packages (e.g. backend or common packages).
When publishing subsequent versions, be sure to increment the version field in your package.json file. This can be done manually, or with a change management tool like changesets.
Publish a plugin as an Authorized Portal Partner
To become an authorized Portal Partner, please start by submitting an application, and someone from our partnerships team will reach out. Please include all details on the plugin that you have built, including how you intend to maintain support of the published plugin.
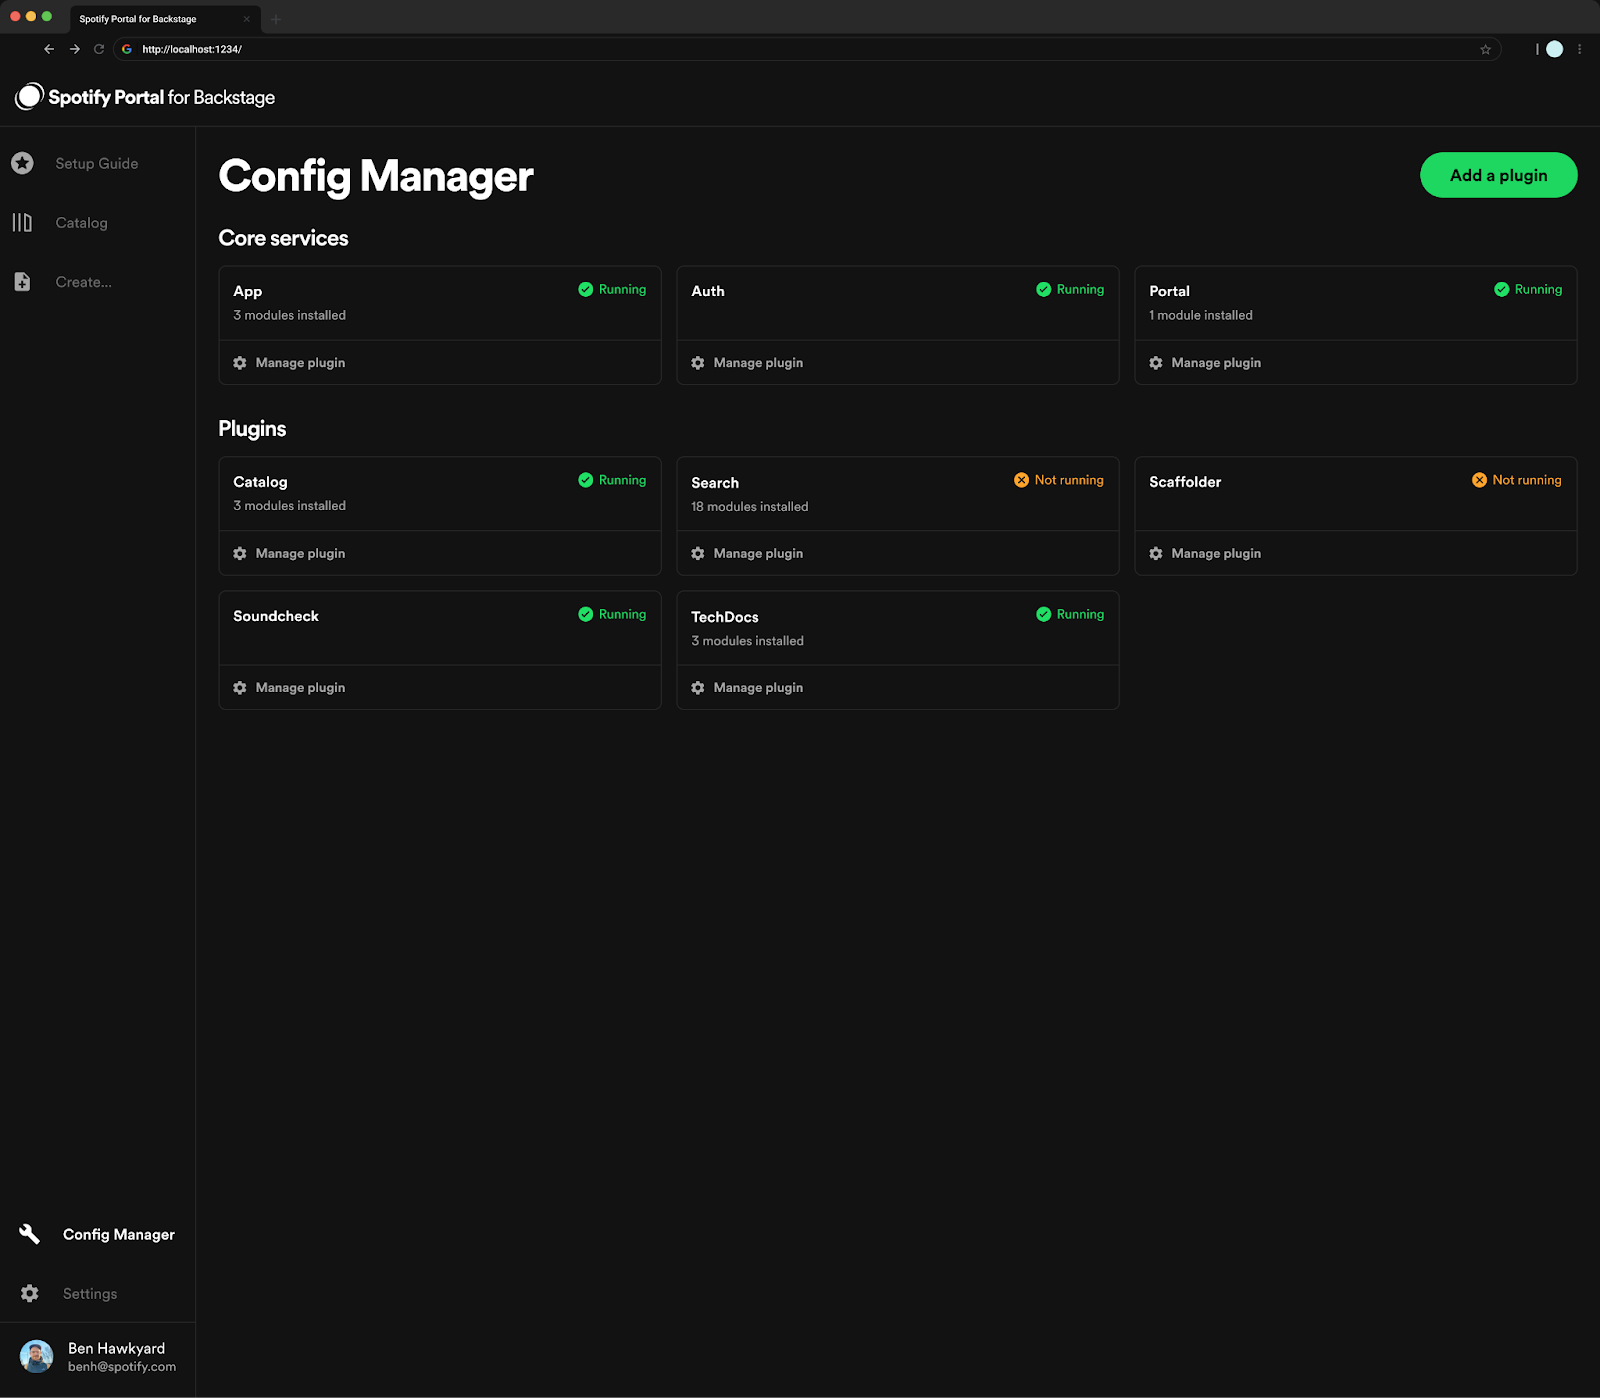
Install a plugin in Portal
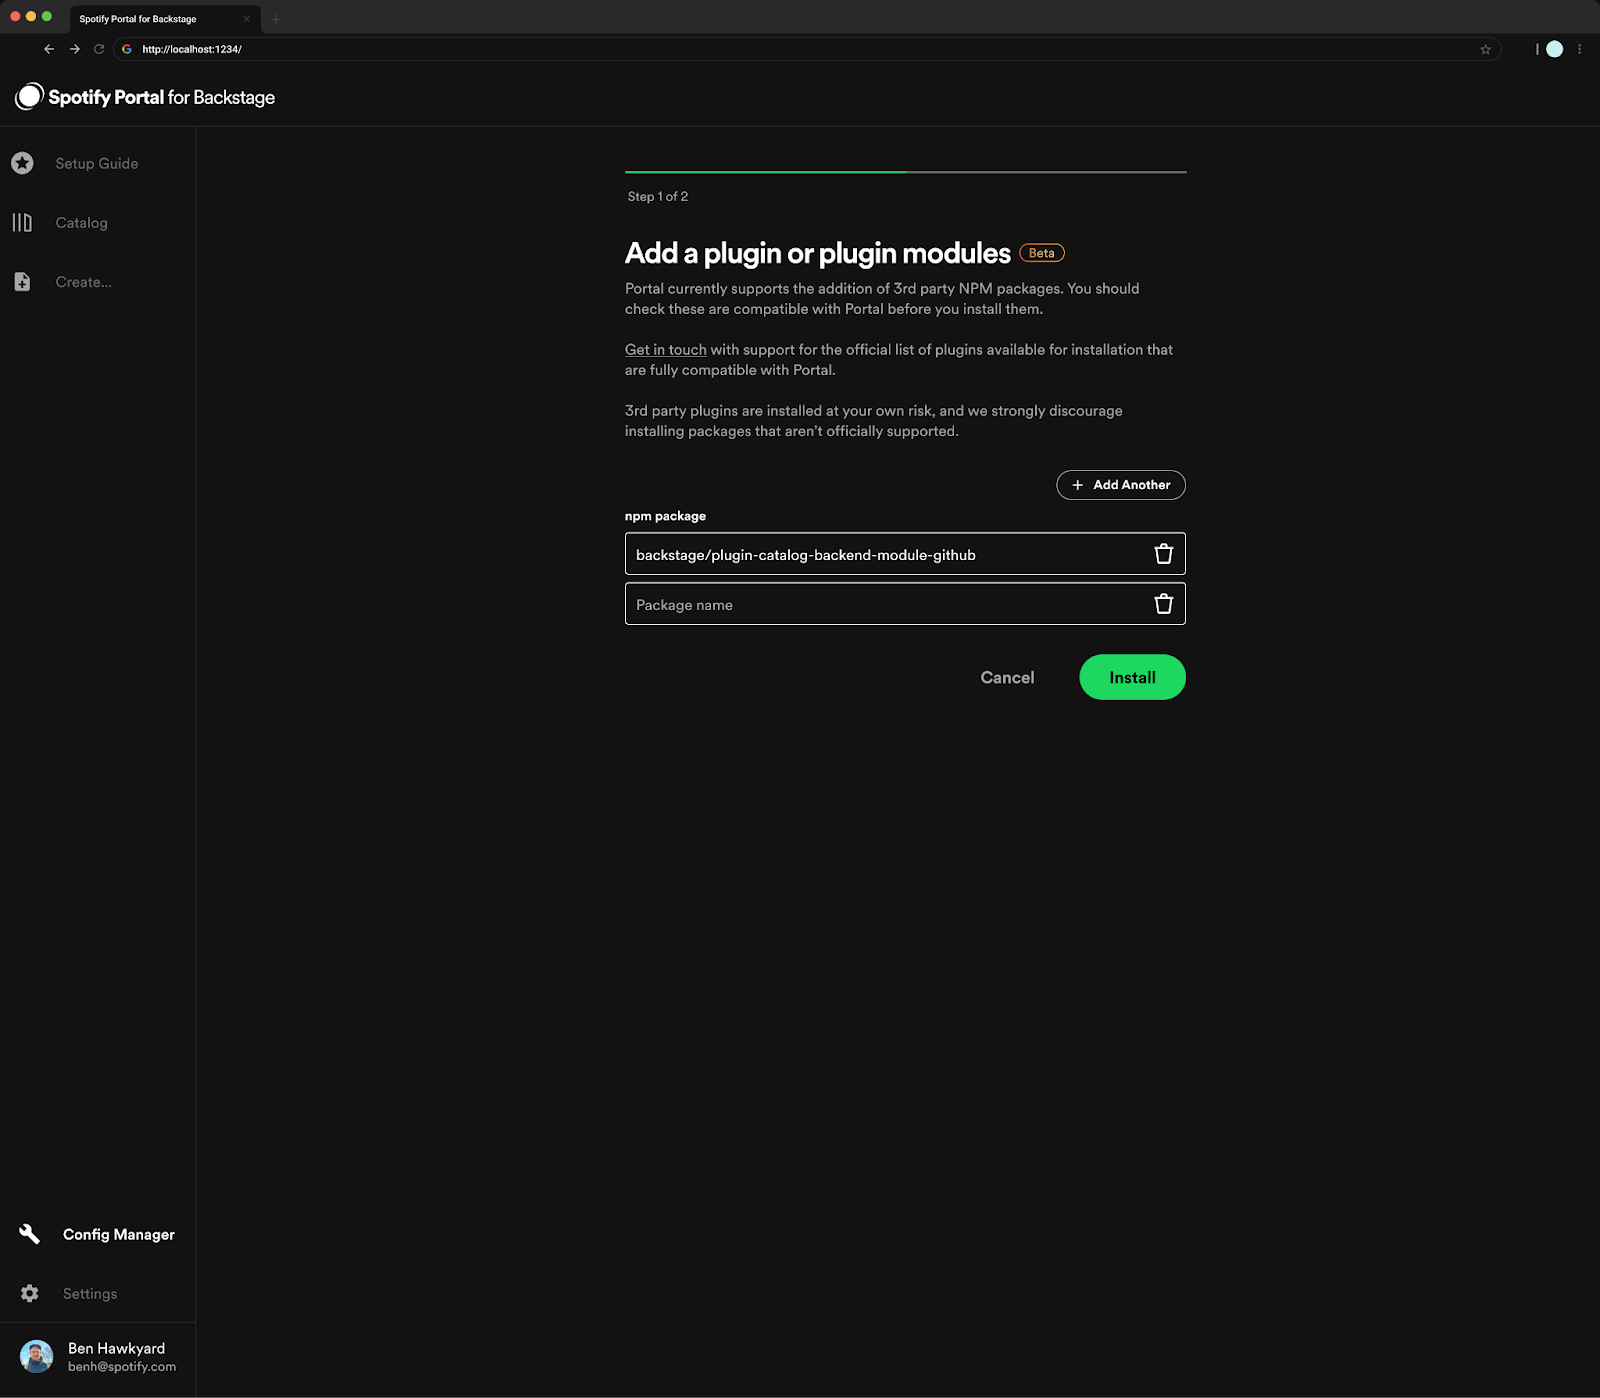
After publishing your plugin, it can be installed from the Config Manager in Portal. When signed in as an authorized user, click Add Plugin and enter the npm package name of your plugin. Enter additional package names if your plugin has multiple packages (e.g. a frontend and a backend package).
From this point on, the installation, configuration, upgrade, and uninstallation of your plugin works the same as any community or third-party packages installed in Portal.
- Navigate to Config Manager
- Select Add a plugin
- Enter all the package dependencies required for your plugin
- Once all packages have been added, select Install
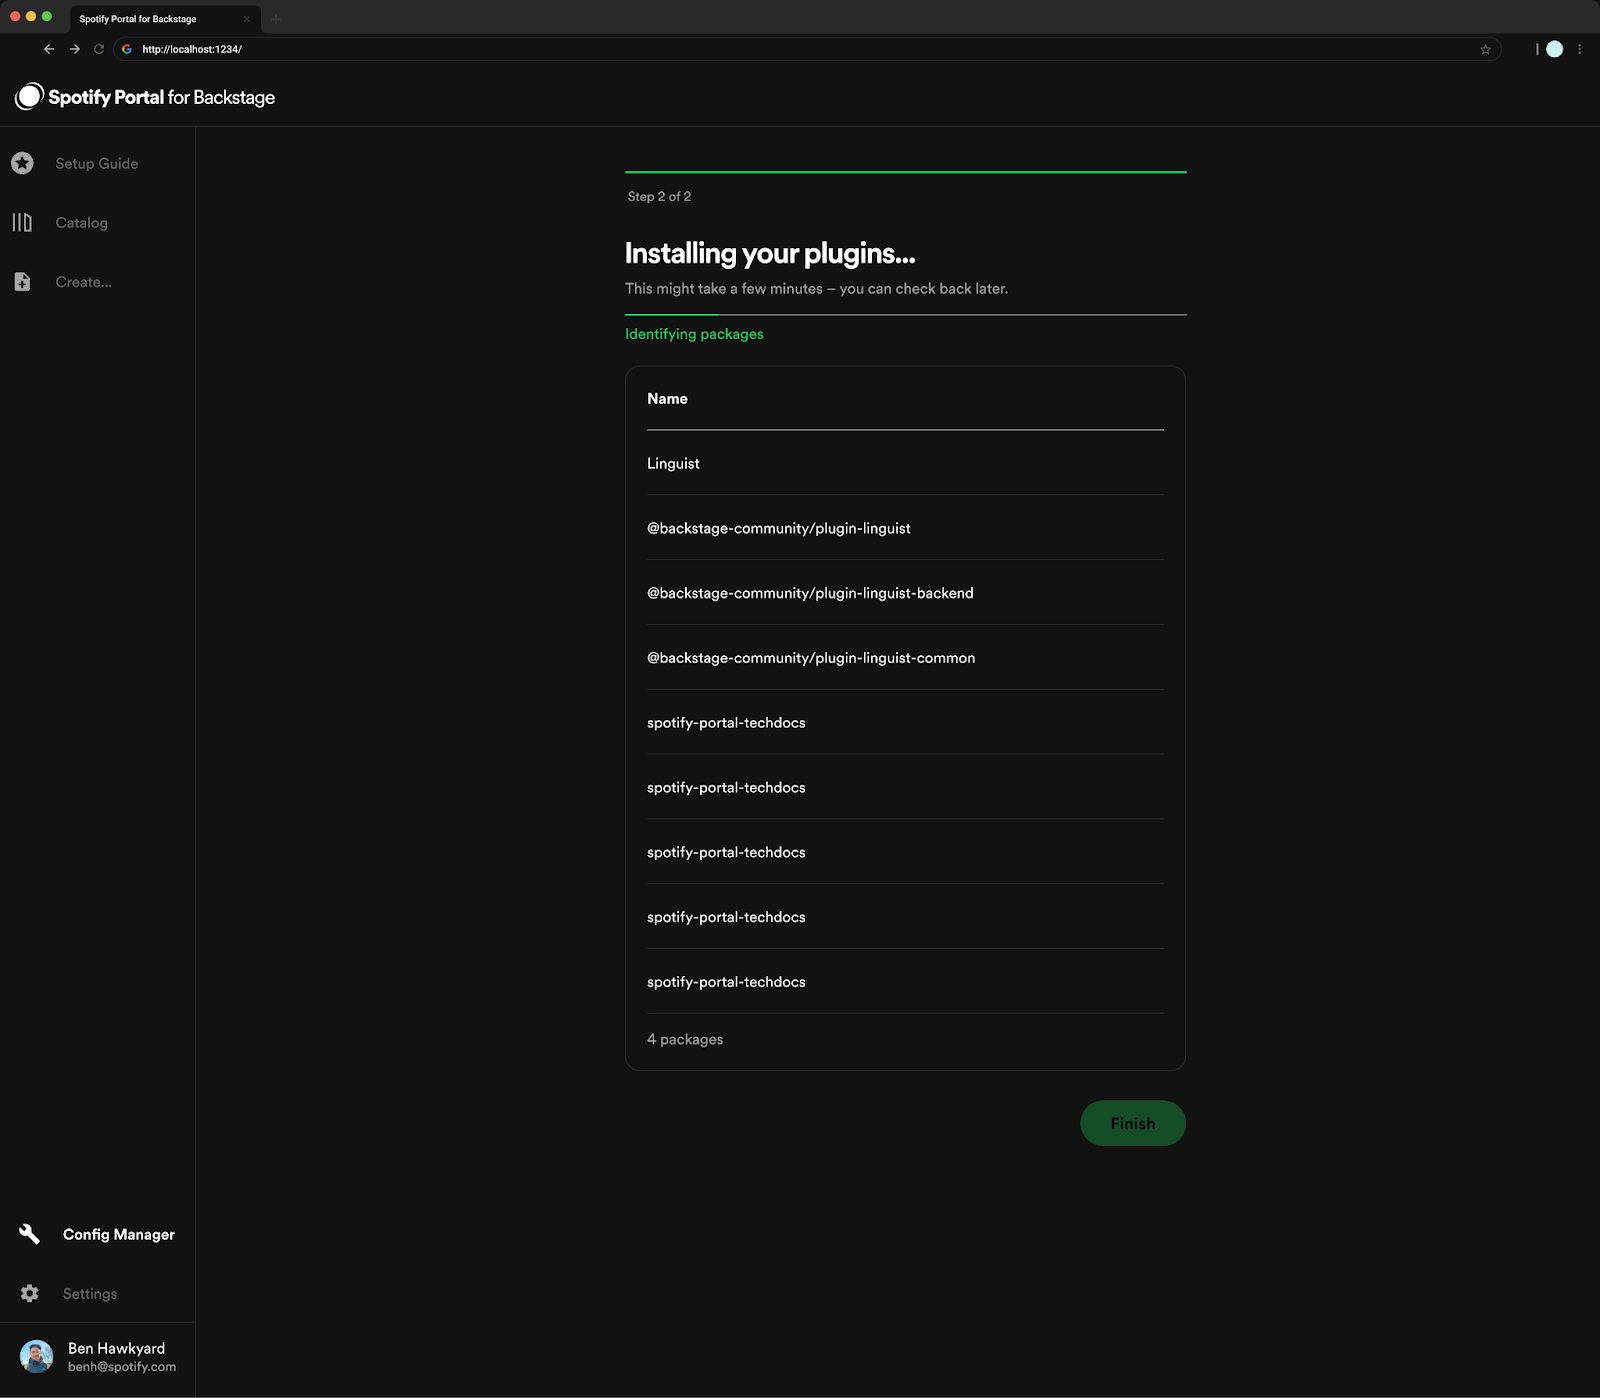
- Once all packages have been installed successfully, select Finish
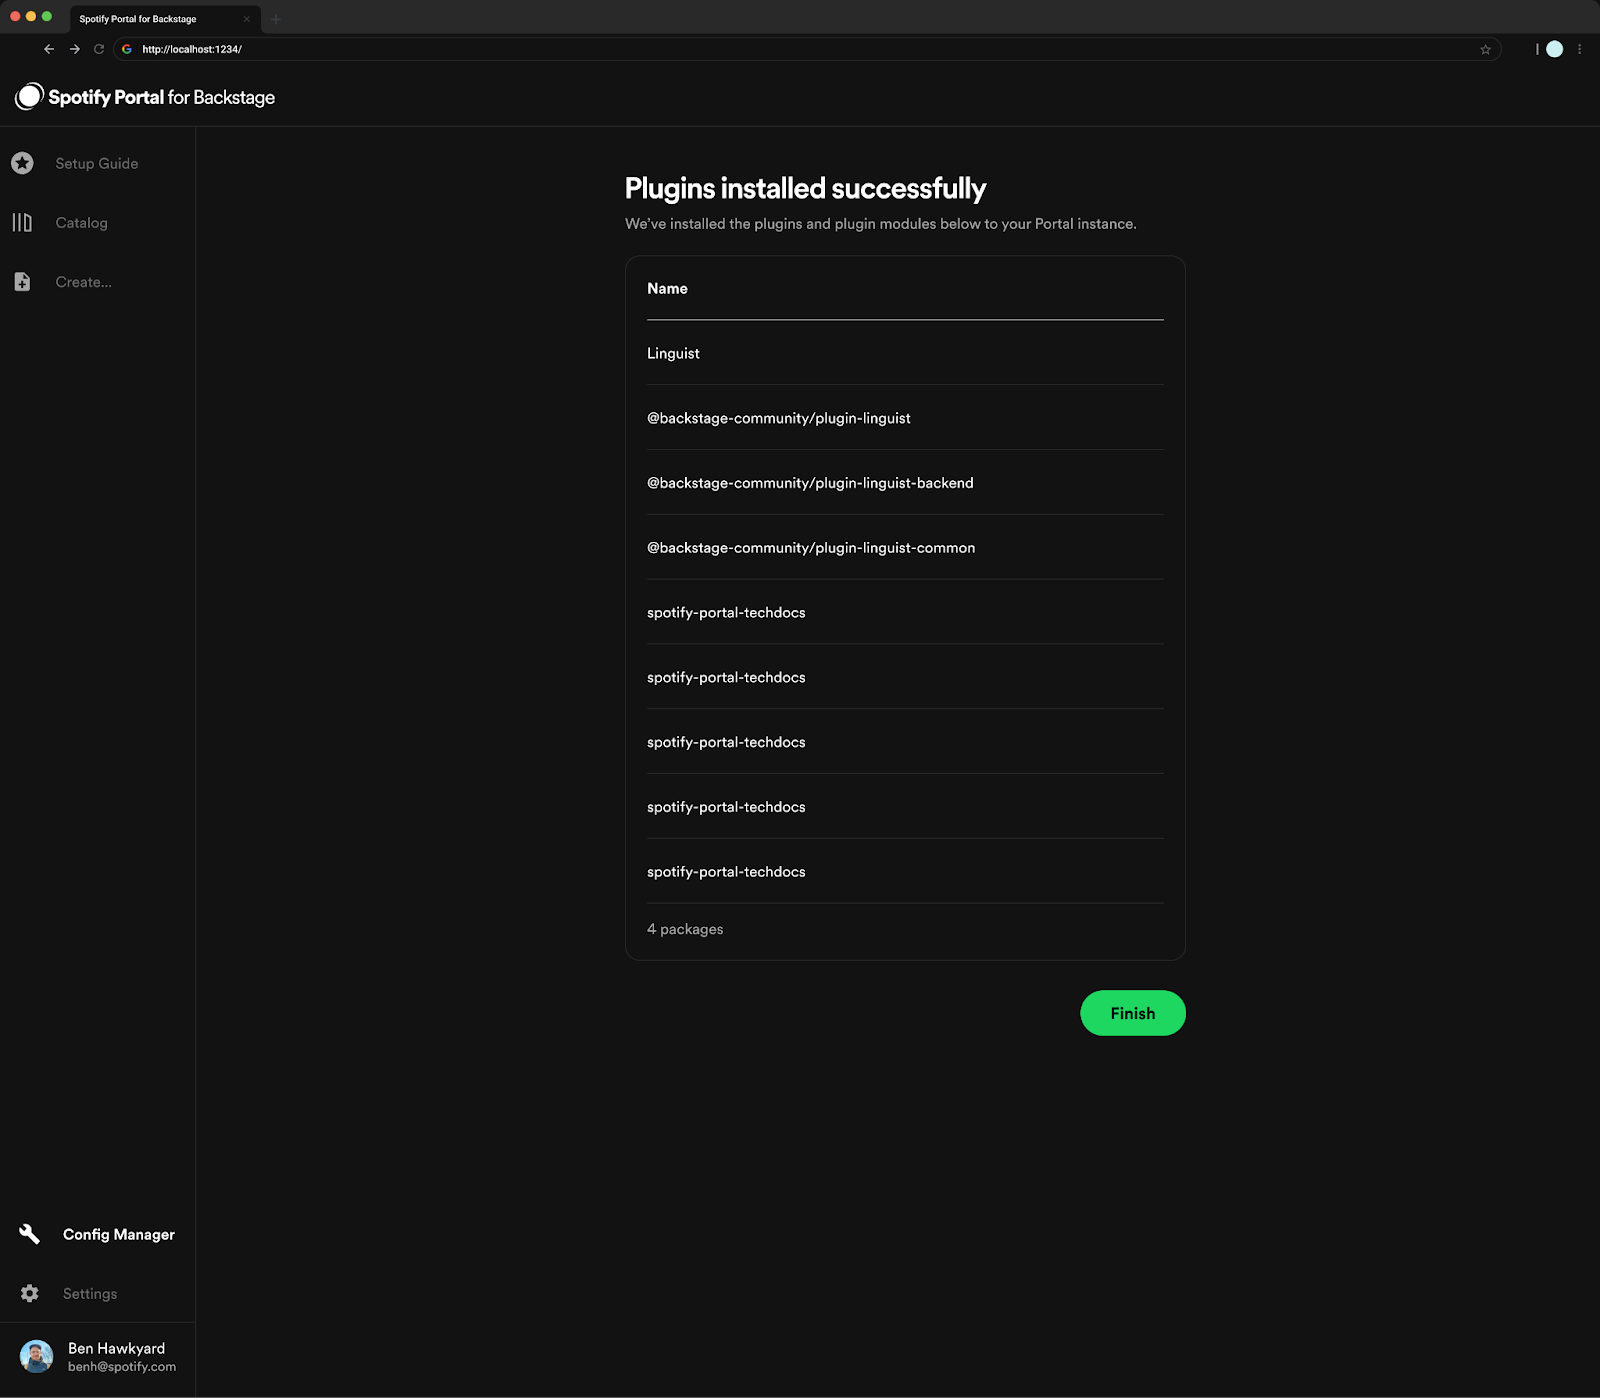
- You can now manually test your plugin to see how it works in Portal
Your plugin may install successfully but is not guaranteed to work as expected. We ask to manually test to ensure it’s working properly. Many plugins rely on entity annotations in order to dynamically pull content; if this is the case for any of your plugins, make the relevant PRs to your catalog-info.yaml files to include the required annotations.