Create new App in Okta
Within your Okta dashboard create a new app integration where the sign-in method isAPI Services.
Call the application “Spotify Portal - Provisioning” (or your own custom app name).
In the Client Credentials section, find Client authentication and select Public key / Private key.
In the Public keys section, generate a new public key by pressing the Add button and then Generate new key. Copy your Private key in PEM format — you’ll need it when configuring Portal.
In the General settings section, uncheck the Require Demonstrating Proof of Possession (DPoP) header in token requests option. This is required for Portal to properly authenticate with Okta.
In addition, in the tab Okta API Scopes you need to grant the following scopes:
okta.groups.readokta.users.read
Scoping the application
It is important to note that you can scope the application to make sure Portal can access only the users and groups it needs. This can be done by creating and assigning the following Resource Sets and Roles:- Navigate to
Security > Administrators - Click on the
Resourcestab and create a new resource set called “Spotify Portal Users & Groups”. - Add the
UsersandGroupsresources. (For now, we recommend to ingest all users but only a set list of groups.) - Now navigate back to your newly created app
- Select the
Admin rolestab and select add assignment - Select “Create a role” and call it “Spotify Portal org data viewer” with the following permissions
User > View users and their detailsGroup > View groups and their details
- Assign the admin role to the just created resource set
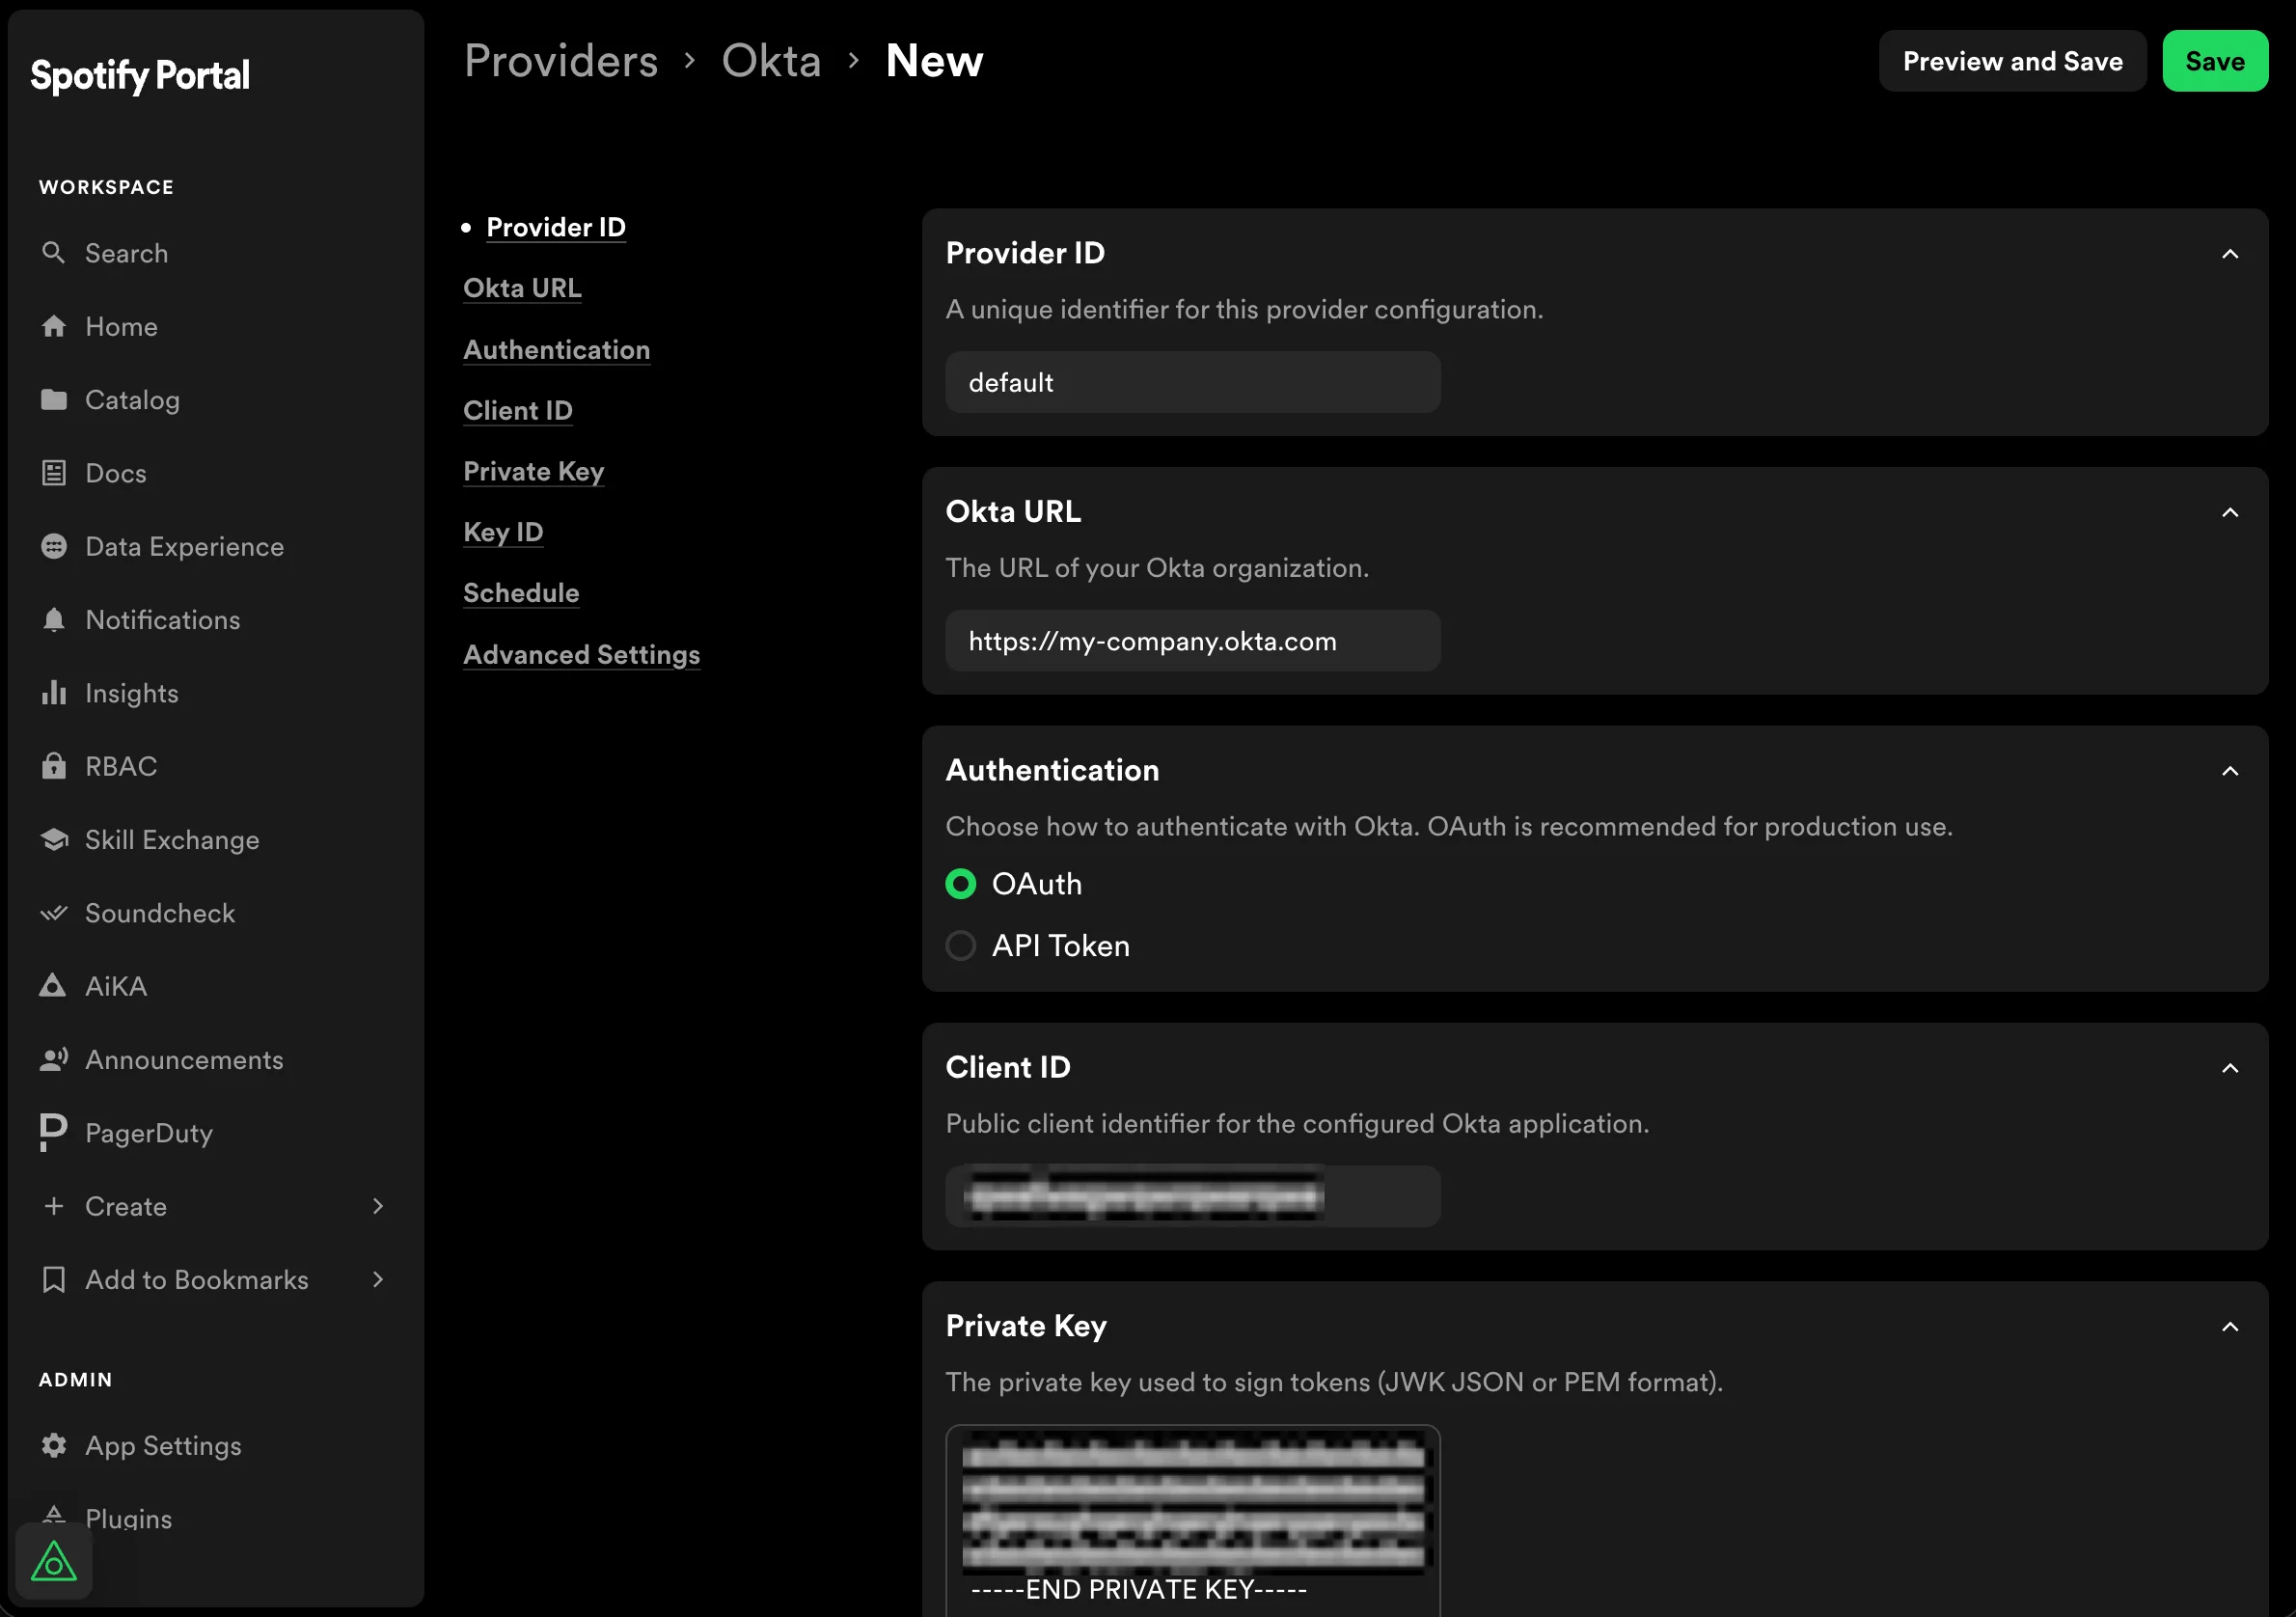
Configure the Okta Org Provider in Portal
- In Catalog Settings, go to the Okta provider
- Scroll to
catalog.providers.okta - from your Okta instance fill in
id(e.g.,default)oktaUrl(URL of your Okta instance)clientIdprivateKeykeyId(which is theKID)
-
Then scroll down and fill in the
ScheduleFrequency(we recommend every 30 minutes)Timeout(we recommend keeping it consistent with the chosenFrequencyvalue)
-
Optionally, expand Advanced Settings to configure filtering:
- User Search Filter — an Okta search expression passed to the List Users API call. Use this to narrow which users are fetched from Okta (e.g.,
status eq "ACTIVE"). - Group Filter — choose how to filter which groups are ingested:
- Group Names — specify individual Okta group names to include.
- Search Expression — provide an Okta search expression to filter groups (e.g.,
profile.name sw "public-"). This is useful when you want to match groups dynamically instead of listing them by name.
- User Search Filter — an Okta search expression passed to the List Users API call. Use this to narrow which users are fetched from Okta (e.g.,
- Click Save changes.