> ## Documentation Index
> Fetch the complete documentation index at: https://backstage.spotify.com/docs/llms.txt
> Use this file to discover all available pages before exploring further.
# Get started with Xirp
> Install Xirp, sign in, complete first-run setup, and create your first AI coding session.
This guide takes you from downloading Xirp to a running Coding Agent session.
## Prerequisites
Before you begin, you need:
* A Mac
* At least one supported Coding Agent account: Claude Code, Codex, or Gemini
A Portal instance is optional. You can run general sessions and work with local projects without connecting Portal. A local Git repository is required only for Git and worktree features.
Xirp checks your Mac when it starts and provides guidance when required software, such as `tmux` or the GitHub CLI (`gh`), is missing.
## 1. Install Xirp
1. Download Xirp from [xirp.spotify.com](https://xirp.spotify.com/).
2. Open the downloaded installer and move Xirp to **Applications** when prompted.
3. Start Xirp.
macOS may ask you to confirm that you want to open an app downloaded from the
internet. Review the prompt and select **Open**.
## 2. Sign up or sign in
The first screen in Xirp prompts you to sign in or sign up. If you do not already have a Spotify Technology account, create one in this flow. You do not need to create an account before downloading Xirp.
Connecting Portal is optional. If you have a Portal trial or subscription, learn how Portal [adds shared context to Xirp](/docs/xirp/xirp-and-portal) after signing in.
## 3. Complete the welcome tour
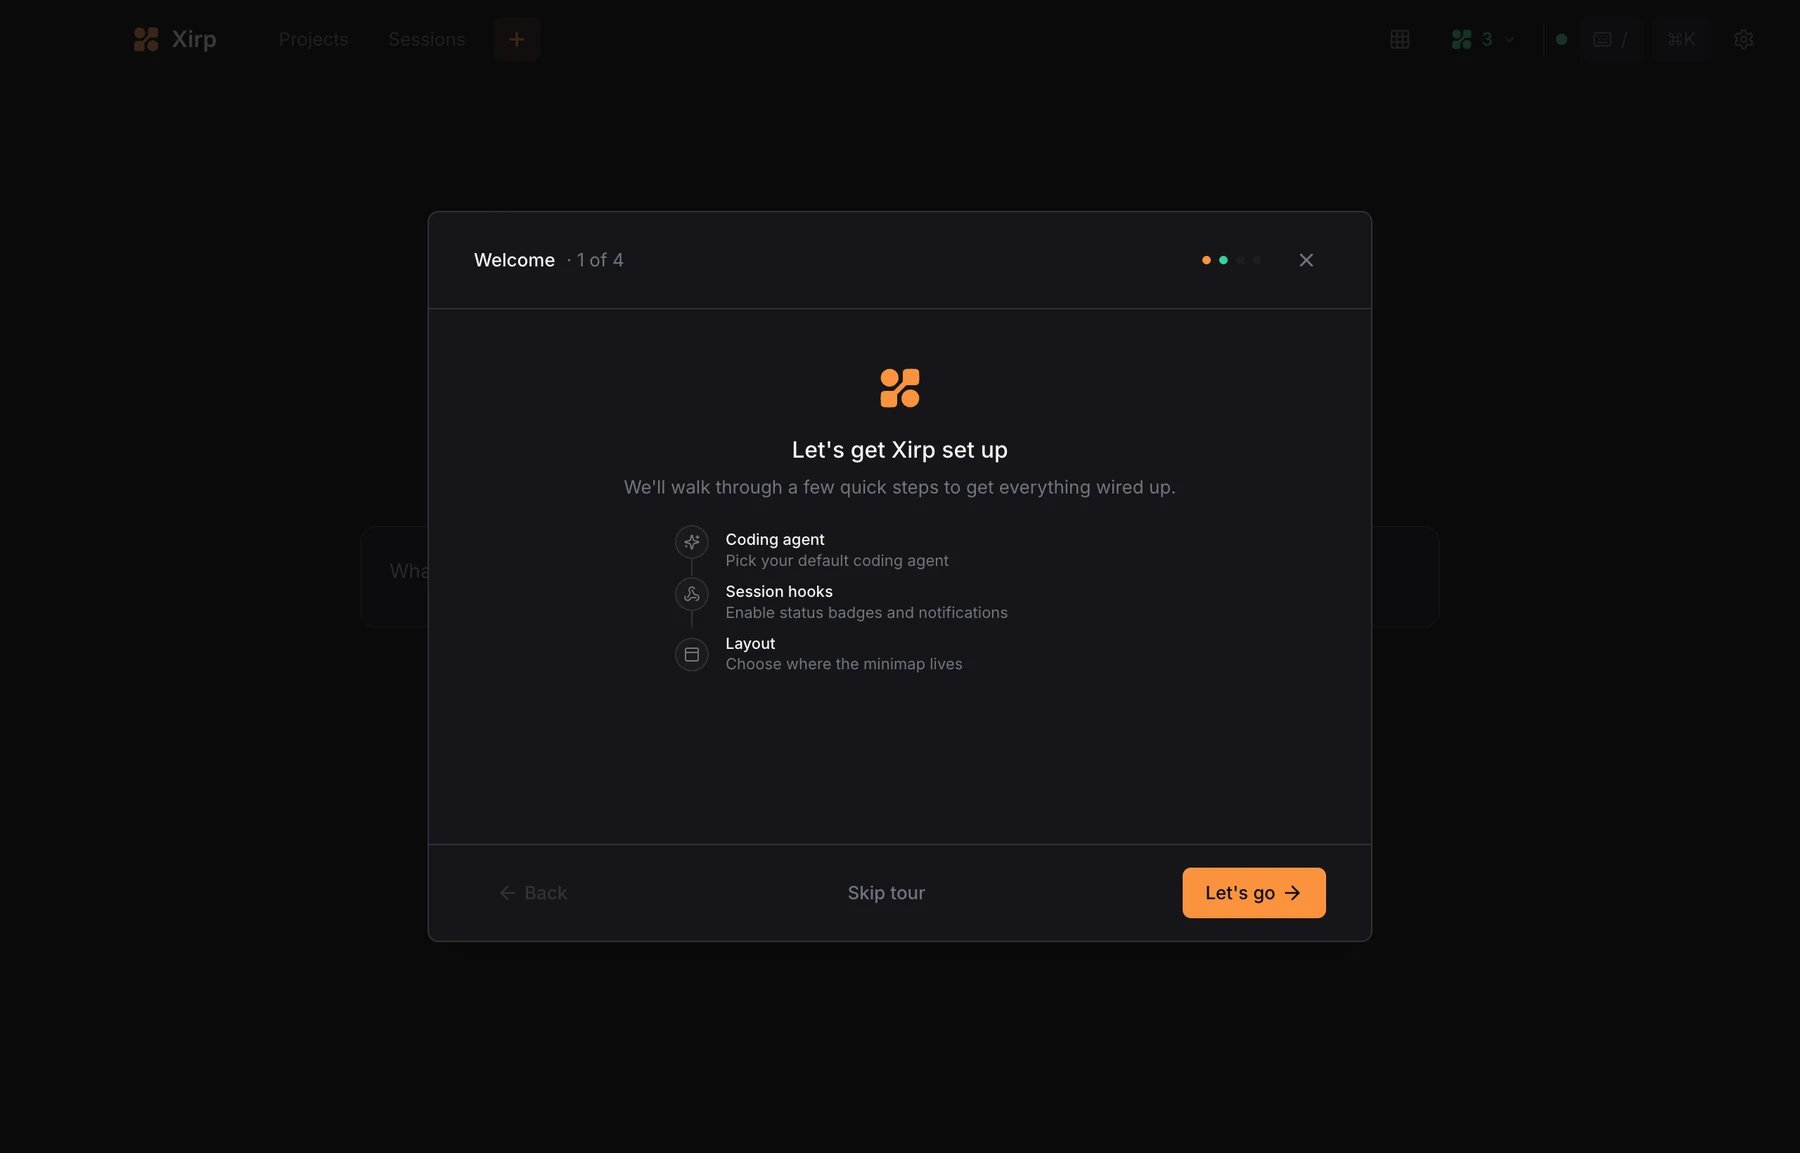
The welcome tour introduces your coding agents, session-status hooks, and layout.
 ### Choose a coding agent
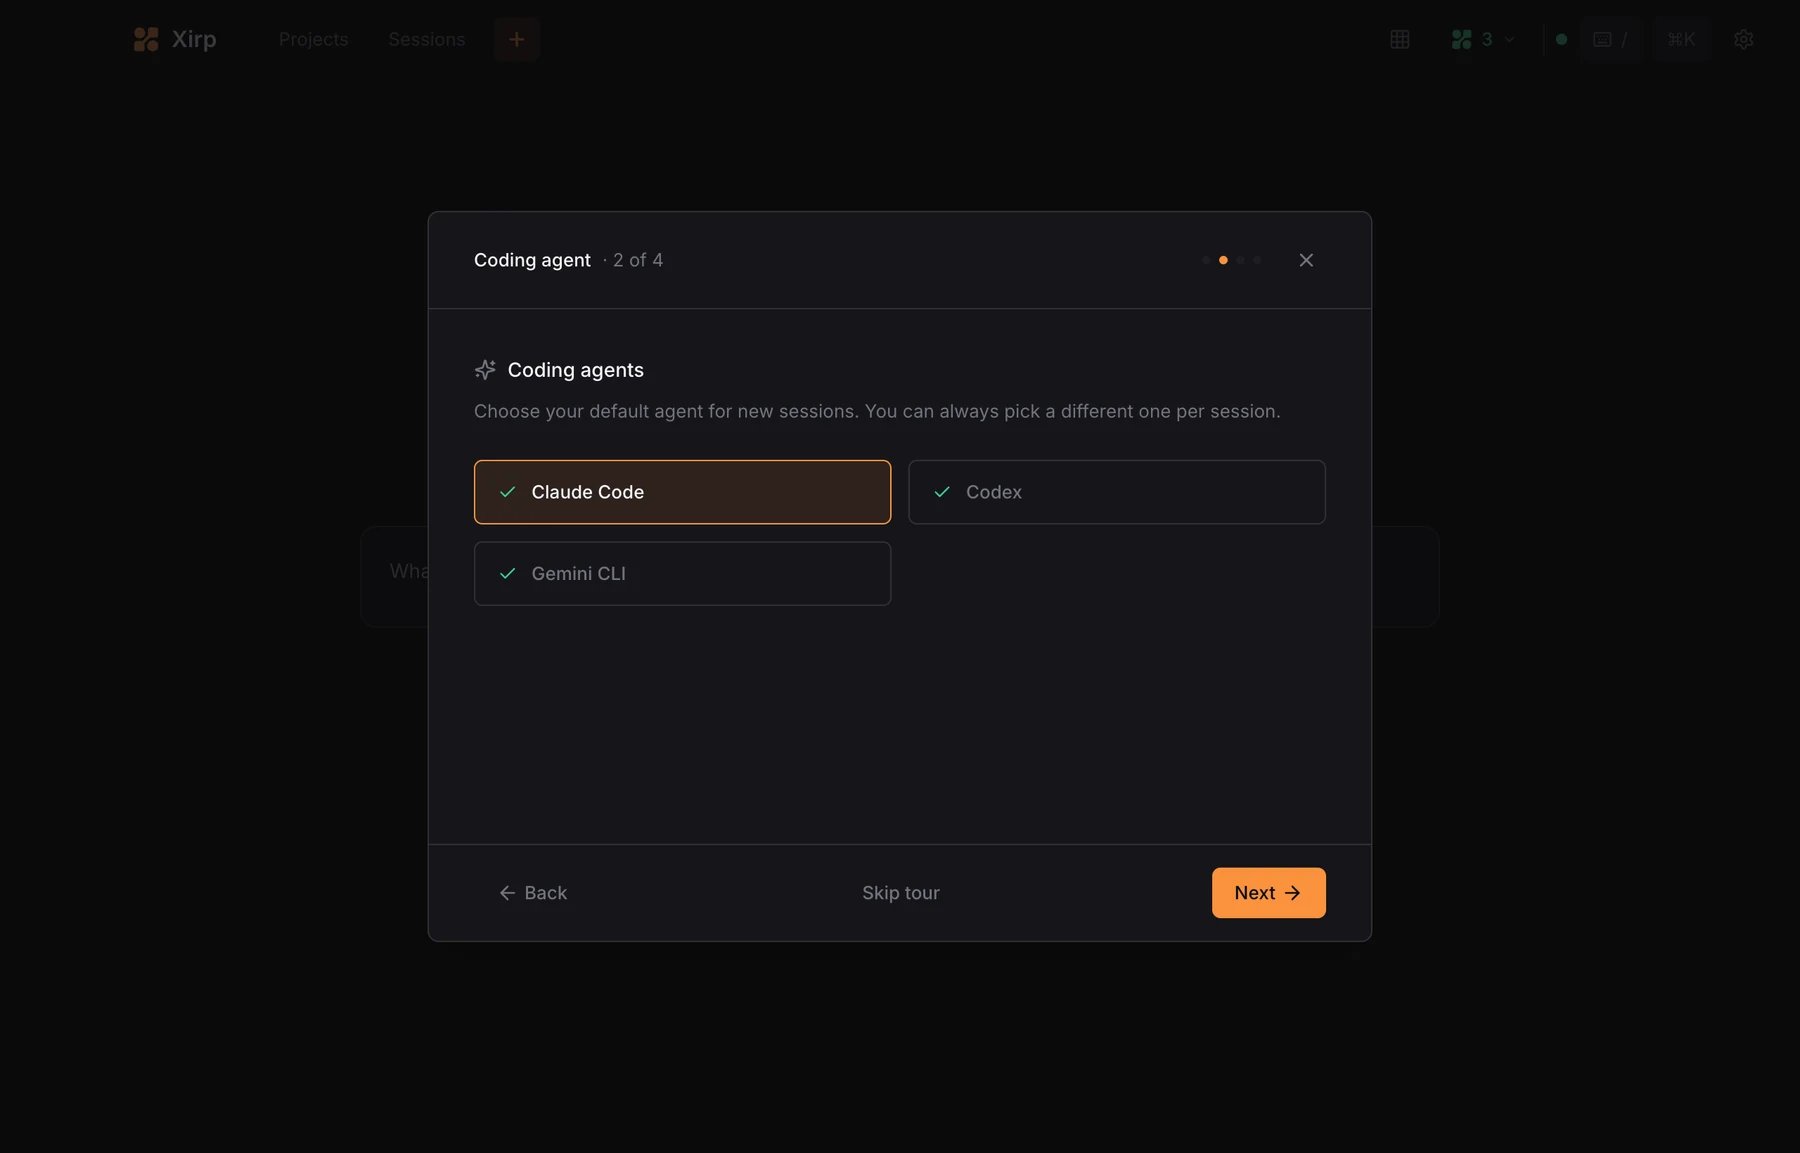
Xirp detects supported agent CLIs and lets you select the default for new sessions. You can choose another agent for an individual session later.
### Choose a coding agent
Xirp detects supported agent CLIs and lets you select the default for new sessions. You can choose another agent for an individual session later.
 ### Enable session hooks
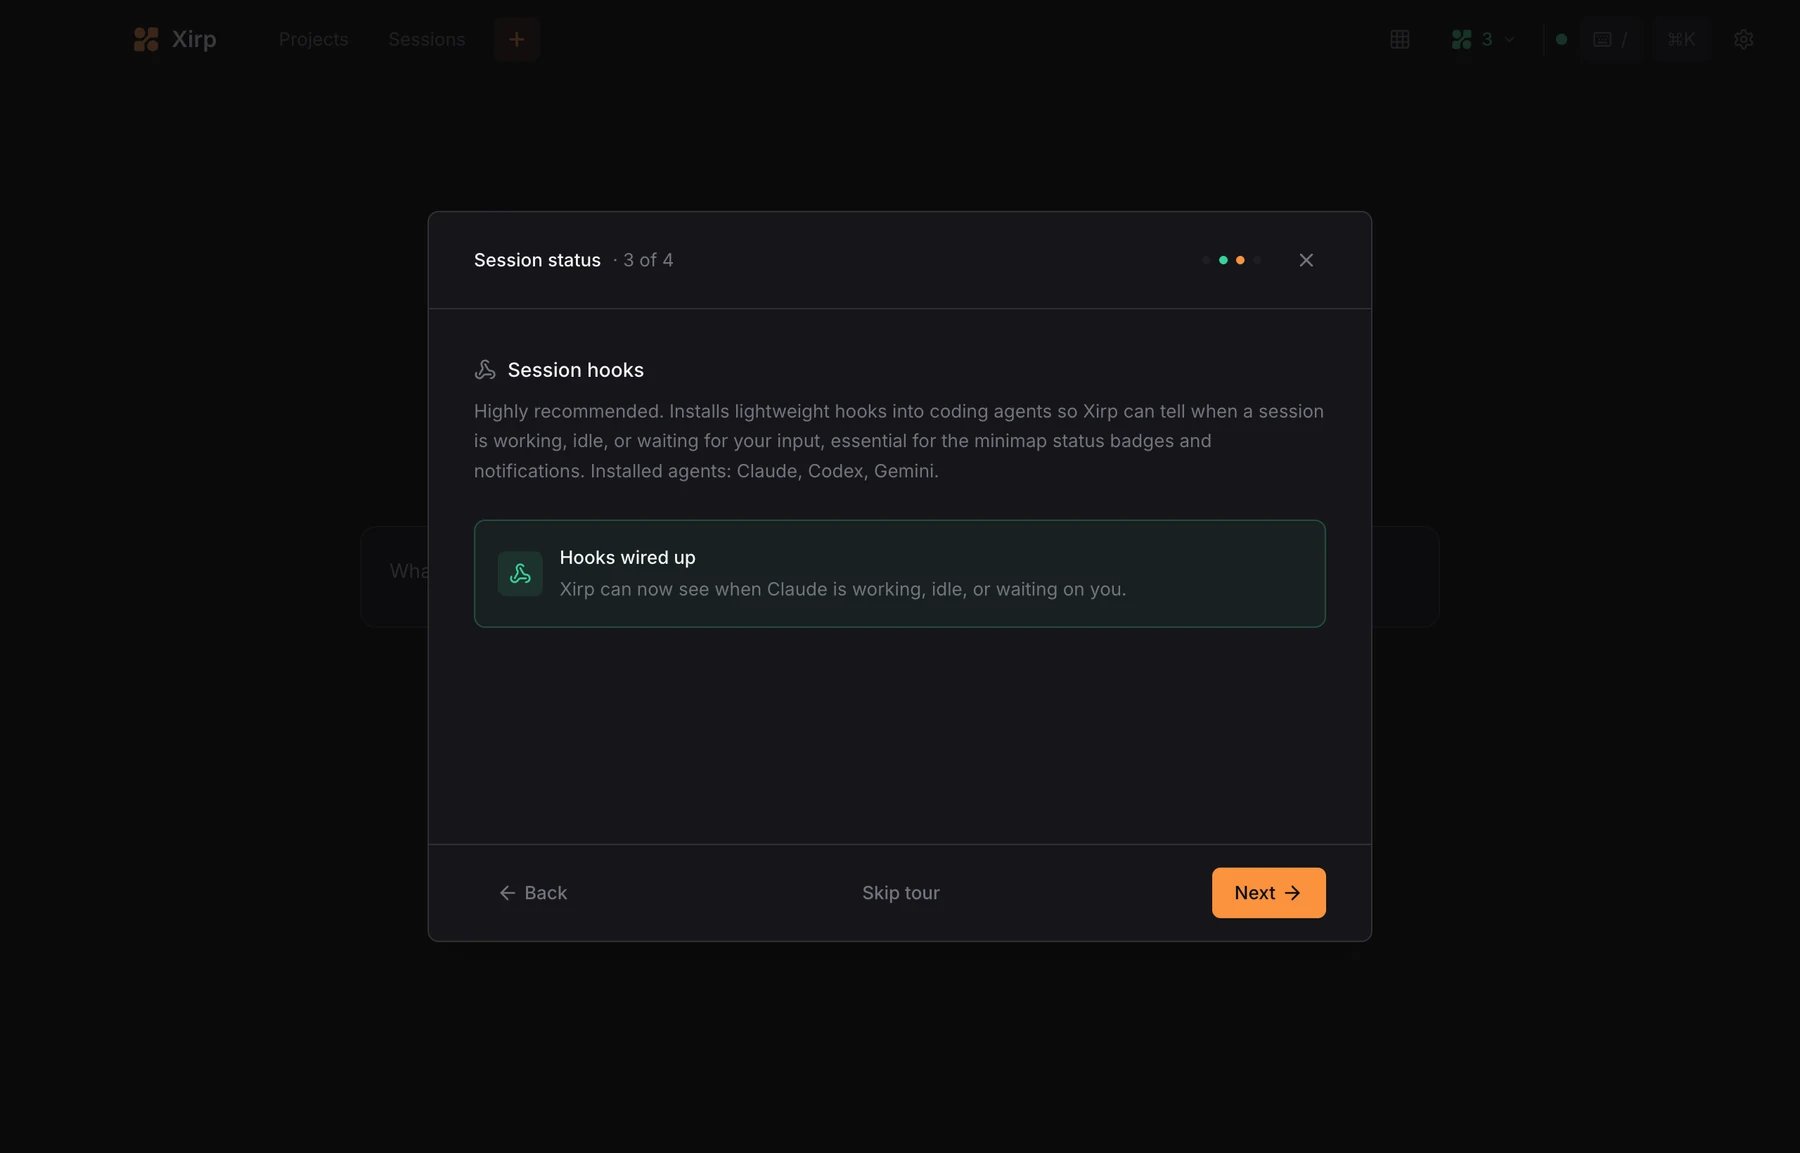
Session hooks let Xirp detect when an agent is working, idle, or waiting for input. This drives status indicators and notifications. Enabling hooks does not grant an agent additional file or network permissions.
### Enable session hooks
Session hooks let Xirp detect when an agent is working, idle, or waiting for input. This drives status indicators and notifications. Enabling hooks does not grant an agent additional file or network permissions.
 ### Choose a layout
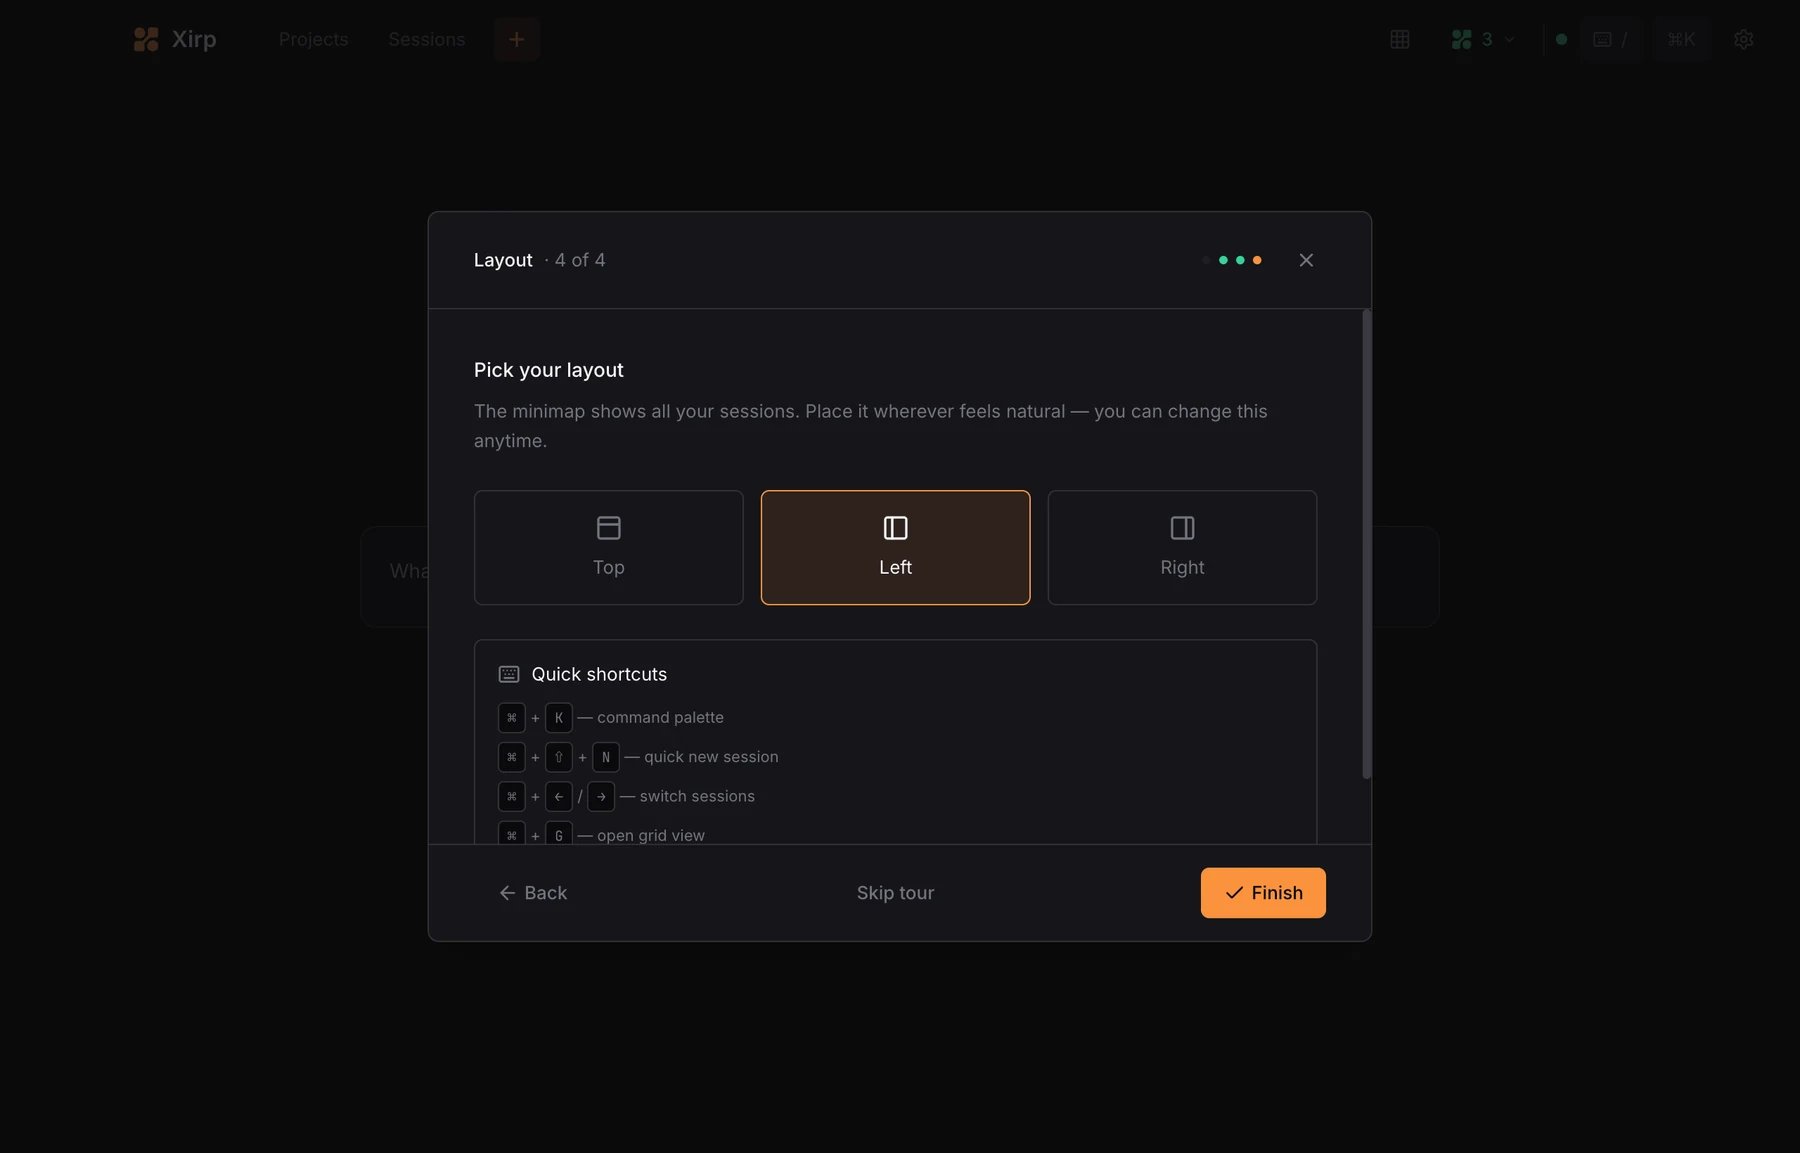
Choose whether the session minimap appears at the top, left, or right. You can change this later in Settings.
### Choose a layout
Choose whether the session minimap appears at the top, left, or right. You can change this later in Settings.
 ## 4. Add a project
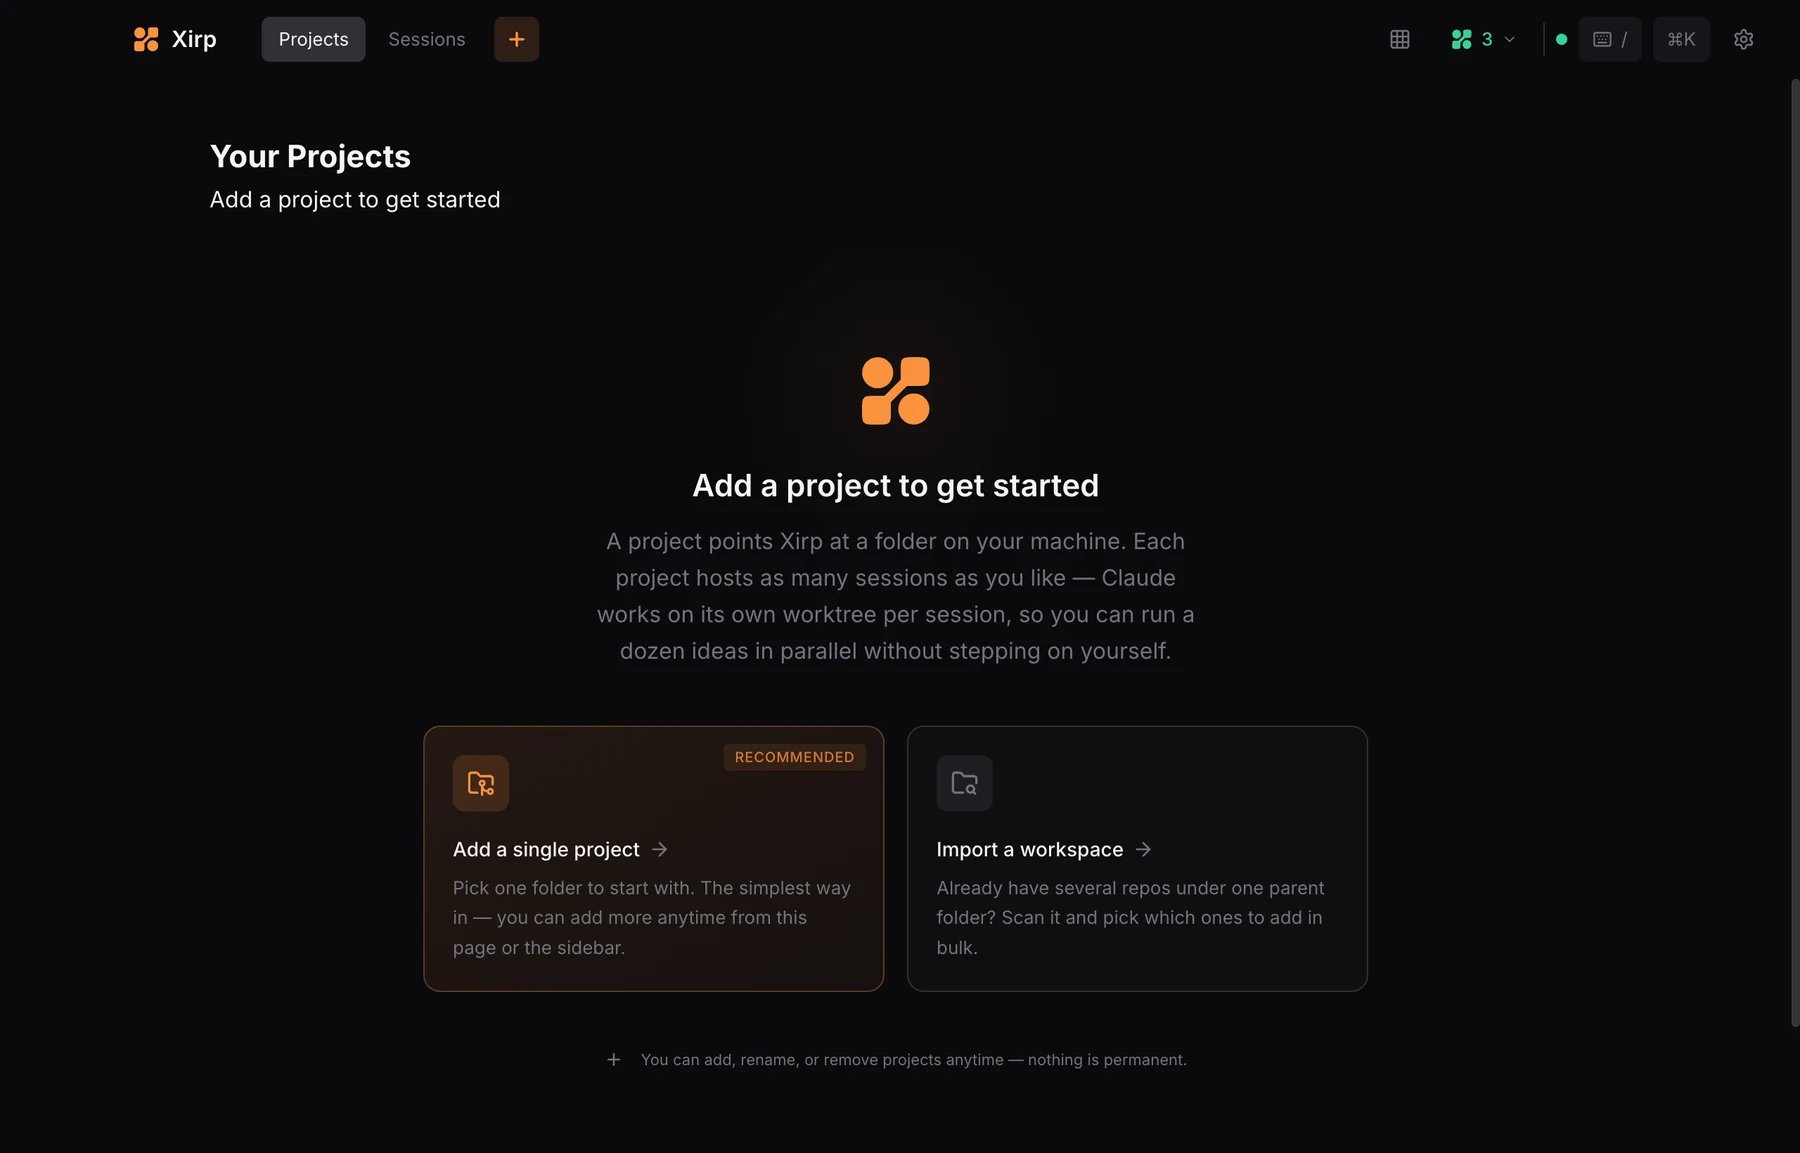
A project points Xirp to a folder on your Mac. Select **Projects**, then either:
* **Add a single project** to register one repository or folder.
* **Import a workspace** to scan a parent folder and add several repositories.
## 4. Add a project
A project points Xirp to a folder on your Mac. Select **Projects**, then either:
* **Add a single project** to register one repository or folder.
* **Import a workspace** to scan a parent folder and add several repositories.
 See [Projects](/docs/xirp/projects) for project shapes, Git worktrees, files, skills, and rules.
## 5. Start a session
1. Open the project.
2. Select **New session** or use the goal box on the project overview.
3. Describe a specific outcome.
4. Choose a coding agent and whether to use the main checkout or a new worktree.
5. Select **Start**.
See [Projects](/docs/xirp/projects) for project shapes, Git worktrees, files, skills, and rules.
## 5. Start a session
1. Open the project.
2. Select **New session** or use the goal box on the project overview.
3. Describe a specific outcome.
4. Choose a coding agent and whether to use the main checkout or a new worktree.
5. Select **Start**.
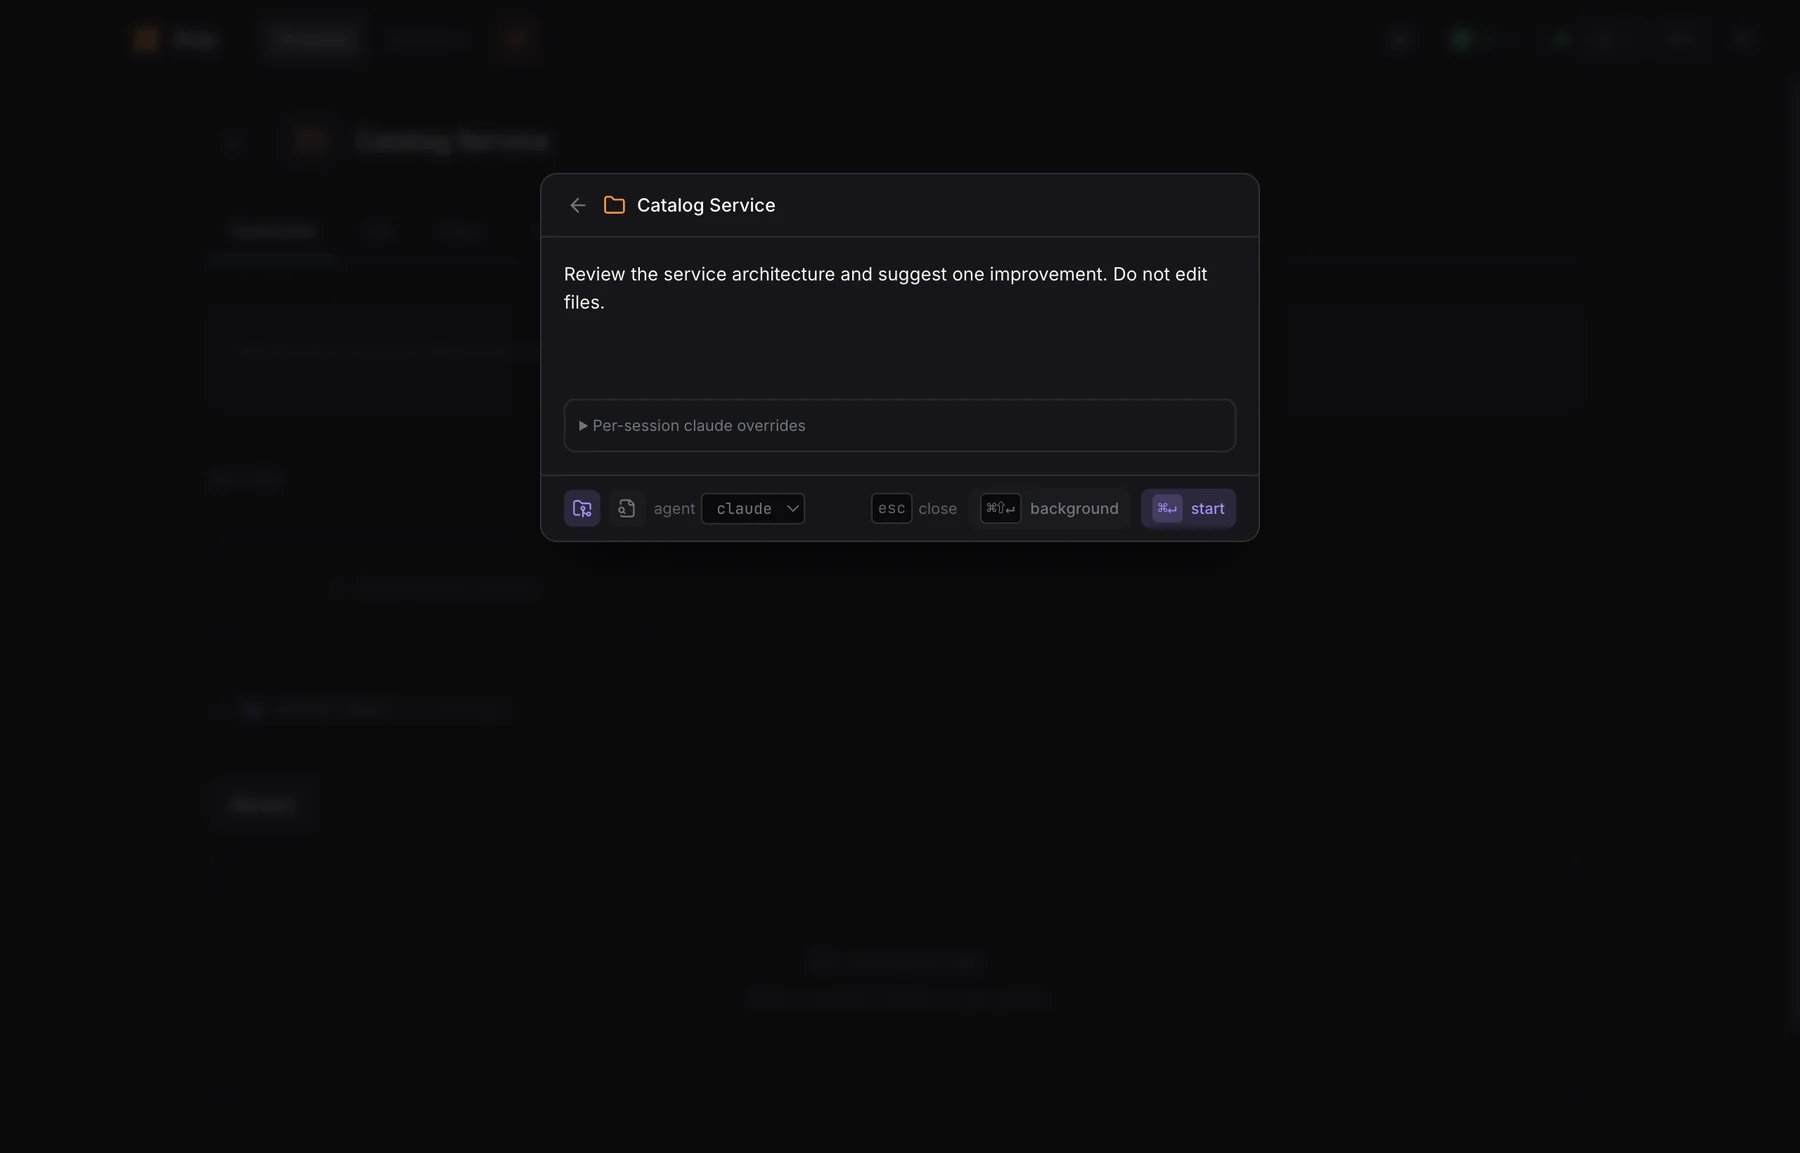 The agent starts in a persistent terminal. You can leave the page, open another session, or close and reopen Xirp without ending the underlying session.
Agent models, credentials, reasoning settings, permissions, and sandbox
behavior remain owned by each agent's native configuration.
## Troubleshooting
### Xirp reports missing tools
Follow the installation guidance shown by Xirp to install missing tools such as `tmux` and `gh`, then quit and reopen the app. Use each tool's official installer and public documentation when available.
### A Coding Agent is unavailable or does not start
Open **Settings > Coding Agents** and check whether the Coding Agent is available. Install it if needed, confirm that you can sign in through its native CLI, and restart Xirp. Use the Coding Agent's official installer and documentation.
### Worktree options are missing
Worktrees require a project containing one Git repository. GitHub pull request status and other Git features may also be unavailable in non-Git projects.
### Session statuses or notifications are not updating
Open **Settings > Notifications > Session Events** and enable **Session hooks**.
### Portal upload is missing or fails
Confirm that the session was started from a Portal Workspace, uses Claude Code or Codex, and that Xirp is connected to Portal. Then try the upload again.
## Next steps
* Learn how to [manage projects](/docs/xirp/projects).
* Learn how to [run and organize sessions](/docs/xirp/sessions).
* Optionally [connect Portal](/docs/xirp/connecting-to-portal) for catalog and Workspace features.
The agent starts in a persistent terminal. You can leave the page, open another session, or close and reopen Xirp without ending the underlying session.
Agent models, credentials, reasoning settings, permissions, and sandbox
behavior remain owned by each agent's native configuration.
## Troubleshooting
### Xirp reports missing tools
Follow the installation guidance shown by Xirp to install missing tools such as `tmux` and `gh`, then quit and reopen the app. Use each tool's official installer and public documentation when available.
### A Coding Agent is unavailable or does not start
Open **Settings > Coding Agents** and check whether the Coding Agent is available. Install it if needed, confirm that you can sign in through its native CLI, and restart Xirp. Use the Coding Agent's official installer and documentation.
### Worktree options are missing
Worktrees require a project containing one Git repository. GitHub pull request status and other Git features may also be unavailable in non-Git projects.
### Session statuses or notifications are not updating
Open **Settings > Notifications > Session Events** and enable **Session hooks**.
### Portal upload is missing or fails
Confirm that the session was started from a Portal Workspace, uses Claude Code or Codex, and that Xirp is connected to Portal. Then try the upload again.
## Next steps
* Learn how to [manage projects](/docs/xirp/projects).
* Learn how to [run and organize sessions](/docs/xirp/sessions).
* Optionally [connect Portal](/docs/xirp/connecting-to-portal) for catalog and Workspace features.