> ## Documentation Index
> Fetch the complete documentation index at: https://backstage.spotify.com/docs/llms.txt
> Use this file to discover all available pages before exploring further.
# Installing a Plugin
> Install Backstage plugins in Portal by browsing recommended plugins or entering npm package names directly.
## Explore Recommended Plugins
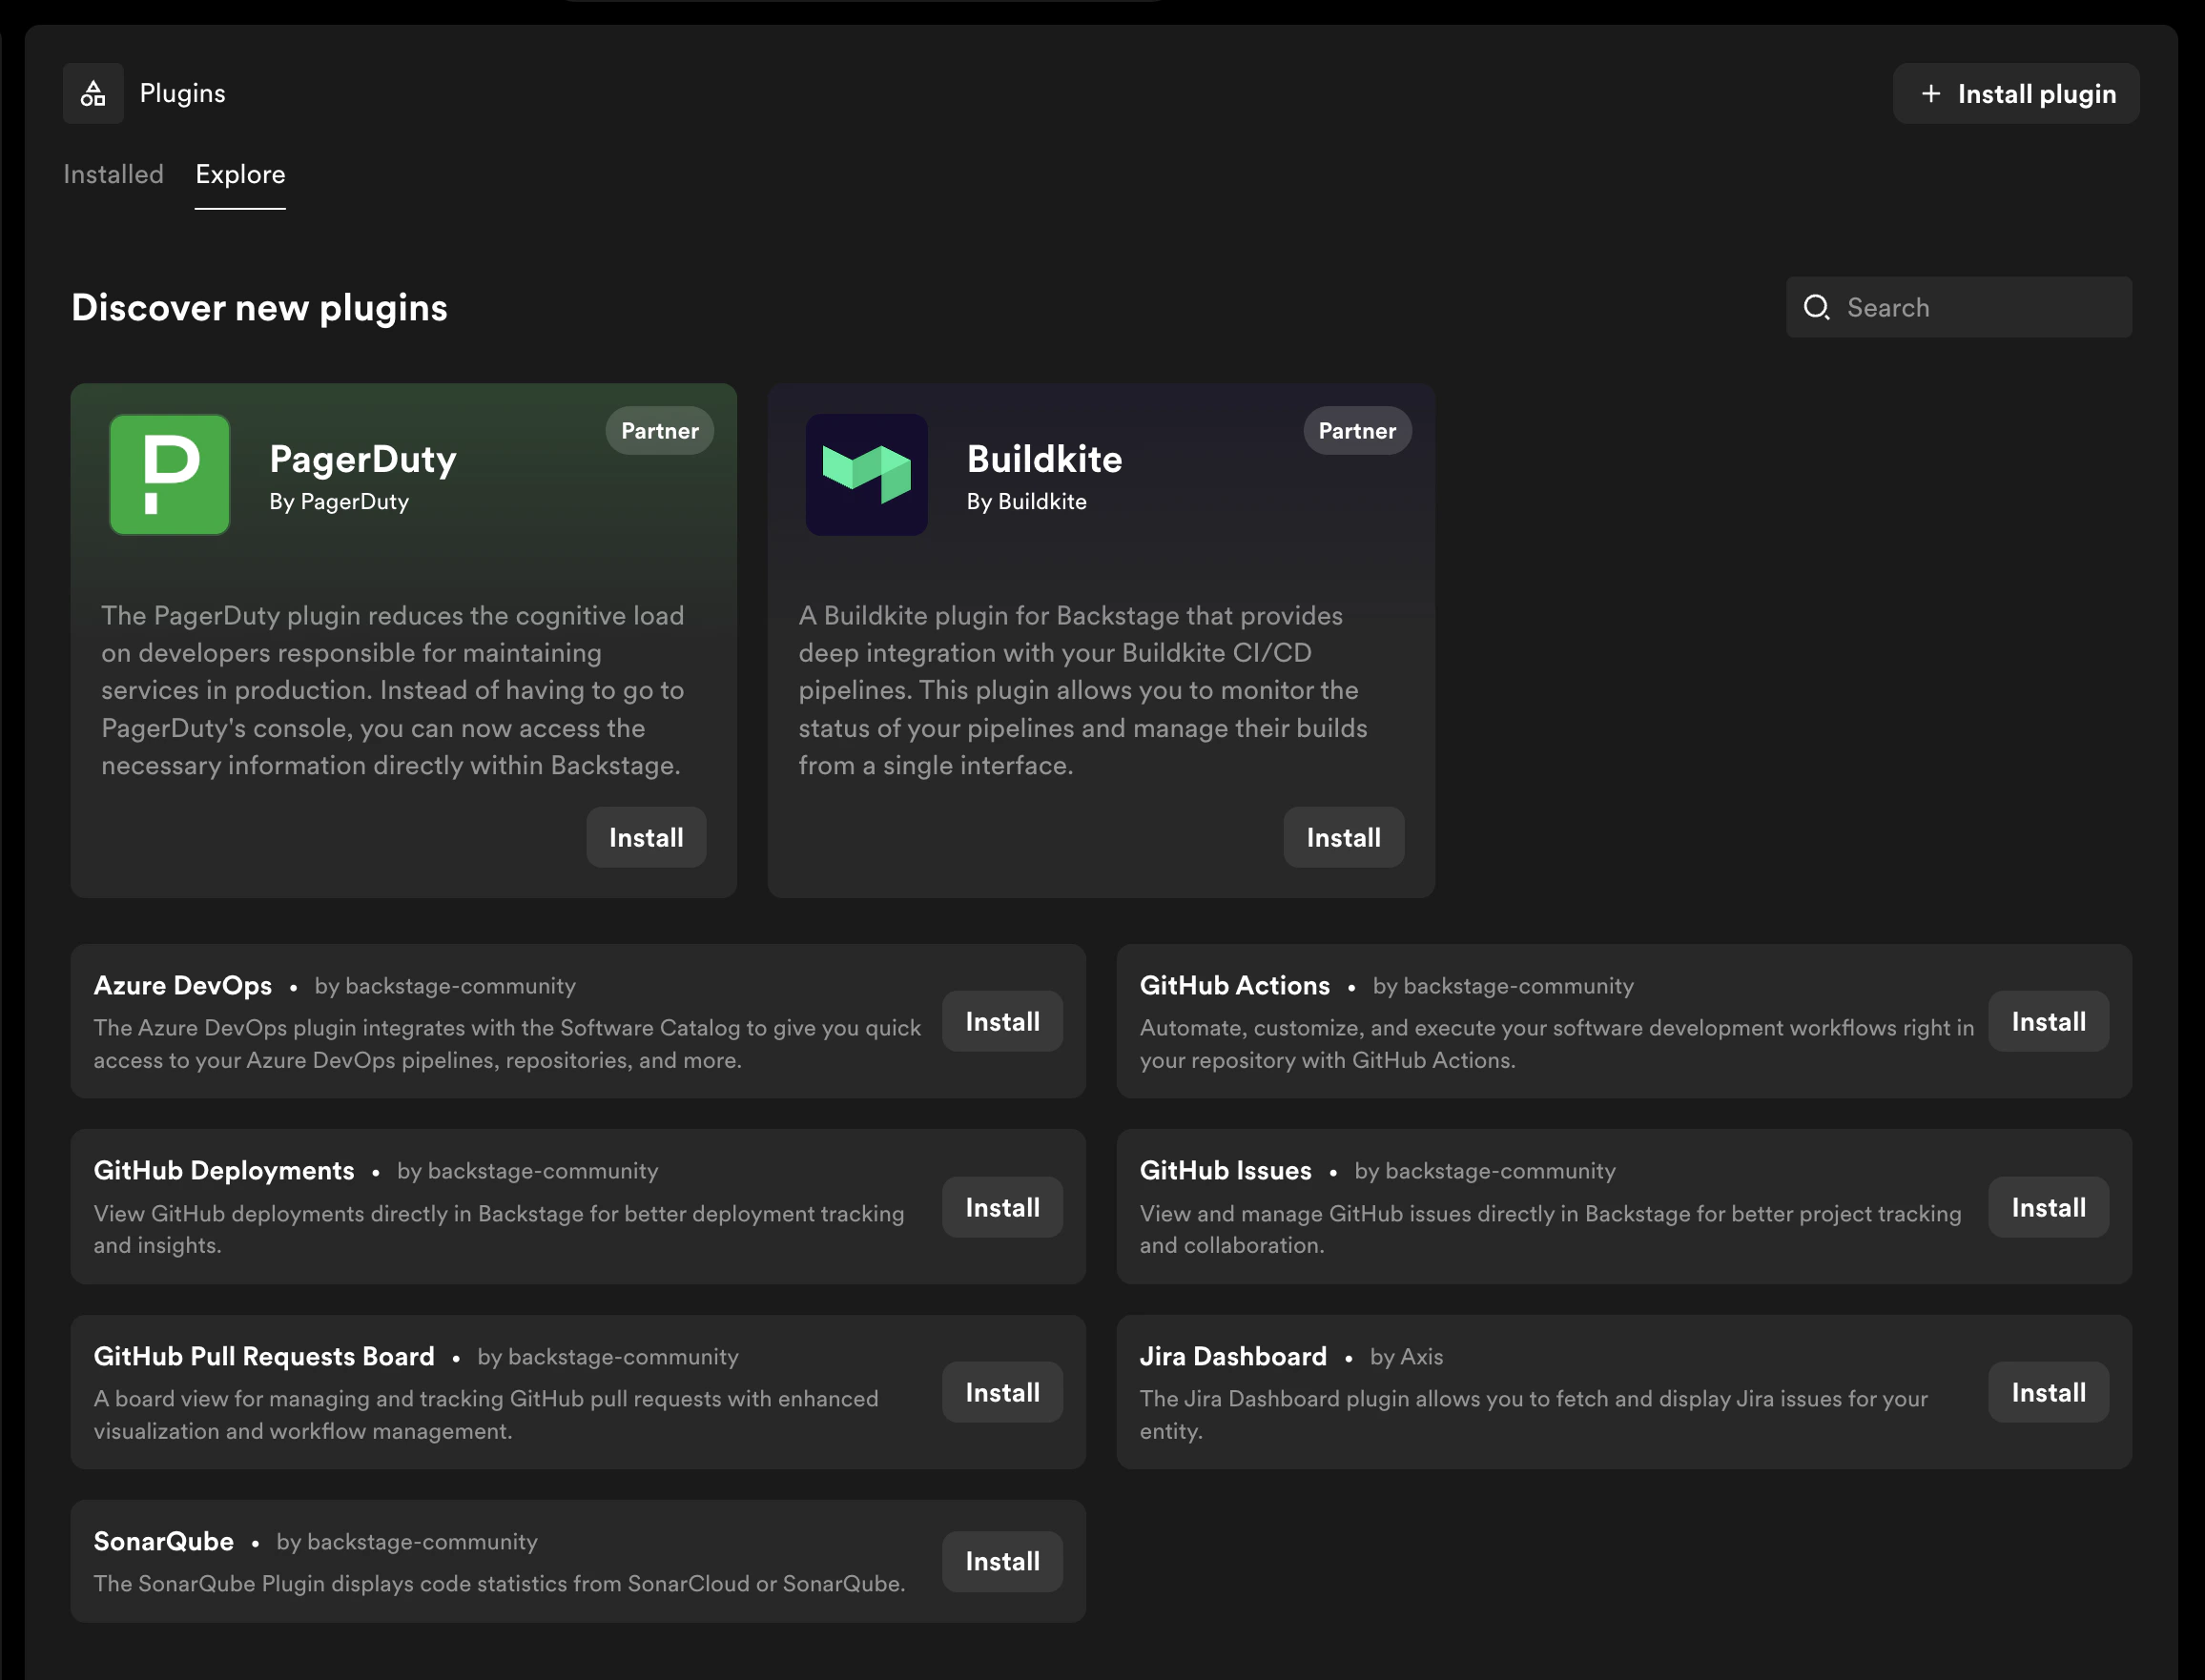
The **Explore** tab on the Plugin Settings page features a curated collection of community and partner plugins that Portal recommends to enhance your experience. Browse the available plugins and click **Install** on any plugin card to begin the installation.
 ## Install by Package Name
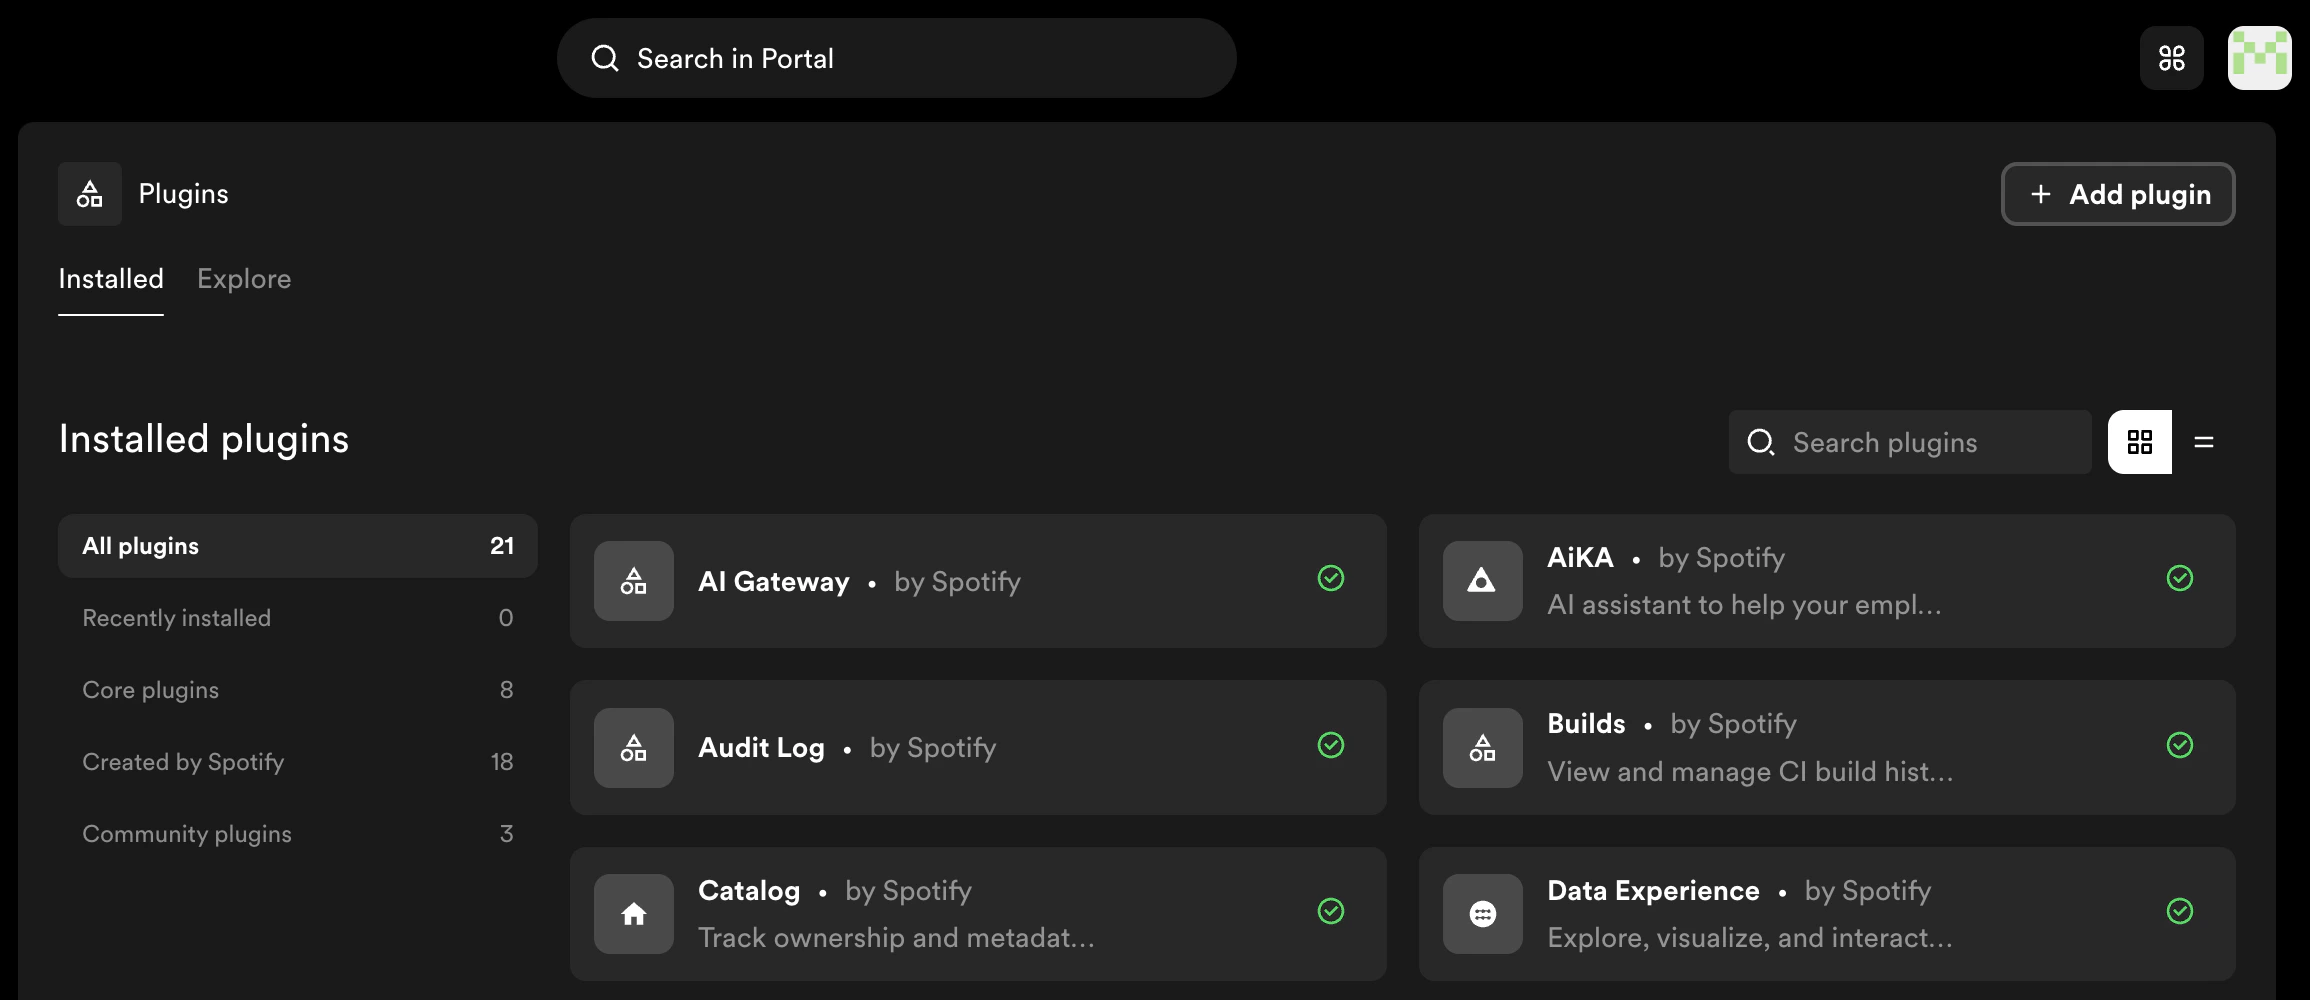
1. From the Plugin Settings page, click **Add plugin** in the top right
## Install by Package Name
1. From the Plugin Settings page, click **Add plugin** in the top right
 2. In the install dialog, enter the npm package name of the plugin you want to install. If your plugin has multiple packages (for example, a frontend and a backend package), add each package name on a separate line
If this is your first time installing a plugin, you will be asked to accept a
consent disclaimer acknowledging that installed packages have access to Portal
data and configuration. This prompt only appears once.
2. In the install dialog, enter the npm package name of the plugin you want to install. If your plugin has multiple packages (for example, a frontend and a backend package), add each package name on a separate line
If this is your first time installing a plugin, you will be asked to accept a
consent disclaimer acknowledging that installed packages have access to Portal
data and configuration. This prompt only appears once.
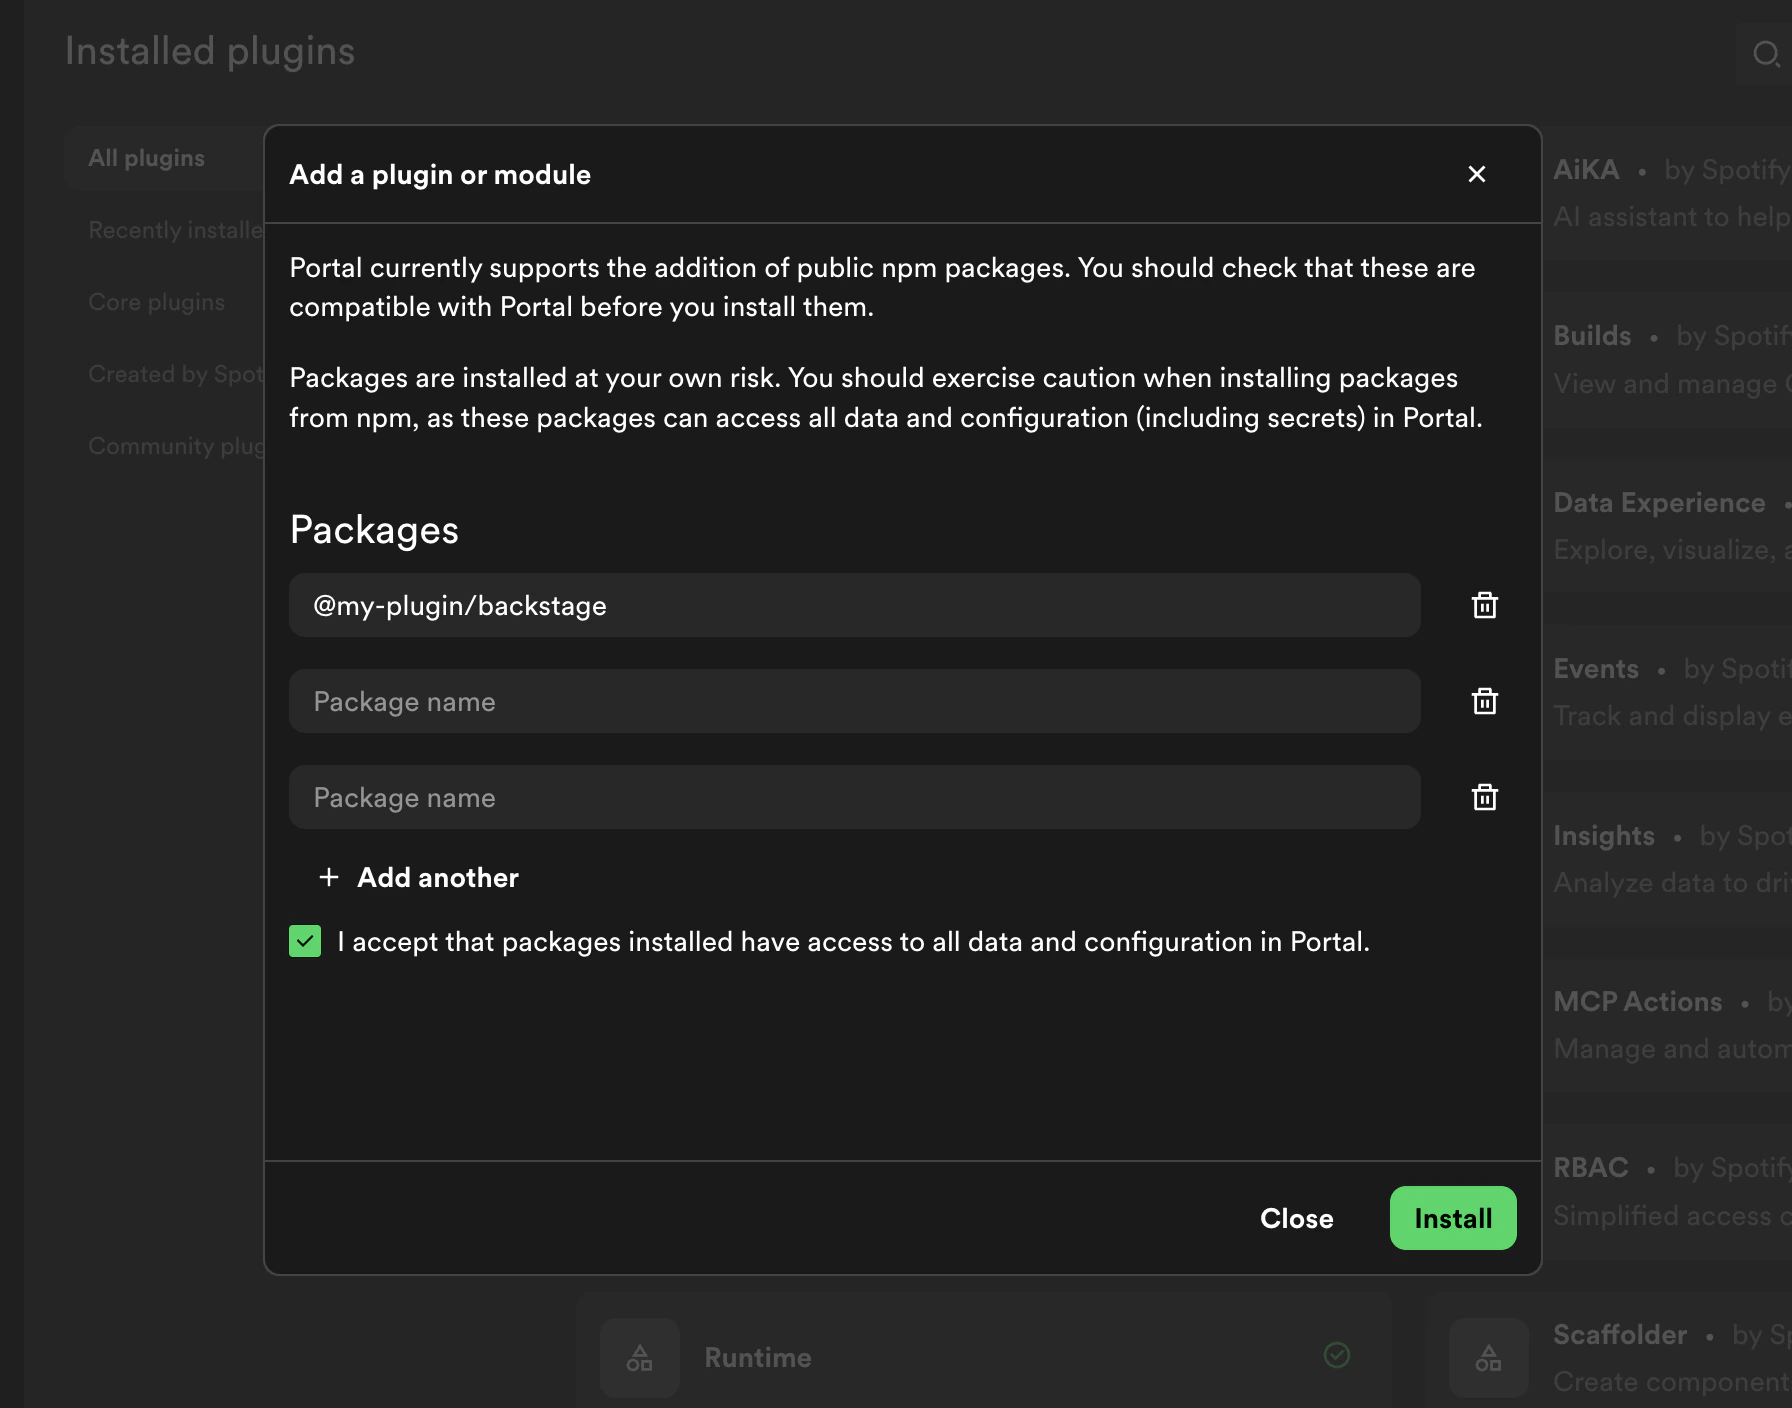 You can paste multiple package names at once — Portal will automatically split them into separate entries.
To install a specific version, append `@` followed by the version number to the package name (e.g., `@backstage/plugin-example@1.2.3`). If no version is specified, the latest stable version will be installed. See [Plugin Versioning](./plugin-versioning) for more details on supported version formats.
3. Click **Install** to begin the installation
4. Portal will start a build process. You can monitor progress in the build dialog — see [Build Progress](./build-progress) for details
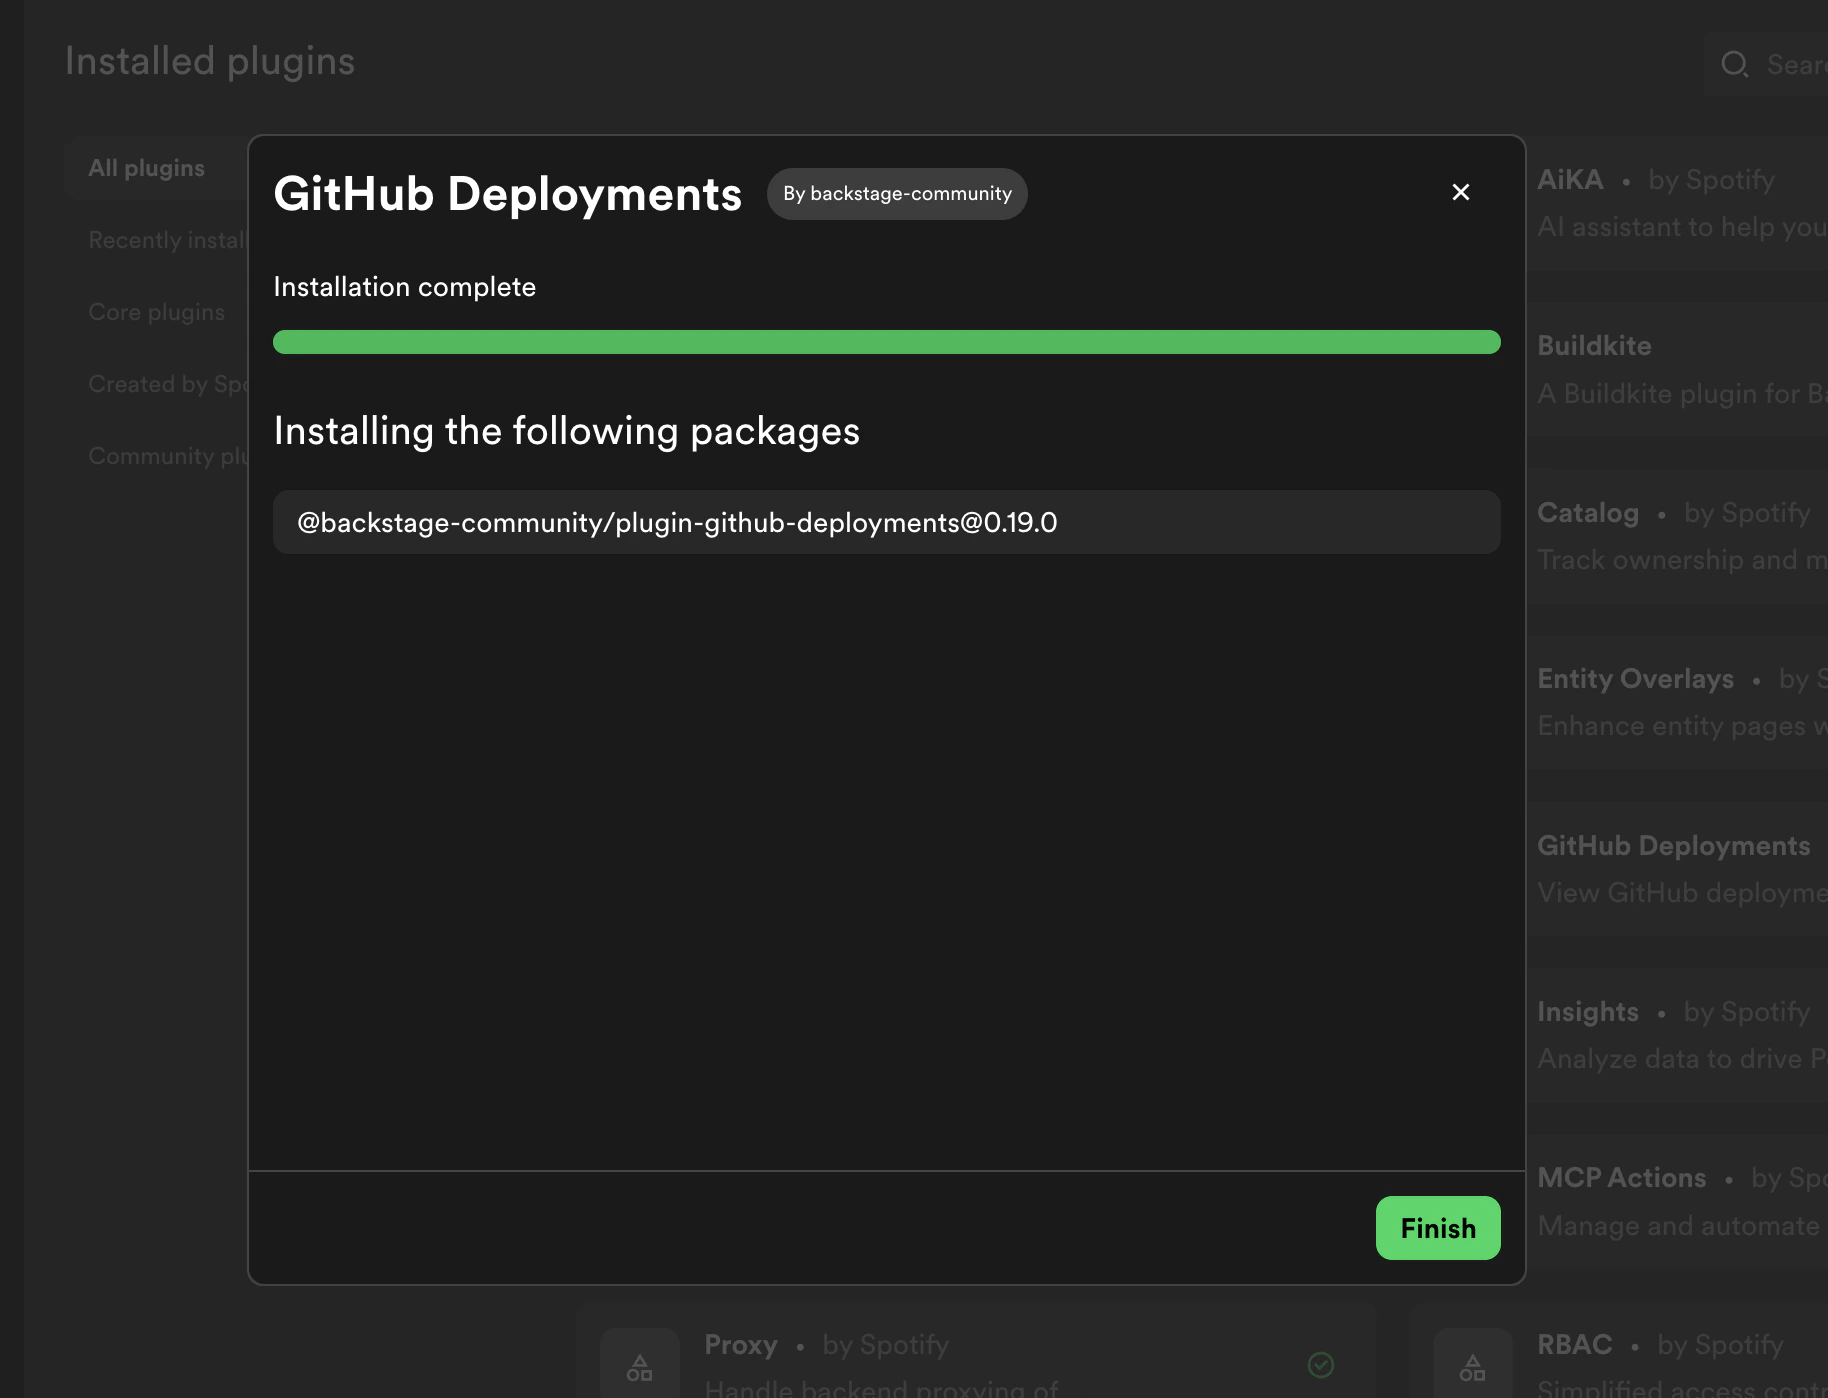
5. Once the build completes successfully, click **Finish** to return to Plugin Settings
You can paste multiple package names at once — Portal will automatically split them into separate entries.
To install a specific version, append `@` followed by the version number to the package name (e.g., `@backstage/plugin-example@1.2.3`). If no version is specified, the latest stable version will be installed. See [Plugin Versioning](./plugin-versioning) for more details on supported version formats.
3. Click **Install** to begin the installation
4. Portal will start a build process. You can monitor progress in the build dialog — see [Build Progress](./build-progress) for details
5. Once the build completes successfully, click **Finish** to return to Plugin Settings
 A plugin may install successfully but is not guaranteed to work as expected.
We recommend manually testing your plugin after installation. Many plugins
rely on entity annotations to pull content — if this applies, update your
`catalog-info.yaml` files to include the required annotations.
A plugin may install successfully but is not guaranteed to work as expected.
We recommend manually testing your plugin after installation. Many plugins
rely on entity annotations to pull content — if this applies, update your
`catalog-info.yaml` files to include the required annotations.