> ## Documentation Index
> Fetch the complete documentation index at: https://backstage.spotify.com/docs/llms.txt
> Use this file to discover all available pages before exploring further.
# Setup auth provider
> Create an OIDC app integration in Okta and configure Portal to use it as the sign-in authentication provider.
export const providerName_0 = "Okta"
It is important to follow all the steps in this guide to ensure a successful configuration of {providerName_0} authentication.
If you encounter any issues, [please contact support](https://backstage.spotify.com/account/support/).
Portal includes a built-in Okta authentication provider that uses OAuth for user authentication. To enable Okta authentication for your Portal instance, follow these steps.
## Create App integration In Okta
Within your Okta dashboard create a new app integration where the sign-in method is `OIDC - OpenID Connect`.
In addition, your application type should be set to `Web Application`.
Once created, you can fill out the new web app integration form:
1. App integration name: "Spotify Portal" (or your own custom app name)
2. Grant type: Authorization Code & Refresh Token
3. Sign-in redirect URIs: `https://.spotifyportal.com/api/auth/okta/handler/frame`
4. Sign-out redirect URIs: `https://.spotifyportal.com`
5. Store your Client ID and generate and store your Client Secret
6. Click Save
> For more information on how to Create an OIDC App Integration in Okta, refer to the [Okta documentation](https://help.okta.com/en-us/content/topics/apps/apps_app_integration_wizard_oidc.htm).
## Configure the Authentication Provider in Portal
Now navigate to **App Settings** and click on **Auth**.
We will now set up the authentication:
1. Open **App Settings** in Portal and navigate to **Auth**.
2. Scroll to `auth.providers.okta`
3. Add a new configuration entry with "Key name" of `production`
4. Enter the following details from your Okta Web App Integration:
* `Client ID`
* `Client secret`
* `Audience` (URL of your Okta instance, eg: `https://.okta.com`)
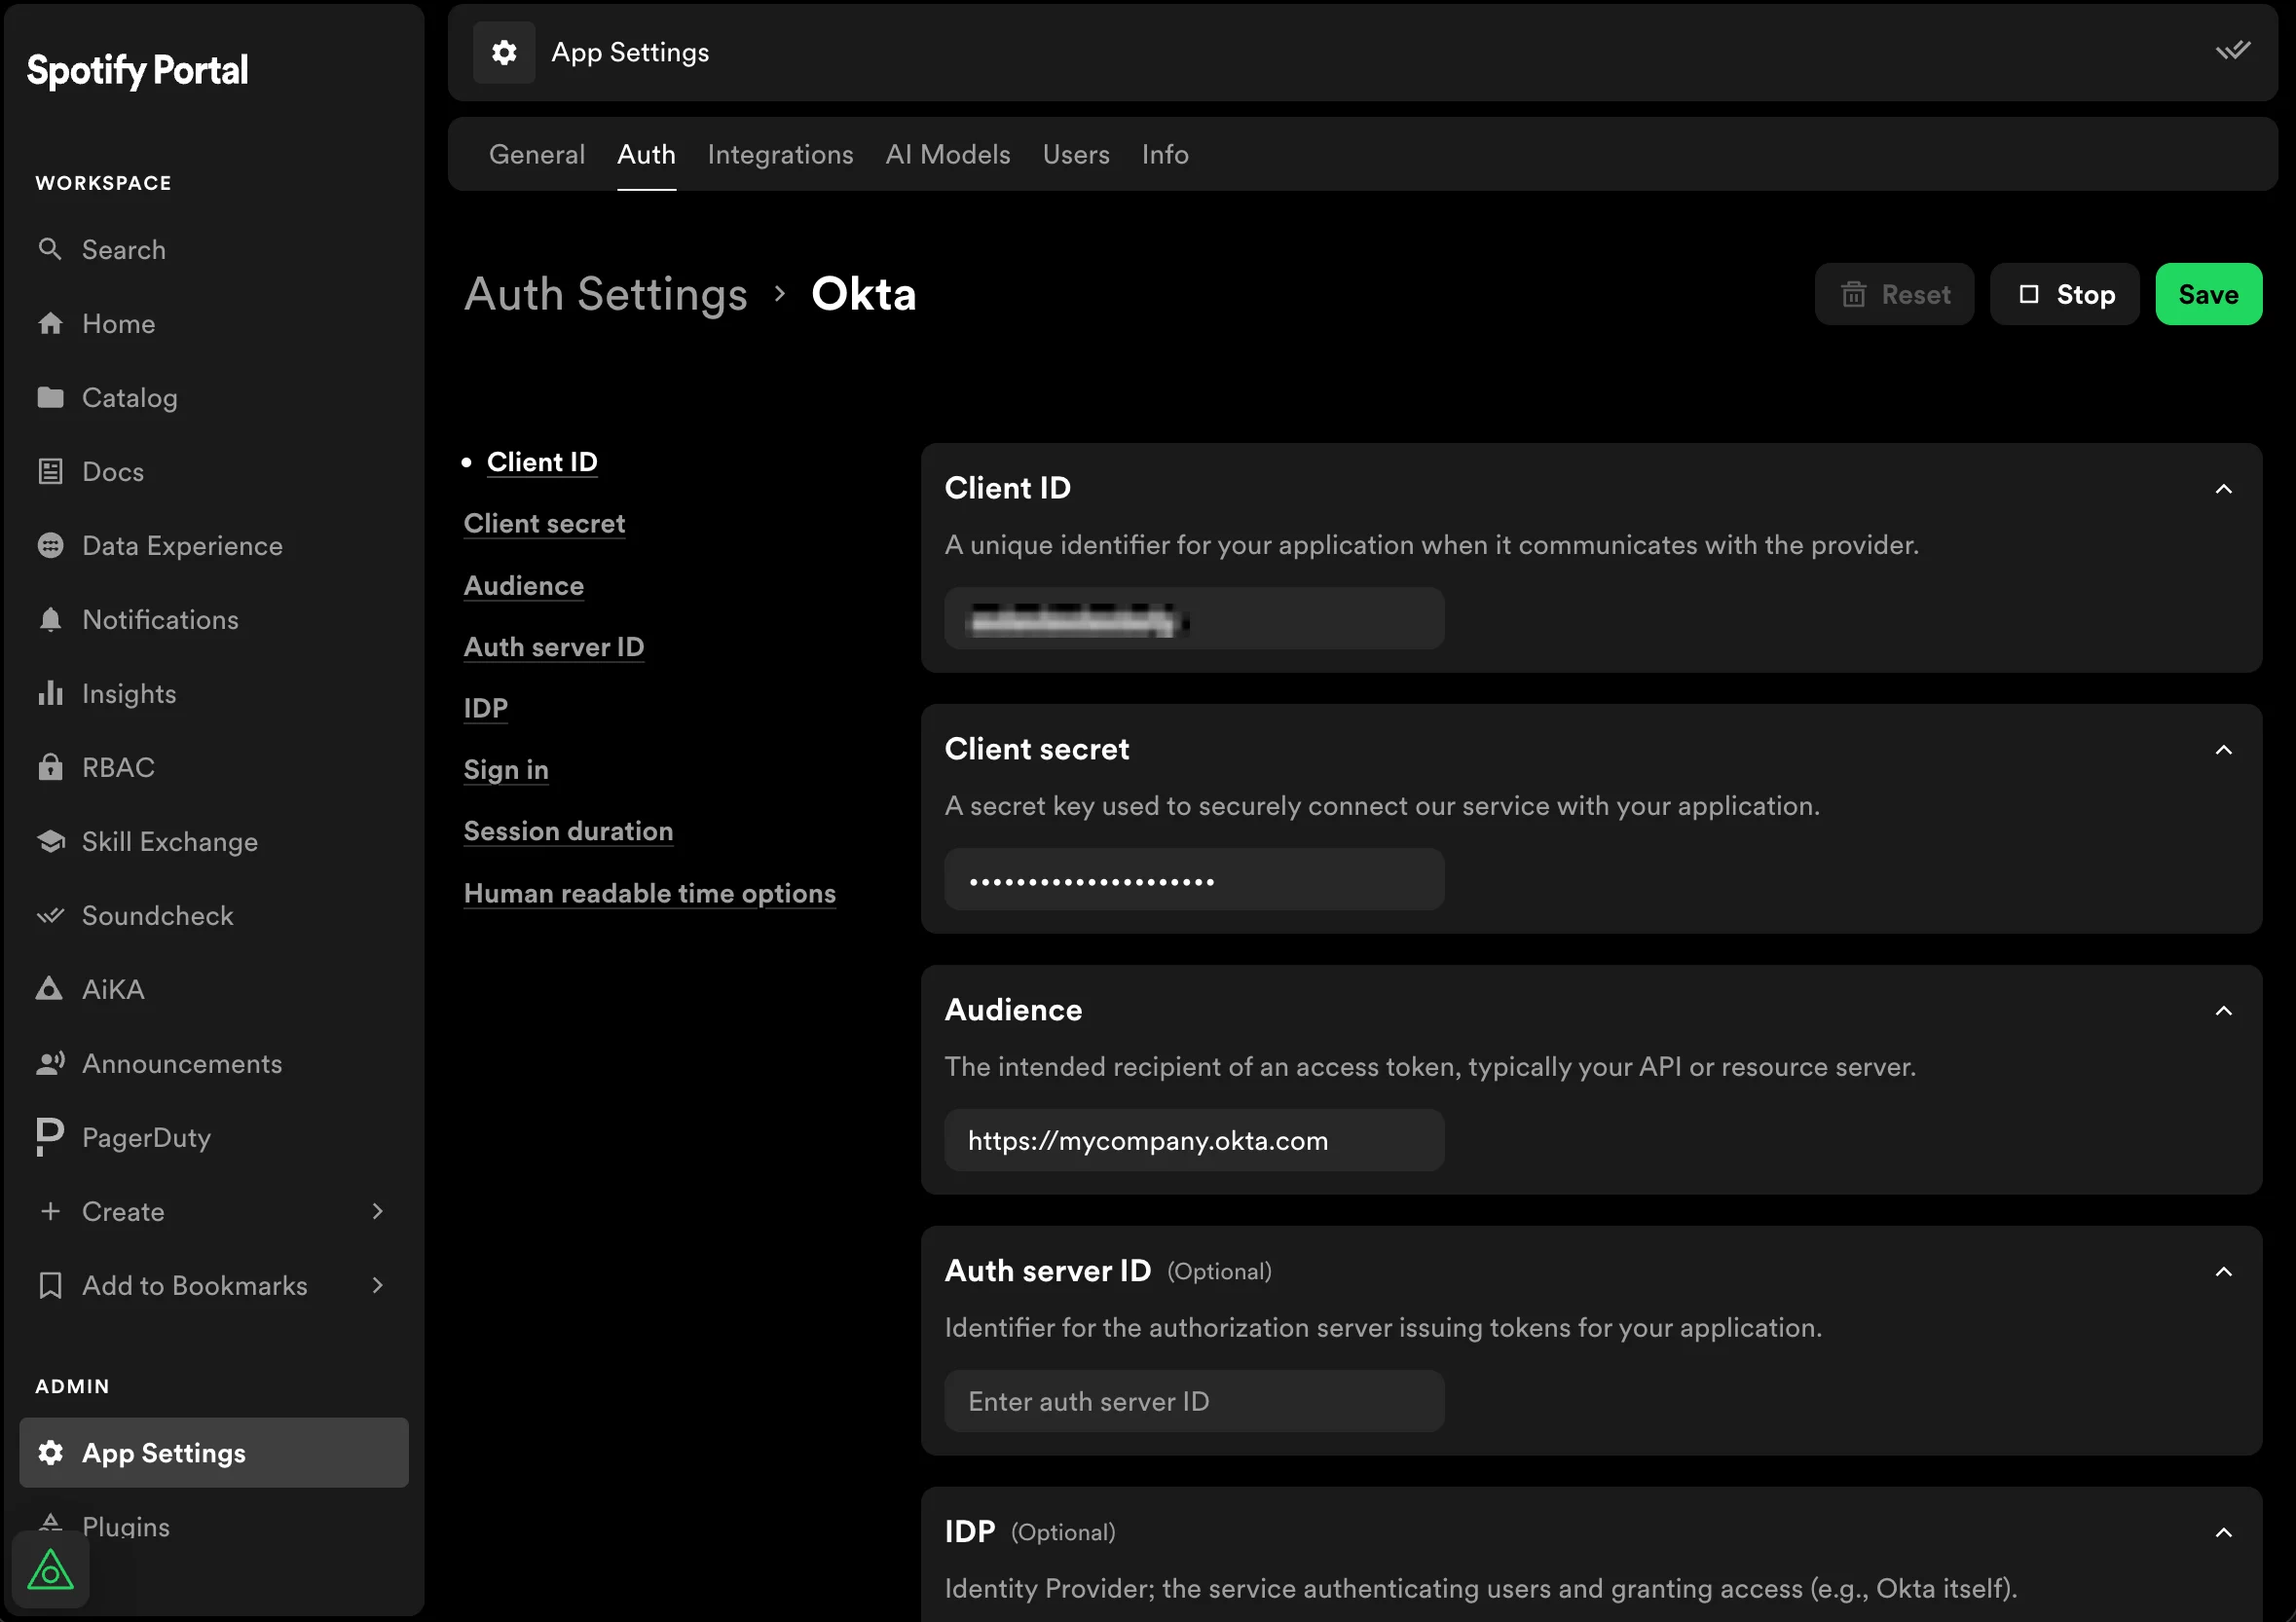 In the **Use for Sign in** section, select `Enable` and keep `Email matching user entity profile email` as **Resolve strategy**.
 Click Save changes.
Your Portal instance is now set up to authenticate users via Okta.
Click Save changes.
Your Portal instance is now set up to authenticate users via Okta.